Hello,
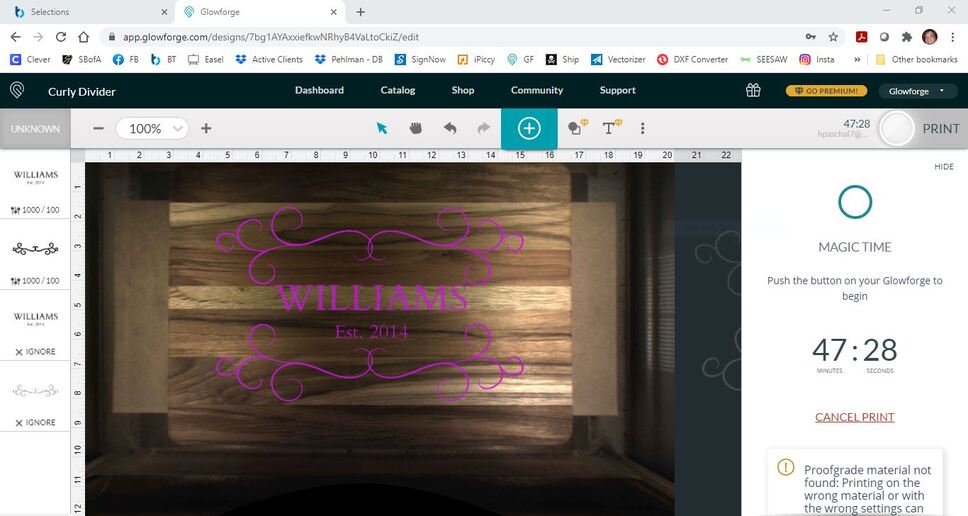
I am looking for advice on how to cut time down, but not sacrifice engrave quality, on our designs. It seems that lately, these simple designs are taking longer and longer to engrave and I’m not sure why. I ran a project on 125 LPI today and the quality was terrible. So I prefer not to use that low of an LPI on any projects. This particular project is showing a print time of 47 minutes and in my opinion, is a very simple design with little engraving. I have it set on 225 LPI and 1000 speed. There are two separate SVG files uploaded, one of them being a duplicate. I also prepared this same project with JPG files first and the print time was over 51 minutes! Craziness. Any tips for faster printing are appreciated!
A full- bed engrave using the new “improved” SD engrave settings takes ~6hrs - that’s for an 18.99x10.97 image. 10.97*270(lpi)=2960 passes that take ~8 seconds each. No way around it. As you’ve seen, you can’t just drop the resolution as it messes up image quality.
The old SD settings take 3 hrs - but you’re limited to 18" width due to the higher speed (1000 vs 535)…
4 Likes
By the way, that’s some beautiful wood grain. 
2 Likes
That sounds about right for an engraving that overall size. There’s just a lot of travel. If you have some scrap something lying around - try scoring the design instead and see if you like that look (it’ll need to be a vector, not rasterized for this to work). It’ll be a TON faster.
4 Likes
Interesting. I wasn’t aware there was a new SD setting. Is there a way to change this on my end and use the older SD settings? This particular design is only about 11” wide in total.
It looks like you are not using the SD settings. You are using 1000/100. SD is535/70, so you are already using the older, faster setting.
You may feel this is a simple design with very little engraving, but the head must move back and forth over the entire area for each line whether or not the laser is actually firing.
2 Likes
^^^This. And try defocusing the laser so the score lines are thicker if that helps to improve the contrast.
5 Likes
Oh no, I’m sorry you’ve hit a snag!
Thanks for the answer @eflyguy , that’s right!
Since this problem is being seen on materials that were purchased from another company, we can’t offer support for prints that don’t come out as expected.
I’m going to move it to Beyond the Manual so other folks here can help. Should this happen with a print on Proofgrade materials, please open a new ticket in Problems and Support and we’ll help you right away!
So your design has a couple of things that might be slowing you down: some duplication of vertical travel and a bunch of “dead air” horizontal travel. Apologies, this is about to get nerdy and deep.
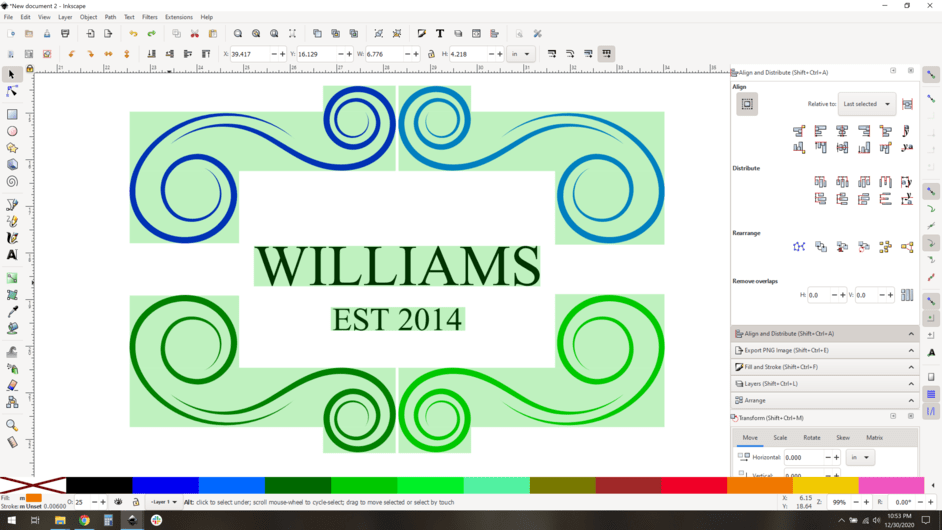
The Williams/Est 2014 is in the same vertical space as your swashes. That means that the swashes and est 2014 are covering the same ground, which is wasteful. Here’s an approximation of your design with laser travel areas approximated:
Your design (roughly):
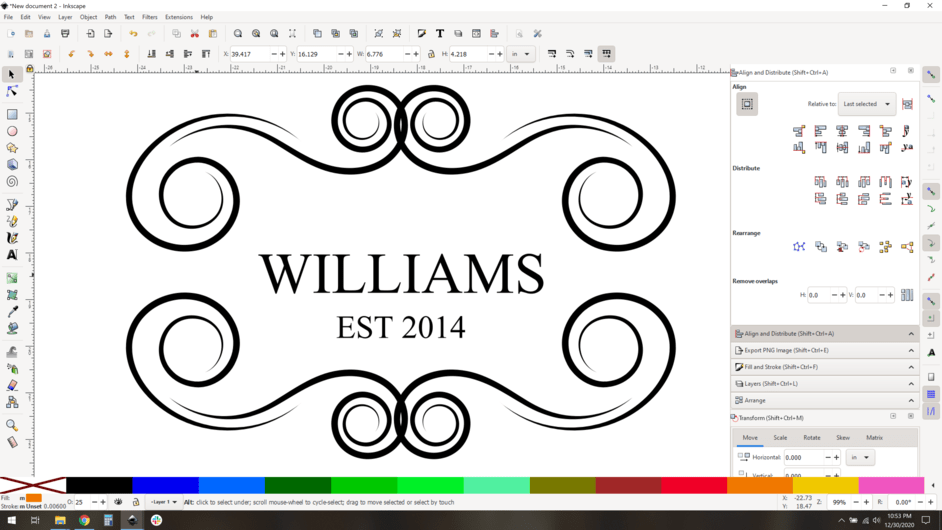
The laser areas are 50% red. (again, approximated. It should automatically not travel over those dead air corners if your images are clean or vector.) You can see the darker areas are where two engrave areas overlap:
The EST 2014 stands out like a sore thumb, the laser head has to travel that space twice. Wasteful.
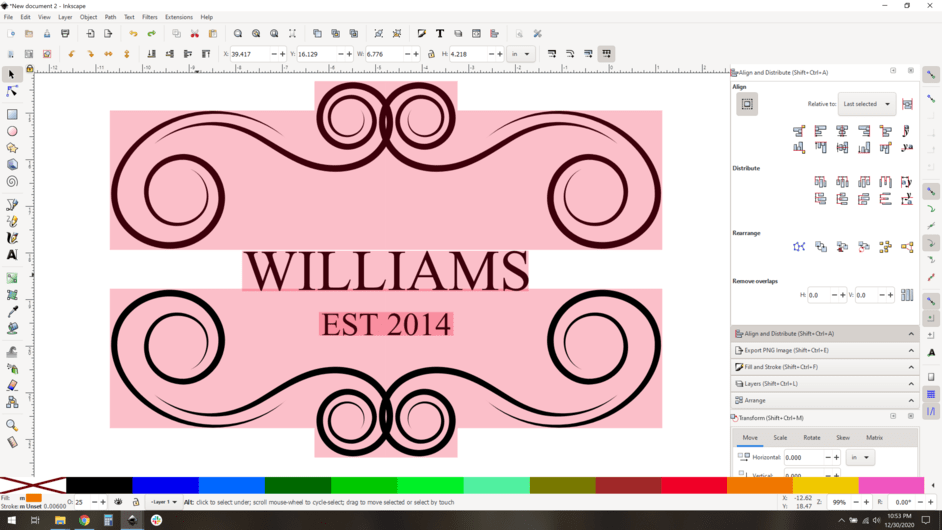
So, you can break up your design a little bit to get better performance there. I’ve tweaked the swashes so they don’t overlap and made them all different colors to see that they are different objects.
Now your engrave areas ought to look like this, in green:
Aha, no overlapping areas, so no duplication. As a nice aside, you have also eliminated a great deal of dead-air horizontal travel, shown in orange here:
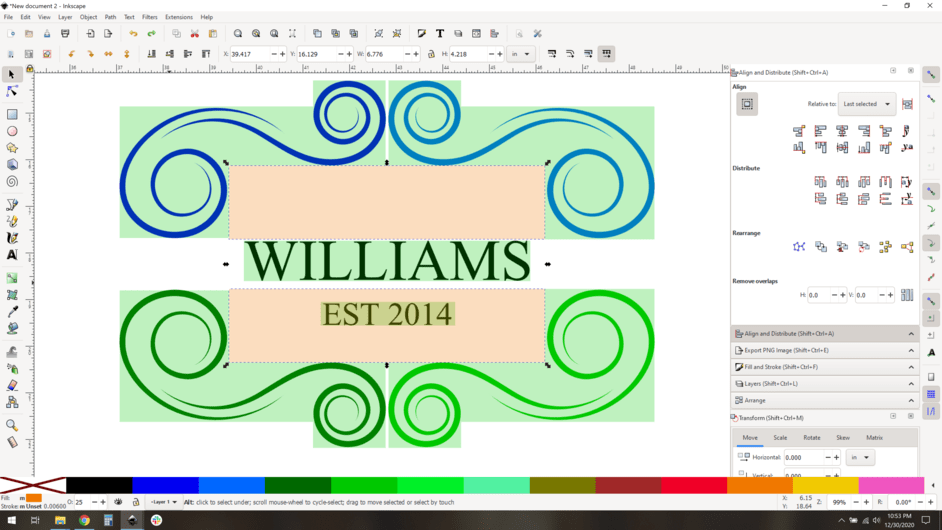
That’s all space the laser doesn’t have to cross.
This logic can go too far, click here if you're curious.
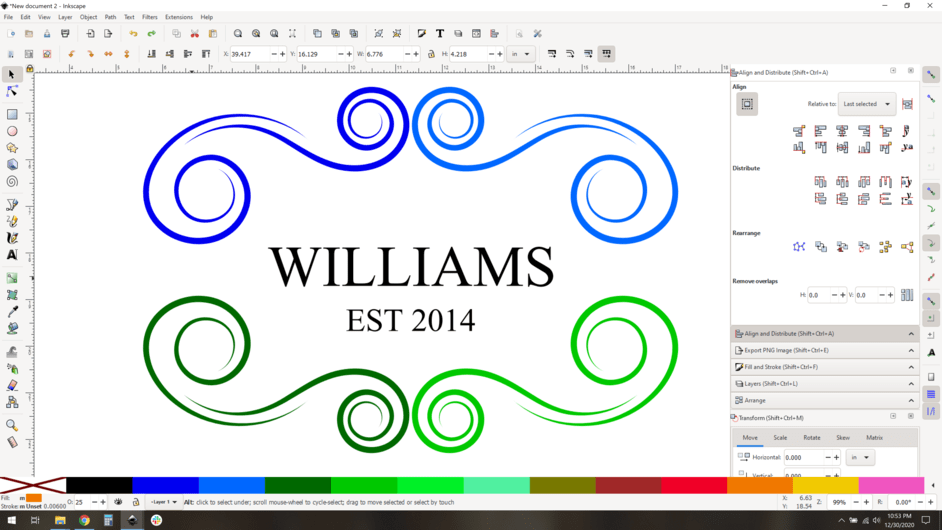
Taking this logic to the extreme, you could further break up your swash to totally eliminate dead air travel. Don’t do this for a few reasons, but you could:
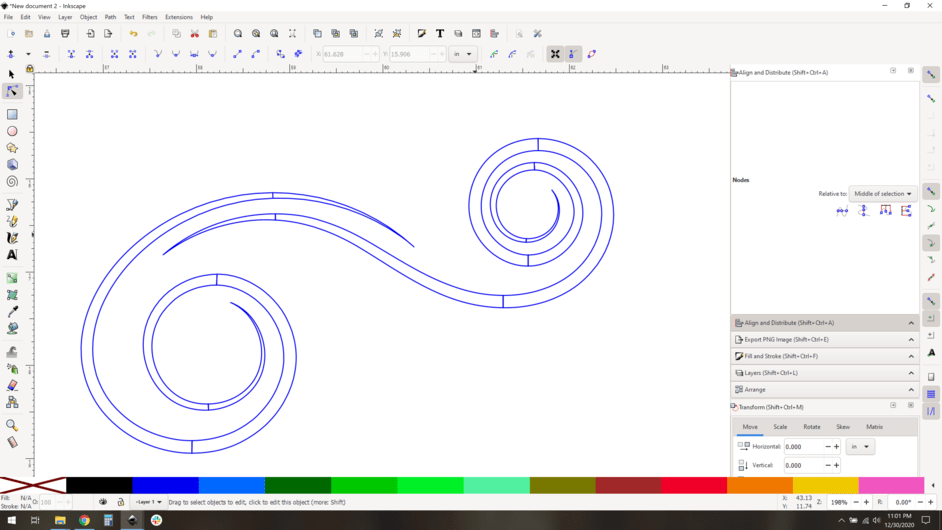
and color coded:
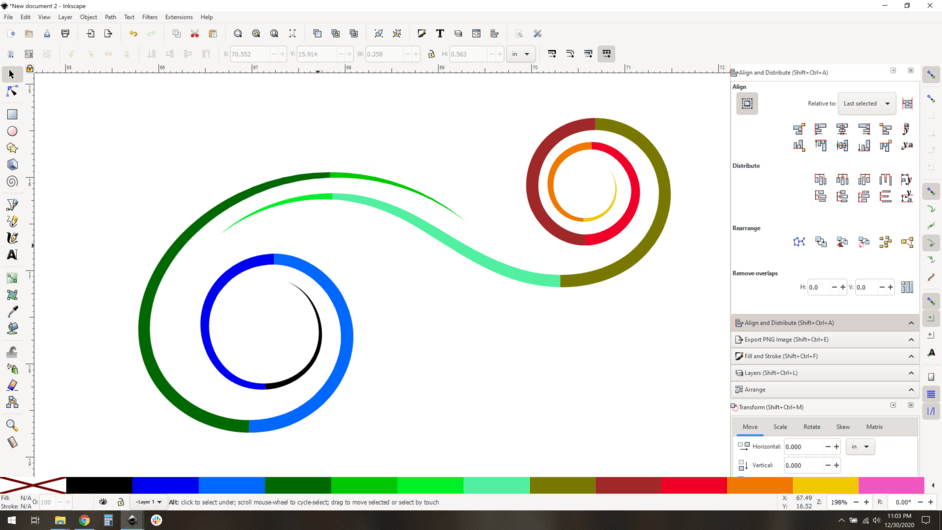
This all but eliminates dead air horizontal travel but now you have seams, and some inefficiency from so many rows, yeah, don’t do this… but you can.
So the math about how any of this helps you is hard to tease out. The wildcard is acceleration/deceleration per row. If you go with that last solution you save a lot of horizontal travel, but all that vertical travel might actually increase the time it takes to complete because of the sheer number of rows. The only way to know is to actually load these various scenarios. I’m apparently bored, so lets see.
All tests at 1000 speed, 270 lpi.
Case A: 1:16 (one hour and 16 minutes)
Case B: 1:09 (one hour and nine minutes)
Clearly not a great savings (about ten percent), but it adds up.
What’s interesting is that as you drop the speed you see a much larger difference due to cutting out the dead air horizontal travel. At 500 speed, case A takes 2:21 and case B is only 1:42, saving about 25% off the runtime.
By this logic if we somehow increased the speed it would reduce the gains by horizontal travel savings, and you’d see larger losses due to duplicate vertical travel, so we should see a break point where case A is faster than case B. Since 1000 is our max, this is just theoretical.
So. What’s the takeaway? Engraving is slow, and you might marginally increase the job time at your current settings, but the time and effort to do so might not be worth how much you save. Up to you how much you want to chase those minutes. The gains you’ll see with these techniques are highly variable depending on your design and settings.
12 Likes
Great tutorial! Thanks!!
This topic was automatically closed 30 days after the last reply. New replies are no longer allowed.