I am using tiny magnets and placing them where they will not interfere with the fan/head.
I am using 500/50 (numbers I got from looking on this forum.) Started out as 500/40 and slowly crept up to 50.
I am using tiny magnets and placing them where they will not interfere with the fan/head.
I am using 500/50 (numbers I got from looking on this forum.) Started out as 500/40 and slowly crept up to 50.
That can certainly work. Basically, if you can see the cardstock moving (up and down) during the cut you may have a problem. No movement no problems, aka the problem is somewhere else.
Yeah, I am not seeing movement, but when I do, I know to expect focus issues.
I will see if it continues to happen.
Also sometimes fire. The great thing about paper, you can put it out with your hand.
Yeah, I always keep a close watch on it. But, I keep a towel handy, just in case I need to smother something ( I have never needed to yet.)
I cut Bizzell cardstock at 500/60.
I am not having any issues now. I am starting to wonder if the first few pieces were not really 80 weight. But ever since I cleaned the optics I have printed many more without any issues.
Thank for the suggestions, I think this is going to work out pretty well.
I just need to test-drill some holes in acrylic before I drill the real ones, test the Goop with some scraps, and peel back the panel covering before I start putting the art together.
Any suggestions on drilling the holes in the acrylic?
Carefully…

Sharp bits and the correct drill speed. You should be able to google the suggested drill speed.
I have some new drill bits, but do I need a special drill bit? There are lots of different opinions on the internet.
Does any here have any experience with drilling 1/4" acrylic? What do you recommend? Can I use a normal drill bit, or a do I need a special one?
Suggestions I have found:
When I’ve done it, I just use a regular wood twist drill, nothing special. I haven’t done enough to consider myself an expert which is why I didn’t say much earlier.
It drills like a soft wood, but snags easily and I think that’s what causes cracks.
No expert here. But there is a difference between the cheapest drill bit in the store and one that is a little more expensive.
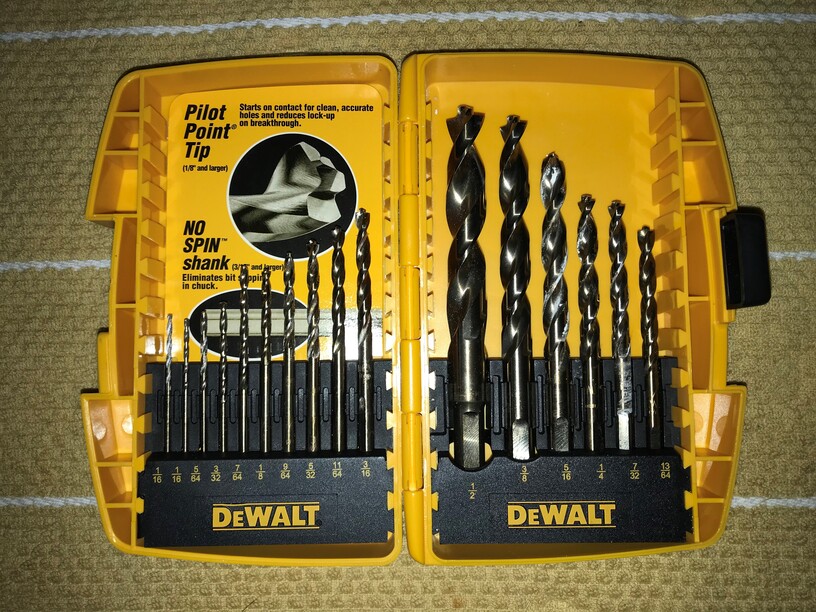
Mine are a set of DeWalt brass drill bits. Are those good ones or should I go get some better ones?
Any sharp bit will be fine. One that’s spent years drilling steel without sharpening will not.
If you can sit thru his infomercial style:

Those will be fine if they haven’t been used a lot.
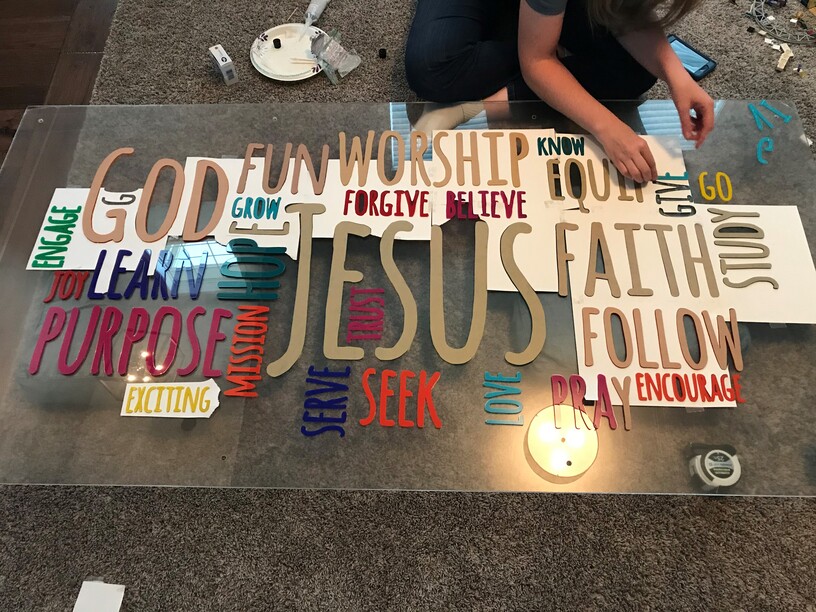
I got the holes drilled. The template is in place, and we started gluing down the letters with Goop.
The bottom of the Goop tube came open and glue is coming out both ends of the tube… I am guessing we are going to lose about half the tube. We will probably go back to the hardware store to get more tomorrow.
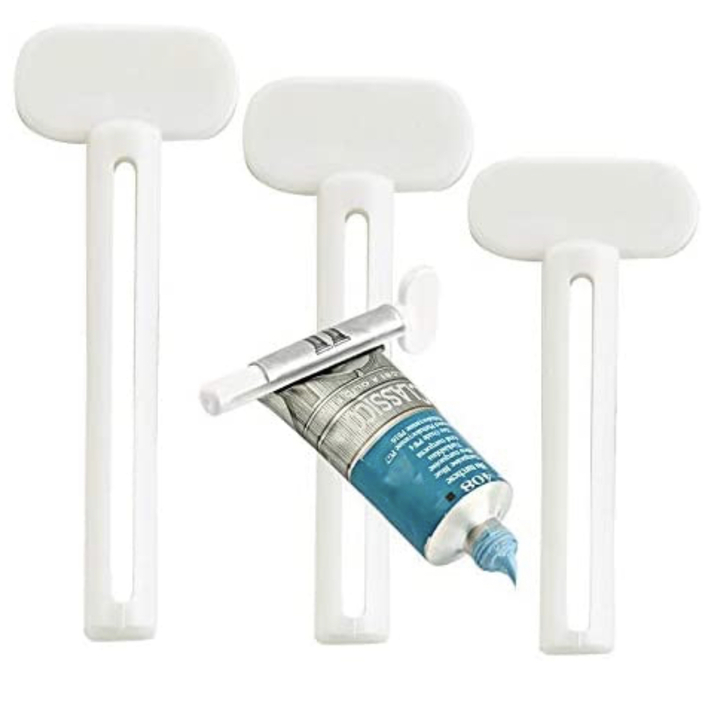
Ooo that sounds like a mess, do you have any paint/toothpaste saver keys? That could save the tube of Goop enough for you to keep working tonight.
No, I don’t have any of those! But, I definitely want some now!
I ended up ordering these: (Not an affiliated link)
https://www.amazon.com/gp/product/B07SHL6P8V/ref=ppx_od_dt_b_asin_title_s00?ie=UTF8&psc=1
I will let you know how they work out.
Edit: My wife kept working on gluing the letters (she went and bought another tube of “Goop”.) So we are almost done.
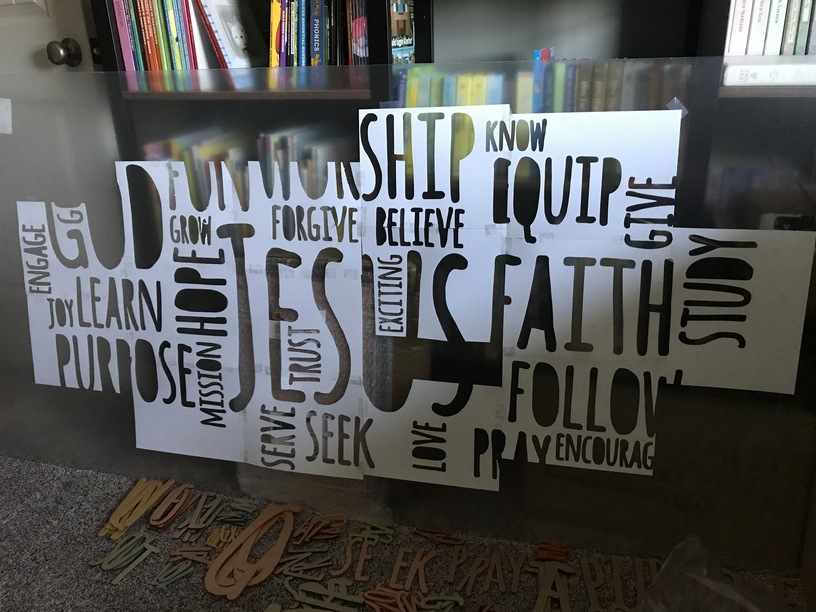
I think we will end up moving two of the words (“Exciting” and “Go”). But, I wanted share my experience and give a huge thanks to those who gave suggestions.
The paper templates were a HUGE help. They made it easier to visualize what the final product would look like, so it was easier to position and center. Once it was taped into place we didn’t need to worry about it getting bumped and moving.
Gluing the letters on with “Goop” has been great too. Other than the first tube breaking open at the other end. But, I am not sure my wife was being as careful with it as I would have. The recommendations were right, it is easy to put on and if you mess up, it is easy to clean up.
I will post a final picture once it is delivered and installed, but I wanted to thank everyone for all the help. I really learned a lot on this project and the community played a large role in that!