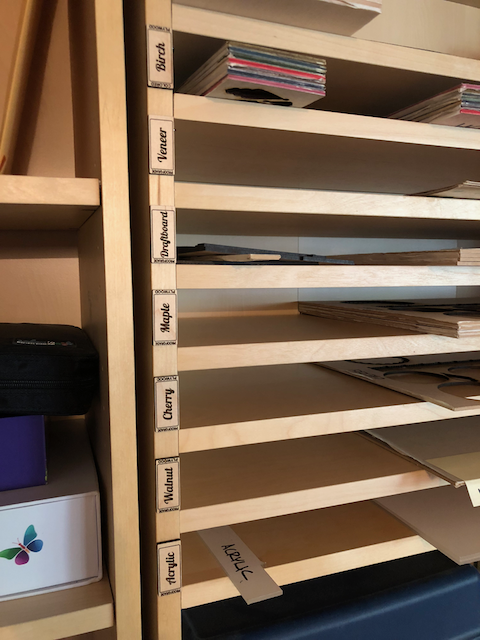
I have not only Proofgrade, but Goofgrade and craft vinyl materials that I need to store… Has anyone found a rack kind of like this, but that will swallow a 12" x 24" piece of material? I have looked high and low and cannot find anything that will fit Proofgrade, much less the 24" wide vinyls I have.
6 Likes
Nice looking unit., so thanks for the heads up.
I guess for me it would be use my router(don’t have a saw bench) to cut grooves in the wall pieces, made from 1/2" ply, and 1/4" ply shelves.
With my pro, I’ll be able to cut the scoop out front of each, so definitely a project for me !
John 
Likely best (and cheaper) to DIY.
Pro: get exactly what you want for the space you have
Con: time and perhaps learning a whole new thing when all you want is a shelf
Could also keep a look out for “map cabinets” on Craigslist or whatev. They do tend to be pricey, and large.
DIY idea. Find a chest of drawers that is about 2.5’ wide (you want the drawer openings to be at least 2’). Again, craigslist, discount store, IKEA, recycling centers, what have you. Remove the drawers, and use the chest frame as your starting point. Just add cleats and shelves. Can easily look just like your posted pic.
Quickly found example…
2 Likes
Slight alternative, if the drawers are capable of the mod, might be to take the fronts off the drawers, and add a shelf/shelves to each one. Then you’ve got a pull out shelf system, which might be a bonus.
Or not !
John
2 Likes
Here’s a possibility, but it’s pricey. $101 only gets you two shelves (they are stackable). On the other hand, there’s lots of space: 36” x 24”.
1 Like
Previously:
2 Likes
We had a lot of shelves like that for blueprint Mylar storage to prevent crimps. That was forever ago, but it would seem like they would still be used. In the 2x3 foot and larger at 3x4 foot ranges.
Some of them even pulled out (like trays) but most were just deep shelving.
Not everyplace has gone digital and plotter (I think?).
Yah, decided to try again since I had found an image that was in the right ballpark. Unless I DIY I guess I will just have to keep checking Craigslist. I did get some good hits on “map” and “cartography” but everything is more than I want to pay.
1 Like
You could definitely DIY something that simple. Some 2x4s and some ply or MDF. Just depends on how fancy you need/want it to look. And $100 would get you enough material to make at least 12 shelves.
I love the idea of the shelves being pull-outs. Makes it MUCH easier to see what you have than peeking in through a narrow opening.
I got a bunch of Ikea Billy bookshelves for super cheap from Craigslist when I was setting up my craft room. Recently scored a couple more for free because the backs had been damaged, which gave me some extra shelves to add in for my GF materials. It means waiting and watching Craigslist to gradually get what you need, but I really like how well they work!
10 Likes
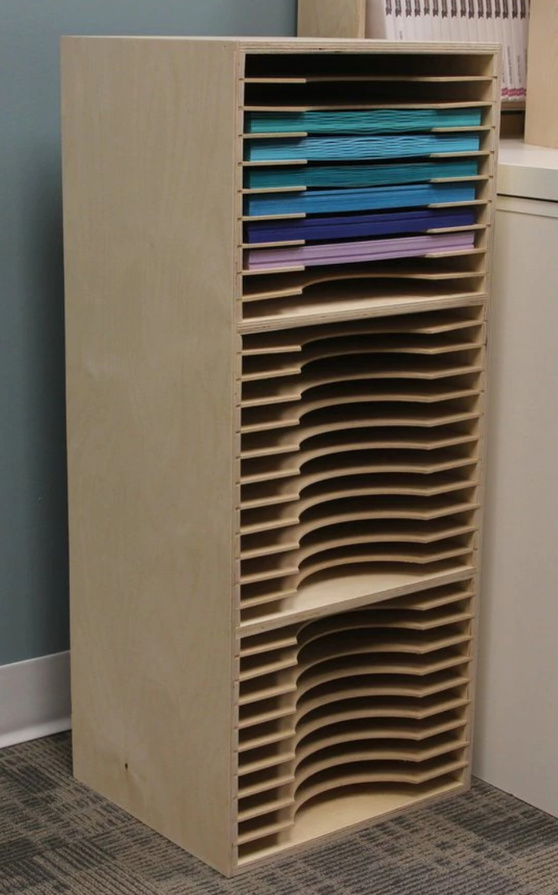
As a woodworker, I’ve built shelves kind of like this before. Looking at the photo, I’m going to guess that the storage is about 36" high (as a reference, most tables are 30 inches high). Ballparking numbers, I’m guessing you want something 3 feet tall, with interior dimensions of each shelf being 1.5" tall x 24.5" wide x 18" deep. (this will make a shelving unit with 22 storage spaces)
If you were to build those kinds of shelves yourself, here are the steps that I would suggest (You should REALLY have a table saw for this project).
1 Sheet of 4’x8’x3/4" plywood for the Case and stretchers
3 Sheets of 4’x8’x1/4" Luan or Hardboard for the shelves (each sheet will make approximately 7 shelves)
-
Cut your 3/4" plywood. You will want to start with one piece that is 34.5" Long x 36" Wide (this will become the two sides of the case), two pieces that are 26" Long and 18" wide (these are the top and bottom), and two pieces that are 25" long and 18" wide (these will be the stretchers, to fit on the single sheet, these could be 12" wide without any issues)
-
Using table saw (ideally with a dado stack, or patience and good measuring), or a router with a clamped straight edge, cut slots about .5" deep right where you want the shelves to go.
-
Once all the dados have been cut out, cut the big piece in half lengthwise, so you have two matching side pieces (since you cut the dados on a single piece that guarantees that they will match up when you put the shelves in).
-
Glue and Screw the top and bottom to the sides (the sides should rest on TOP of the base piece and the top should rest on top of the sides). Also Glue and screw in the Stretchers at this point. Let everything dry up and cure.
-
Slide in your shelves, glue is optional, depending on whether you want the shelves to be removable (in case you have a situation where you have thick material.
For stability, I’d suggest either cutting and gluing a back to the case, or at least a cross beam that goes from one corner to another.
If anyone wants anything clarified, please let me know. I’m writing these up without any of my tools or measuring tapes with me.
10 Likes
Thanks, that is very helpful. I know nothing about woodworking except that it looks like a great way to lose a finger. ![]()
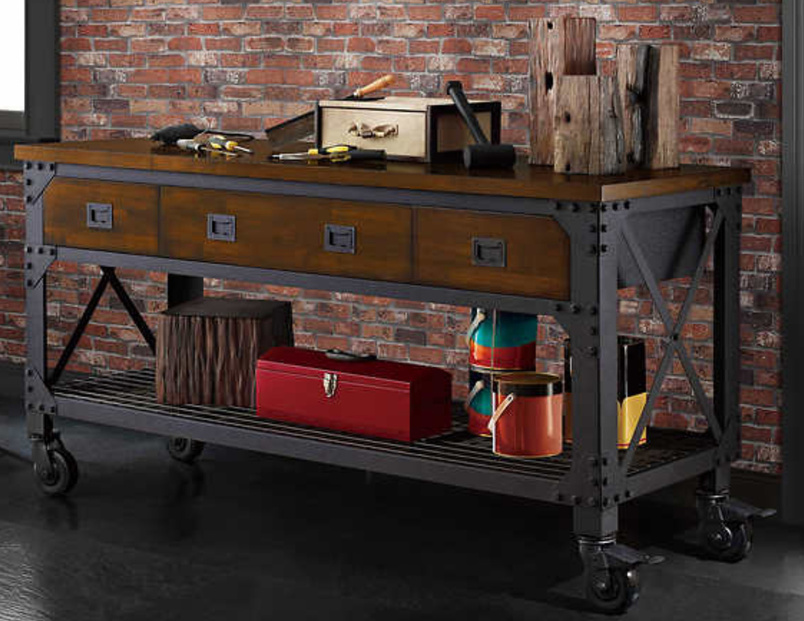
If I DIY something I’d actually do a couple of shorter units so I could fit them under this cart, which holds my laser and vinyl cutter.
4 Likes
That is an awesome looking unit. The dark wood and black frame really compliment each other. 
It shows up at Costco once in a while, and it’s been a great home for my more civilized CNC machines. 
2 Likes