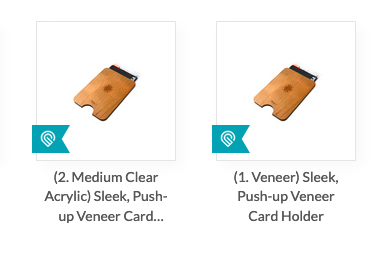
I opened the project, clicked on the three dots and there are no instructions. went to the catalog and found these:
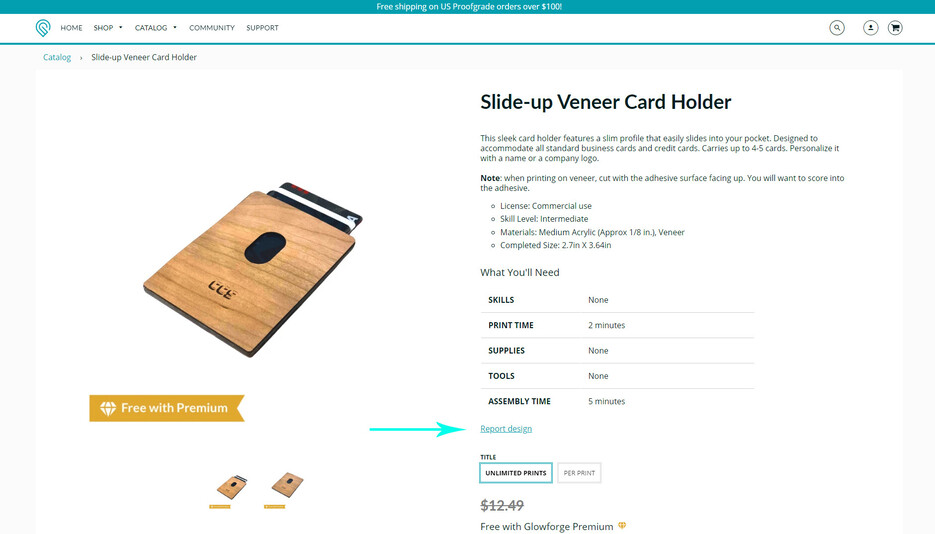
Slide-up Veneer Card Holder
This sleek card holder features a slim profile that easily slides into your pocket. Designed to accommodate all standard business cards and credit cards. Carries up to 4-5 cards. Personalize it with a name or a company logo.
Note : when printing on veneer, cut with the adhesive surface facing up. You will want to score into the adhesive.
License: Commercial use
Skill Level: Intermediate
Materials: Medium Acrylic (Approx 1/8 in.), Veneer
Completed Size: 2.7in X 3.64in
so i am not seeing any instructions anywhere. When uploaded from the dashboard, there are no preset settings, so I don’t know whether to just cut or engrave the acrylic, which settings for which and not having used the proof grade veneer yet, i am assuming it is self adhesive.
Anyway, if anyone can clue me in on how to do this, it would be appreciated.
P.S. the statement that all projects in the glowforge come with step by step instructions is not true. Unless I am looking in the wrong places…
One thing I’ve noticed about the catalog designs…you have to tell the Glowforge that you are working on Proofgrade material (or load an equivalent Proofgrade setting for Acrylic) in order for the “Cut” versus “Score” settings to pop up.
I think they’re coded for Proofgrade materials. Try that and see if it straightens out.
that’s my plan. I just find it ironic that even that little bit was not included in the instructions. Especially since the creator labeled it “Intermediate”. But thanks for confirming my suspicions.
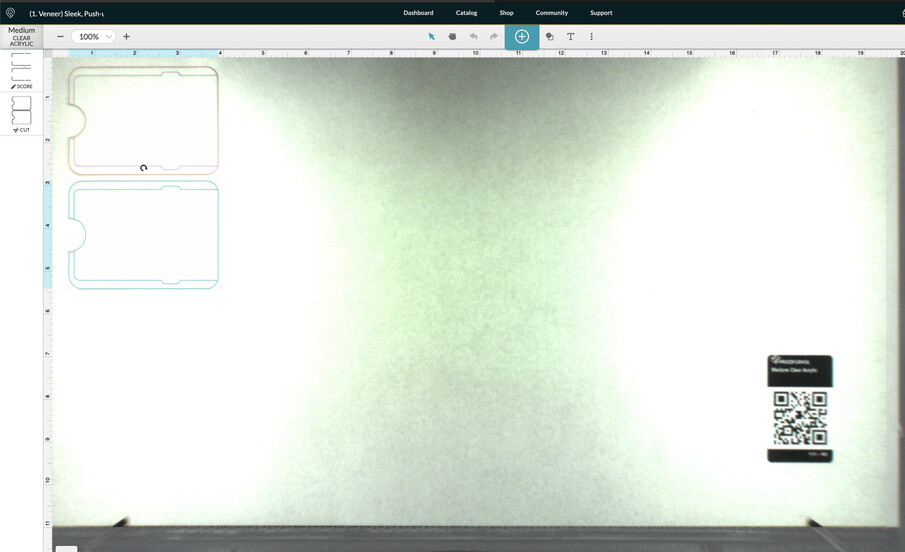
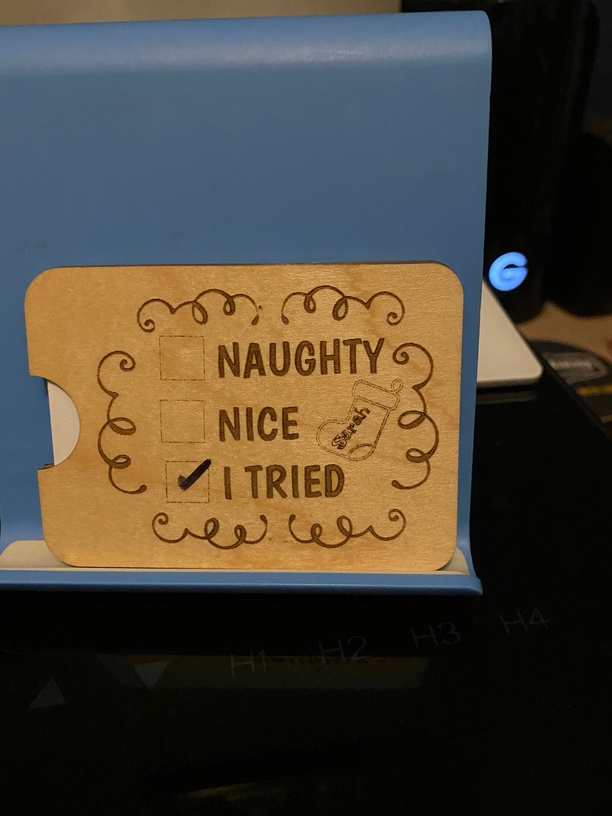
So here is what happened. All it did was score. I can’t tell what it was supposed to do. The few instructions given lead one to believe the the scoring is for the veneer. AS you can see, i put in acrylic first, but it did not cut. So what am i doing wrong?
One other thing I just noticed…there is a button to report problems with the Design directly from the Catalog page…I wonder if we are supposed to be using that to report issues like missing instructions now?
Ok, makes sense. But what about the acrylic part? I only get the veneer part in my UI. Where is the acrylic part? I have the acrylic chosen so that doesn’t bring it up.
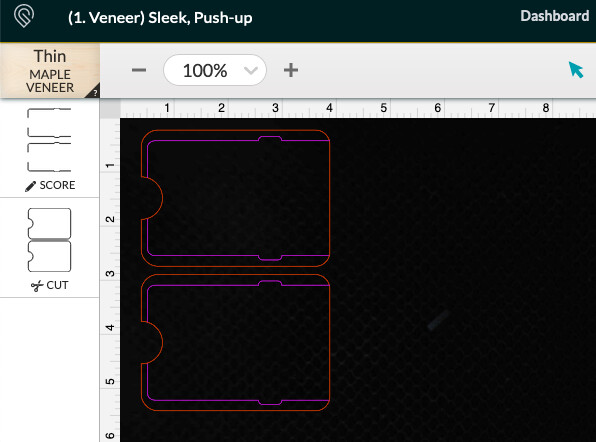
Maybe I’ll do that and see what happens. Because to me at least, it isn’t obvious. And I went for a walk and just got home and see if I can find the acrylic pieces…
You are right! (Since us guys rarely get to hear that at home, I gave you one). My problem was they aren’t anywhere close together on my dashboard, so I never thought to look for a part 2. A simple statement saying there are two files would have saved me and maybe others so much time. argh
Sorry, I made them and they turned out ok. I think the scoring on the adhesive side should be a hair wider. I’m already wrapped them and I dang sure ain’t gonna o wrap them. I have 24 packages to wrap for the 12 Days, PLUS All the Christmas Day packages. And I hate wrapping presents. Giving and getting, I love just not wrapping.
Thank you so much for the feedback, @djfb!Listing the number of parts to a design file would be helpful. I’ve made a note to share it with the team.
It looks like others are interested in seeing how your project turned out, so I’ve moved this to the Everything Else so the discussion can continue there!