My bookclub is having a White Elephant book exchange, almost all of our meetings in recent years have been online but this was going to be in person and the first time I saw people in the flesh for at least a year. So I decided to make a gift for everyone in addition to the books I was bringing for the exchange.
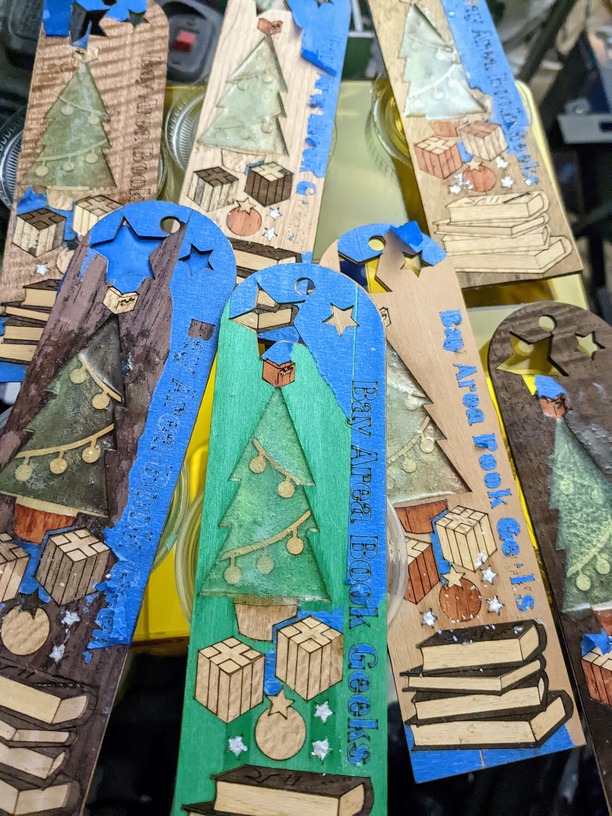
Naturally for a book club I thought of making some sort of bookmark. I’m quite fond of marquetry and find the glowforge does this pretty well so I set about designing a book club themed christmas bookmark.
I used a few pieces of domestic exotic veneer (or at least that’s what the pack I got from amazon called it ![]() I’m no expert on wood types) and laminated them for the main body of the bookmark. I then made a few pieces of different woods in different colours to make books and presents and other holiday themed things.
I’m no expert on wood types) and laminated them for the main body of the bookmark. I then made a few pieces of different woods in different colours to make books and presents and other holiday themed things.
The veneer is really thin and quite fragile and it took several iterations of design to get it all to fit and not just splinter appart the moment I took it from the glowforge. Once I’d dialed in the power and sizes and I’d got a prototype I ran off a batch of the parts. I used three layers for each usually going for a darker wood on the two outsides with a lighter wood inside.
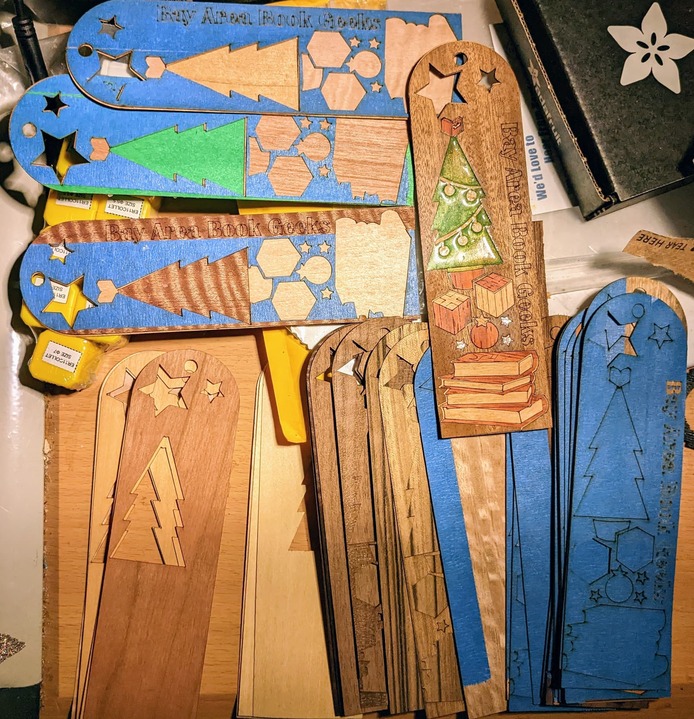
I decided to do most of the features in veneer pieces but then for the stars I went with some mother of pearl powder adding a bit of superglue to bind it into the recess shape.
For the tree I initially wanted to make it cut through all three layers then filled with epoxy resin to achieve a sort of stained glass sort of look. However I wasn’t sure it would hold together with that large a hole in the body given the fragility of the veneer. So I only made the hole in two of the three parts. It also meant I could make the little baubles as a separate piece and just glue them in before adding the epoxy.
So then I just needed to assemble the pieces.
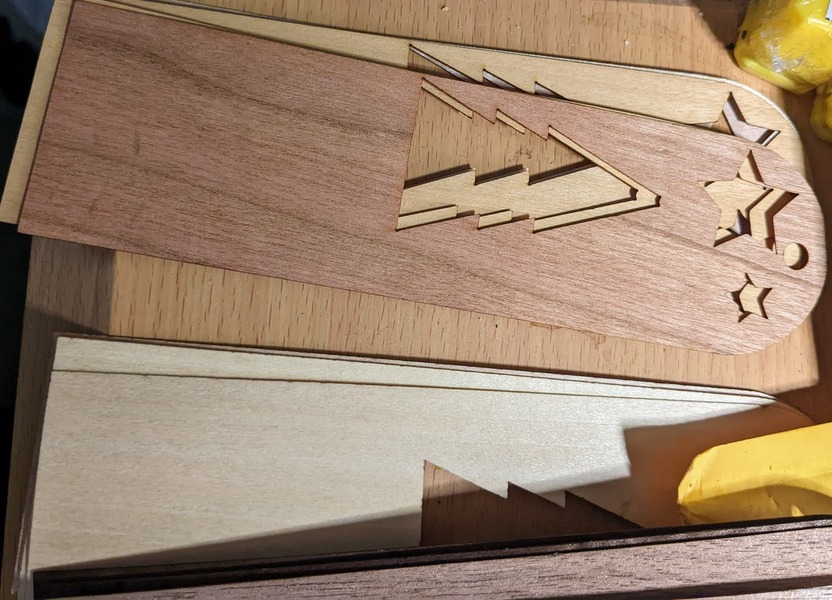
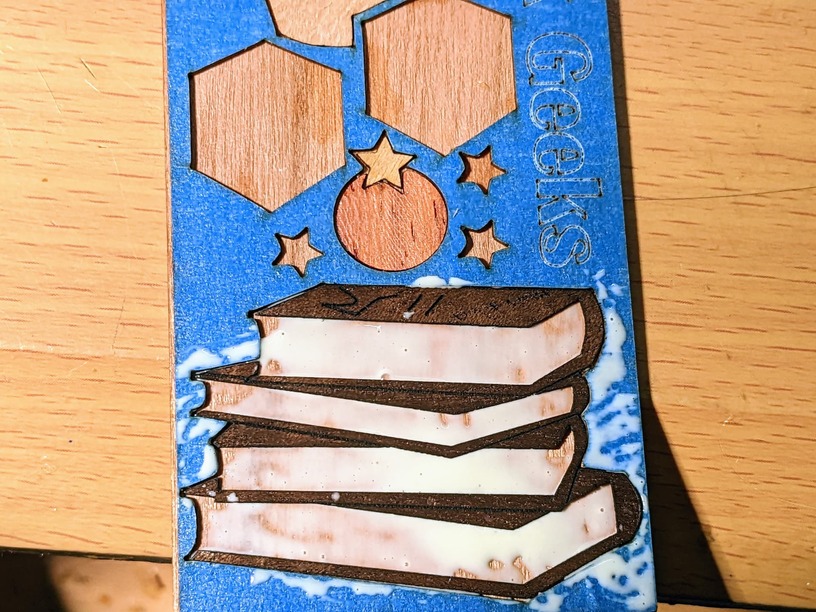
For the page parts of the books I aligned the grain of the wood along the piece to suggest paper pages
I assembled the three main pieces glued them and after the glue dried began inserting the other pieces.
For the main body I used superglue as I found the water in the woodglue tended to make the veneer curl and made assembly difficult and tended to leave areas where it hadn’t stuck.
For the smaller pieces I mostly I used wood glue which has a pretty good working time. I would position the parts in the slot then gently nudge them into place with a knife and a small screwdriver.
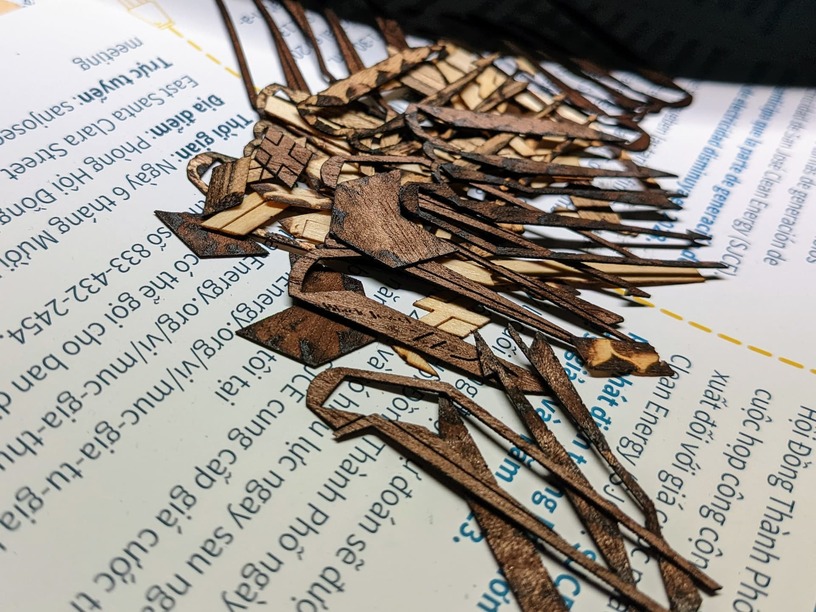
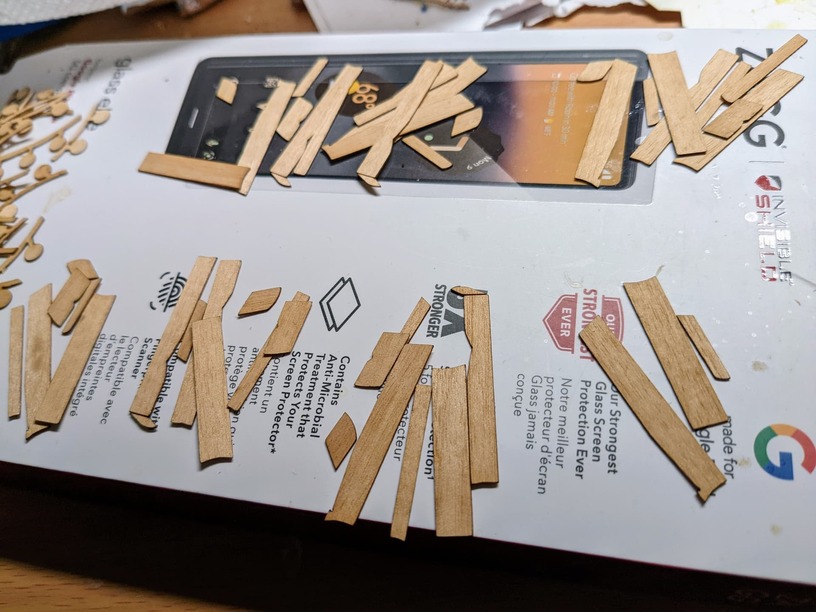
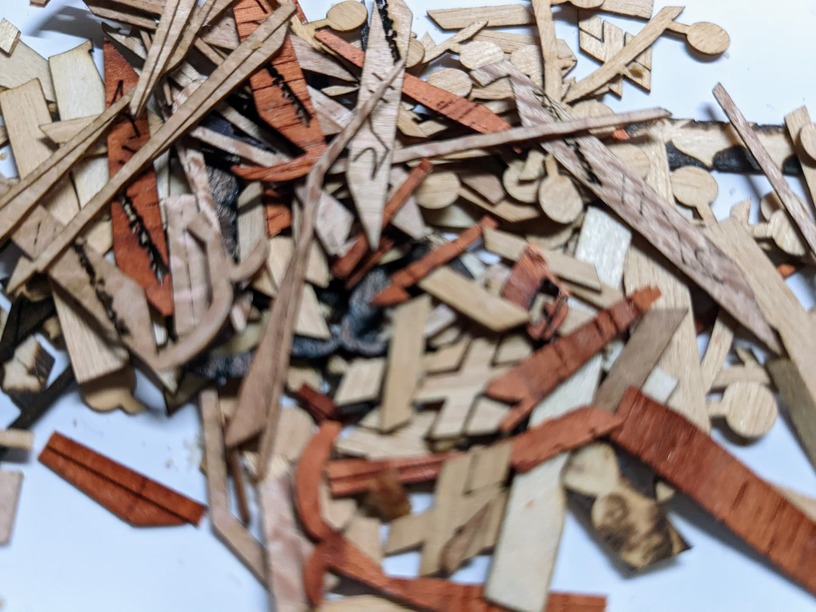
I had to be very careful with these skinny pieces the slightest bend or knock and it would break. In most cases I could put the pieces back together but sometimes I needed to make more parts. … Ok a lot of new parts :S
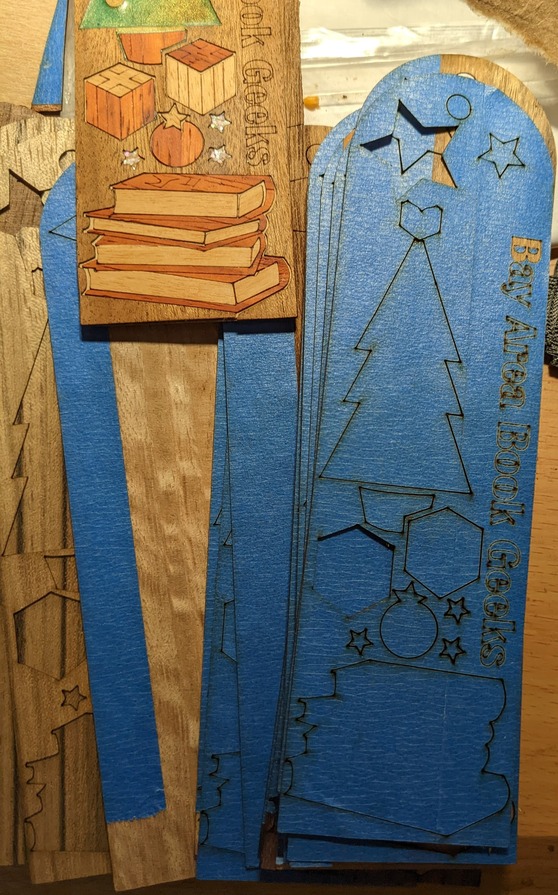
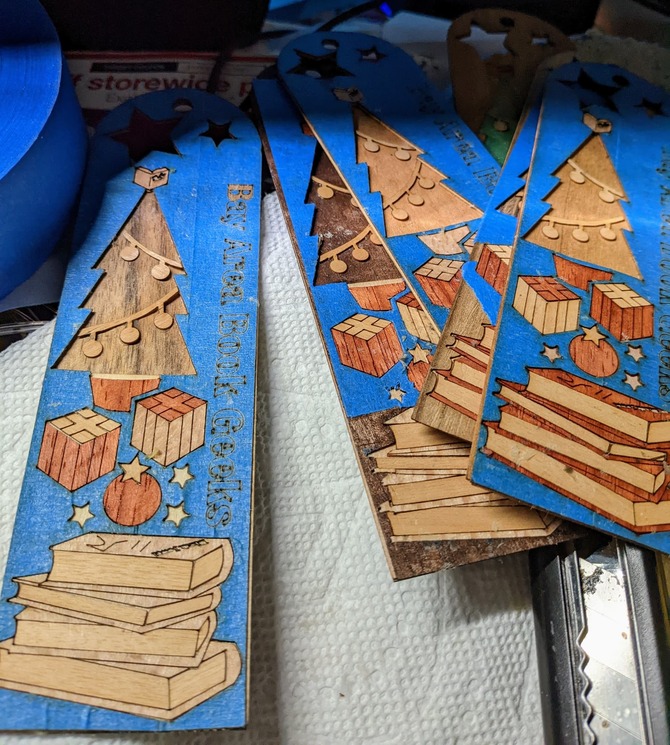
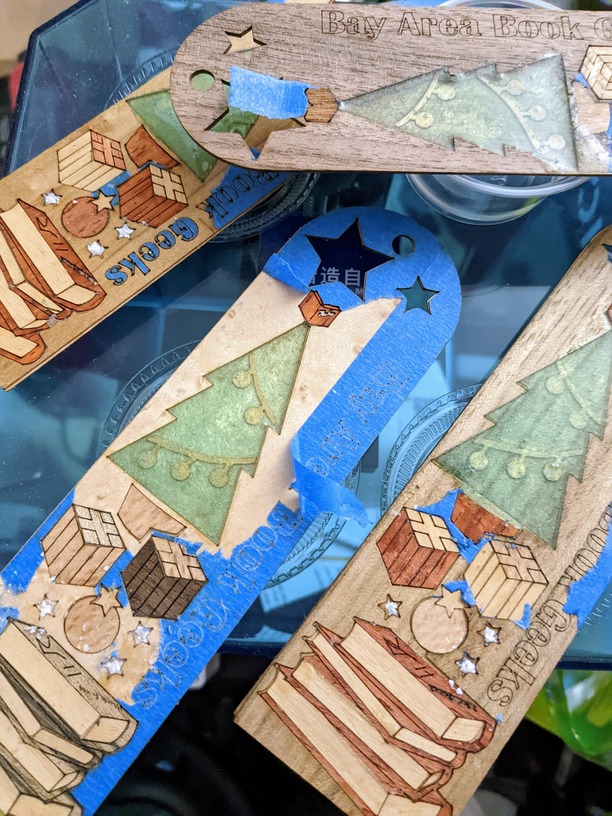
One mistake I made was I dialed in the settings for the cut score and engrave for the veneer using just bare veneer. Then when I made the final versions I applied some blue tape to mask things off for the epoxy and inlay powder. But as a result my wood was now thicker and the settings were now not always right sometimes the cut was not deep enough or the score or engrave didn’t go thorough. Of course I then overcompensated and made the score too strong so it often cut through rather than just scoring. Also the veneers I got for this project were not of uniform thickness which did also make things more interesting.
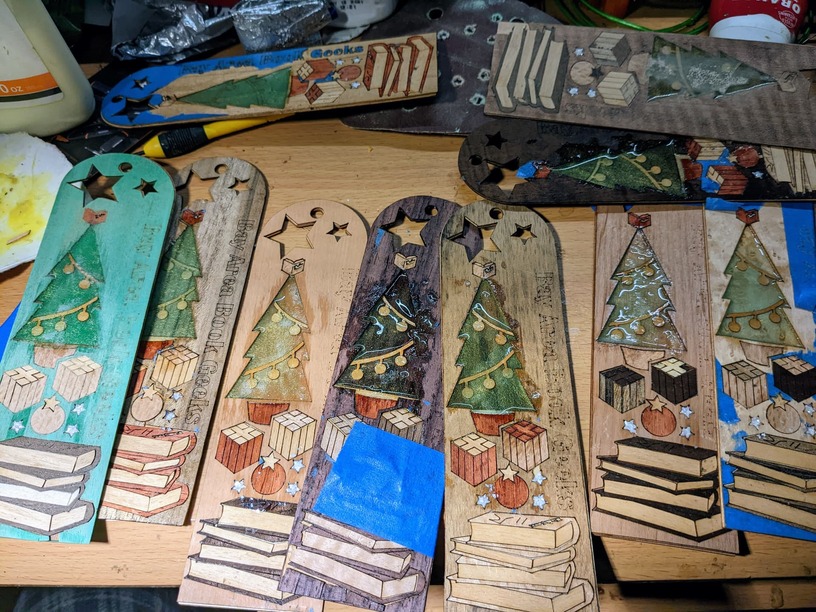
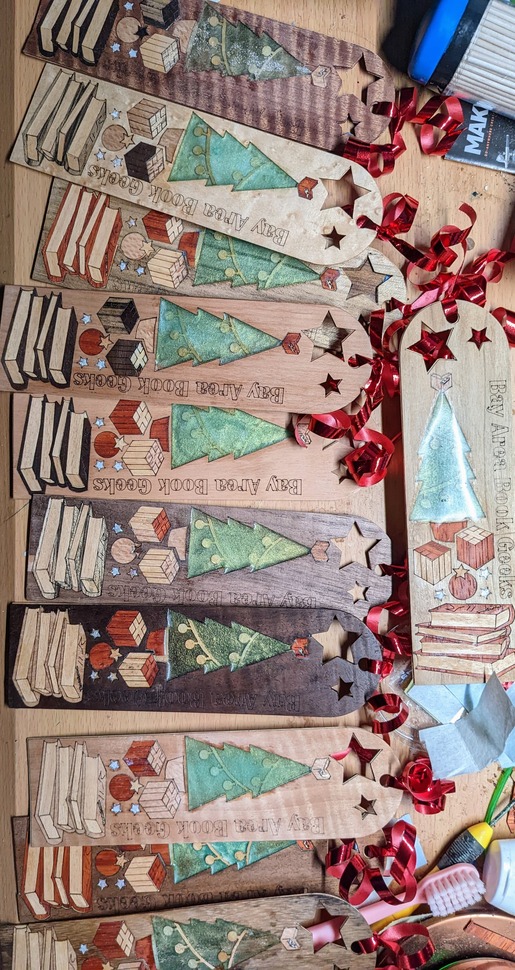
Eventually I had all the wooden pieces inserted and glued on my bookmarks
Next I added the inlay powder
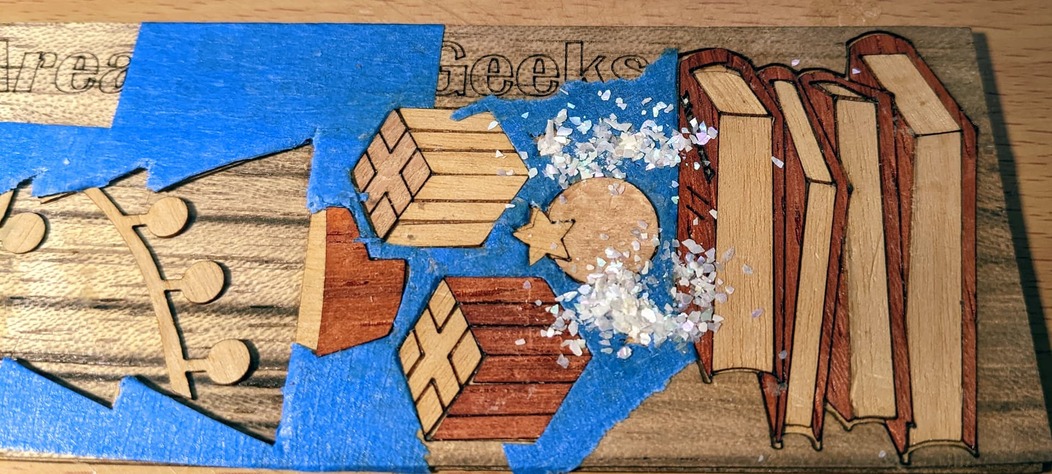
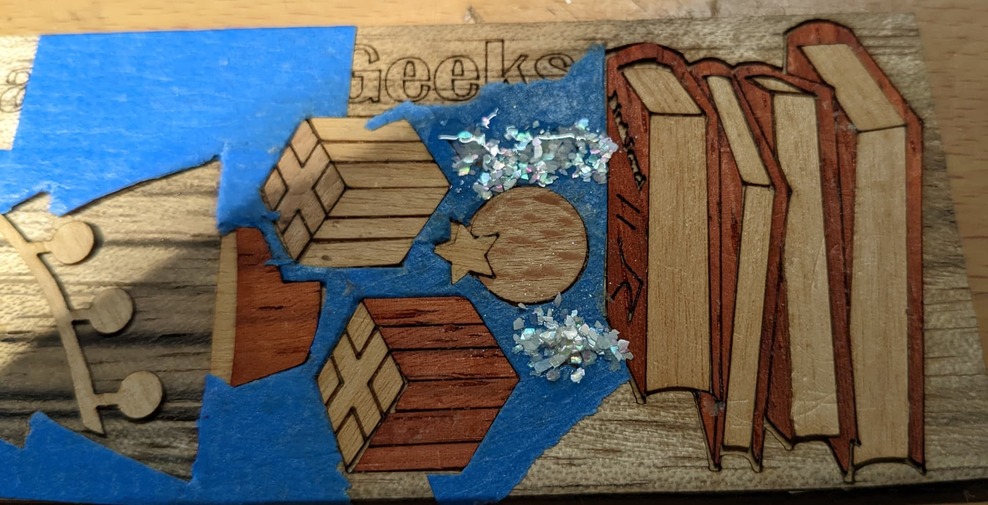

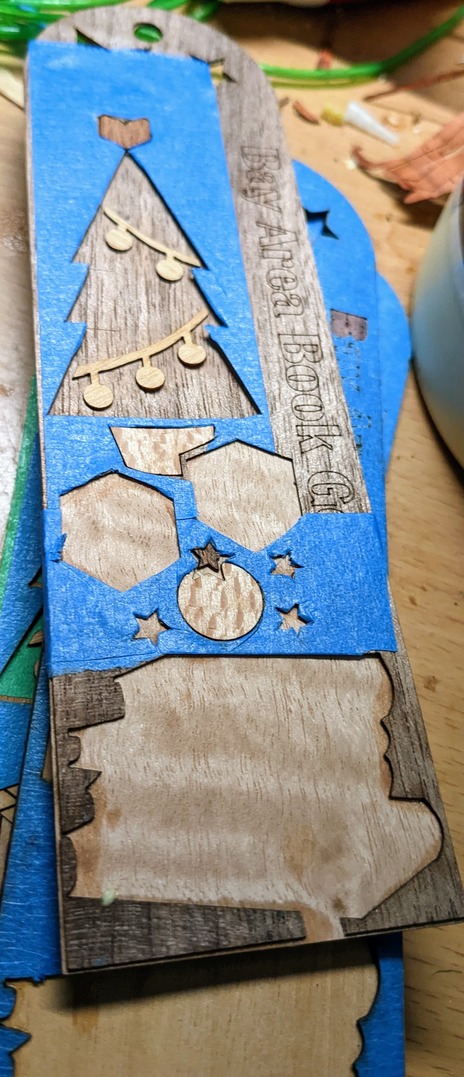
For the mother of pearl inlay powder I used some painters tape as a mask peeling it off once I’d added the glue in.
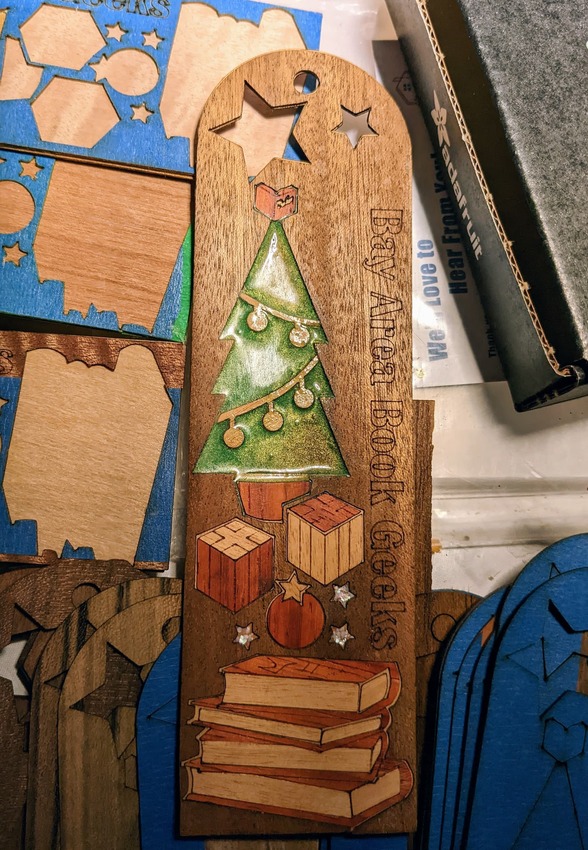
I mixed up some epoxy resin added a little green/gold mica powder and carefully poured it in then peeled off the blue tape to hopefully remove any spills or overflows. I got mixed results ![]()
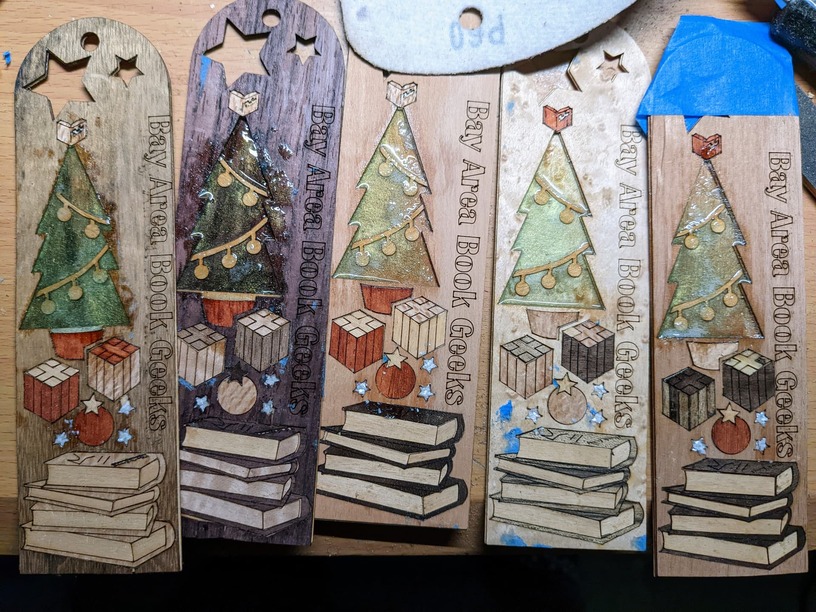
Once the resin was fully dry I began sanding and cleaning to get the wood nice and smooth and remove any resin spills. A lot of sanding and polishing later I applied a little finish just some wipe on polly satin finish it gives a nice result without too much effort.
I added a ribbon and gave them a final cleanup and the finished bookmarks were ready to go
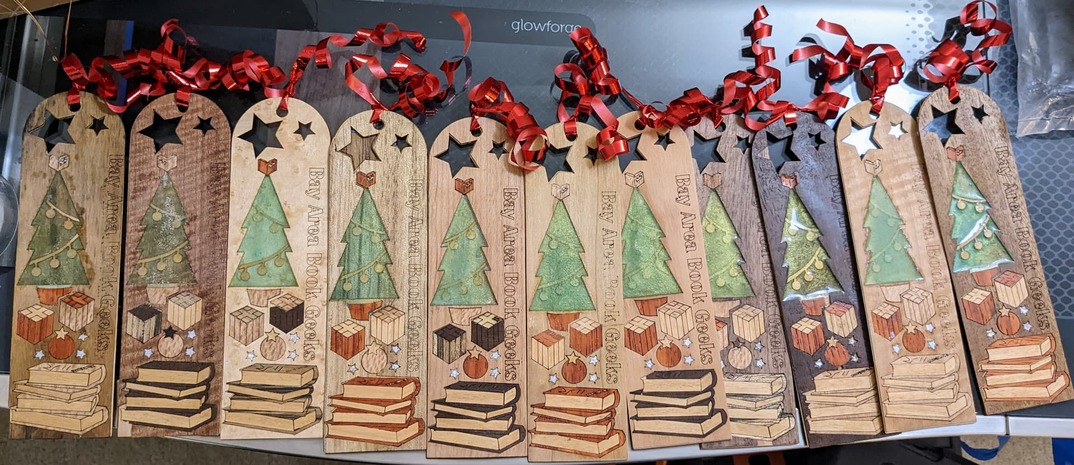
All in all I’m pretty happy with the results and they went down well when I handed them out at the bookclub event earlier today.
I think if I were going to do it again I’d probably make the body of the bookmark out of a solid piece of wood much thicker than the veneer then insert the pieces into it. Or at least alternated the grain direction on the laminated pieces for more strength. I’d also avoid the spindly shapes used for the covers in the stack of books it was always breaking. Also testing the settings on the wood as I wanted to use it rather than ending up with a few that didn’t cut or score right and then needed redoing was a bit of a mistake.