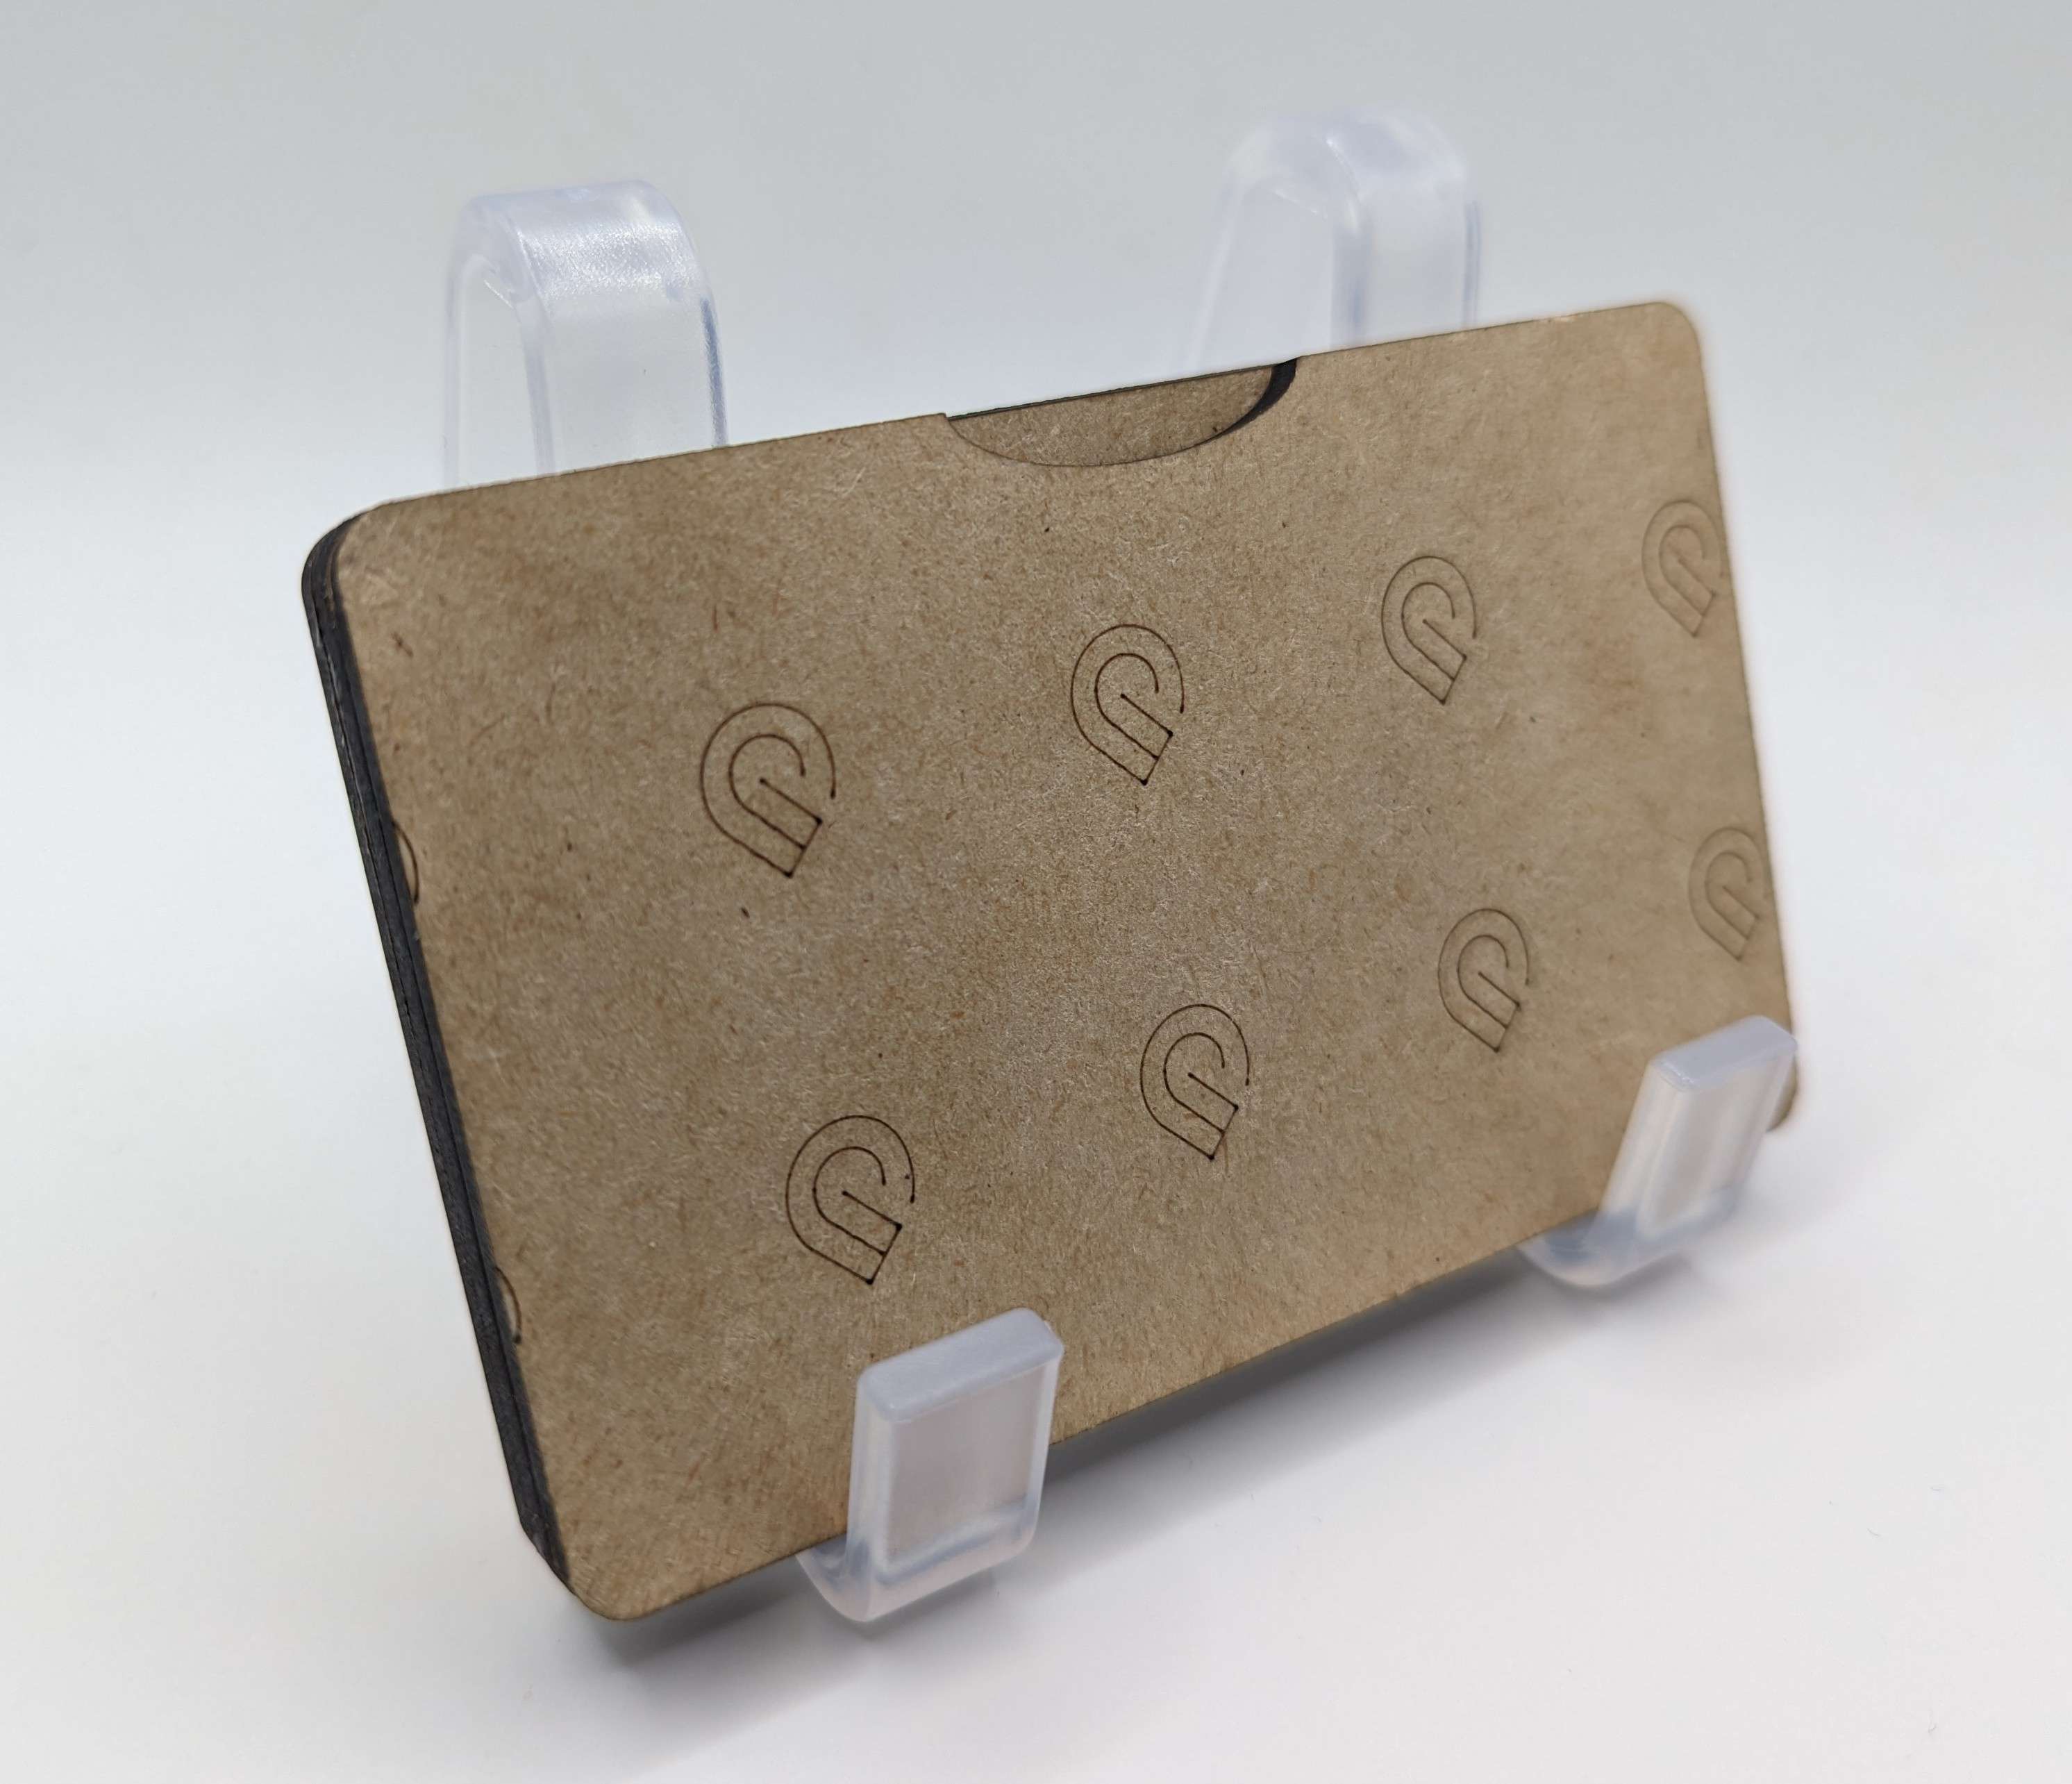
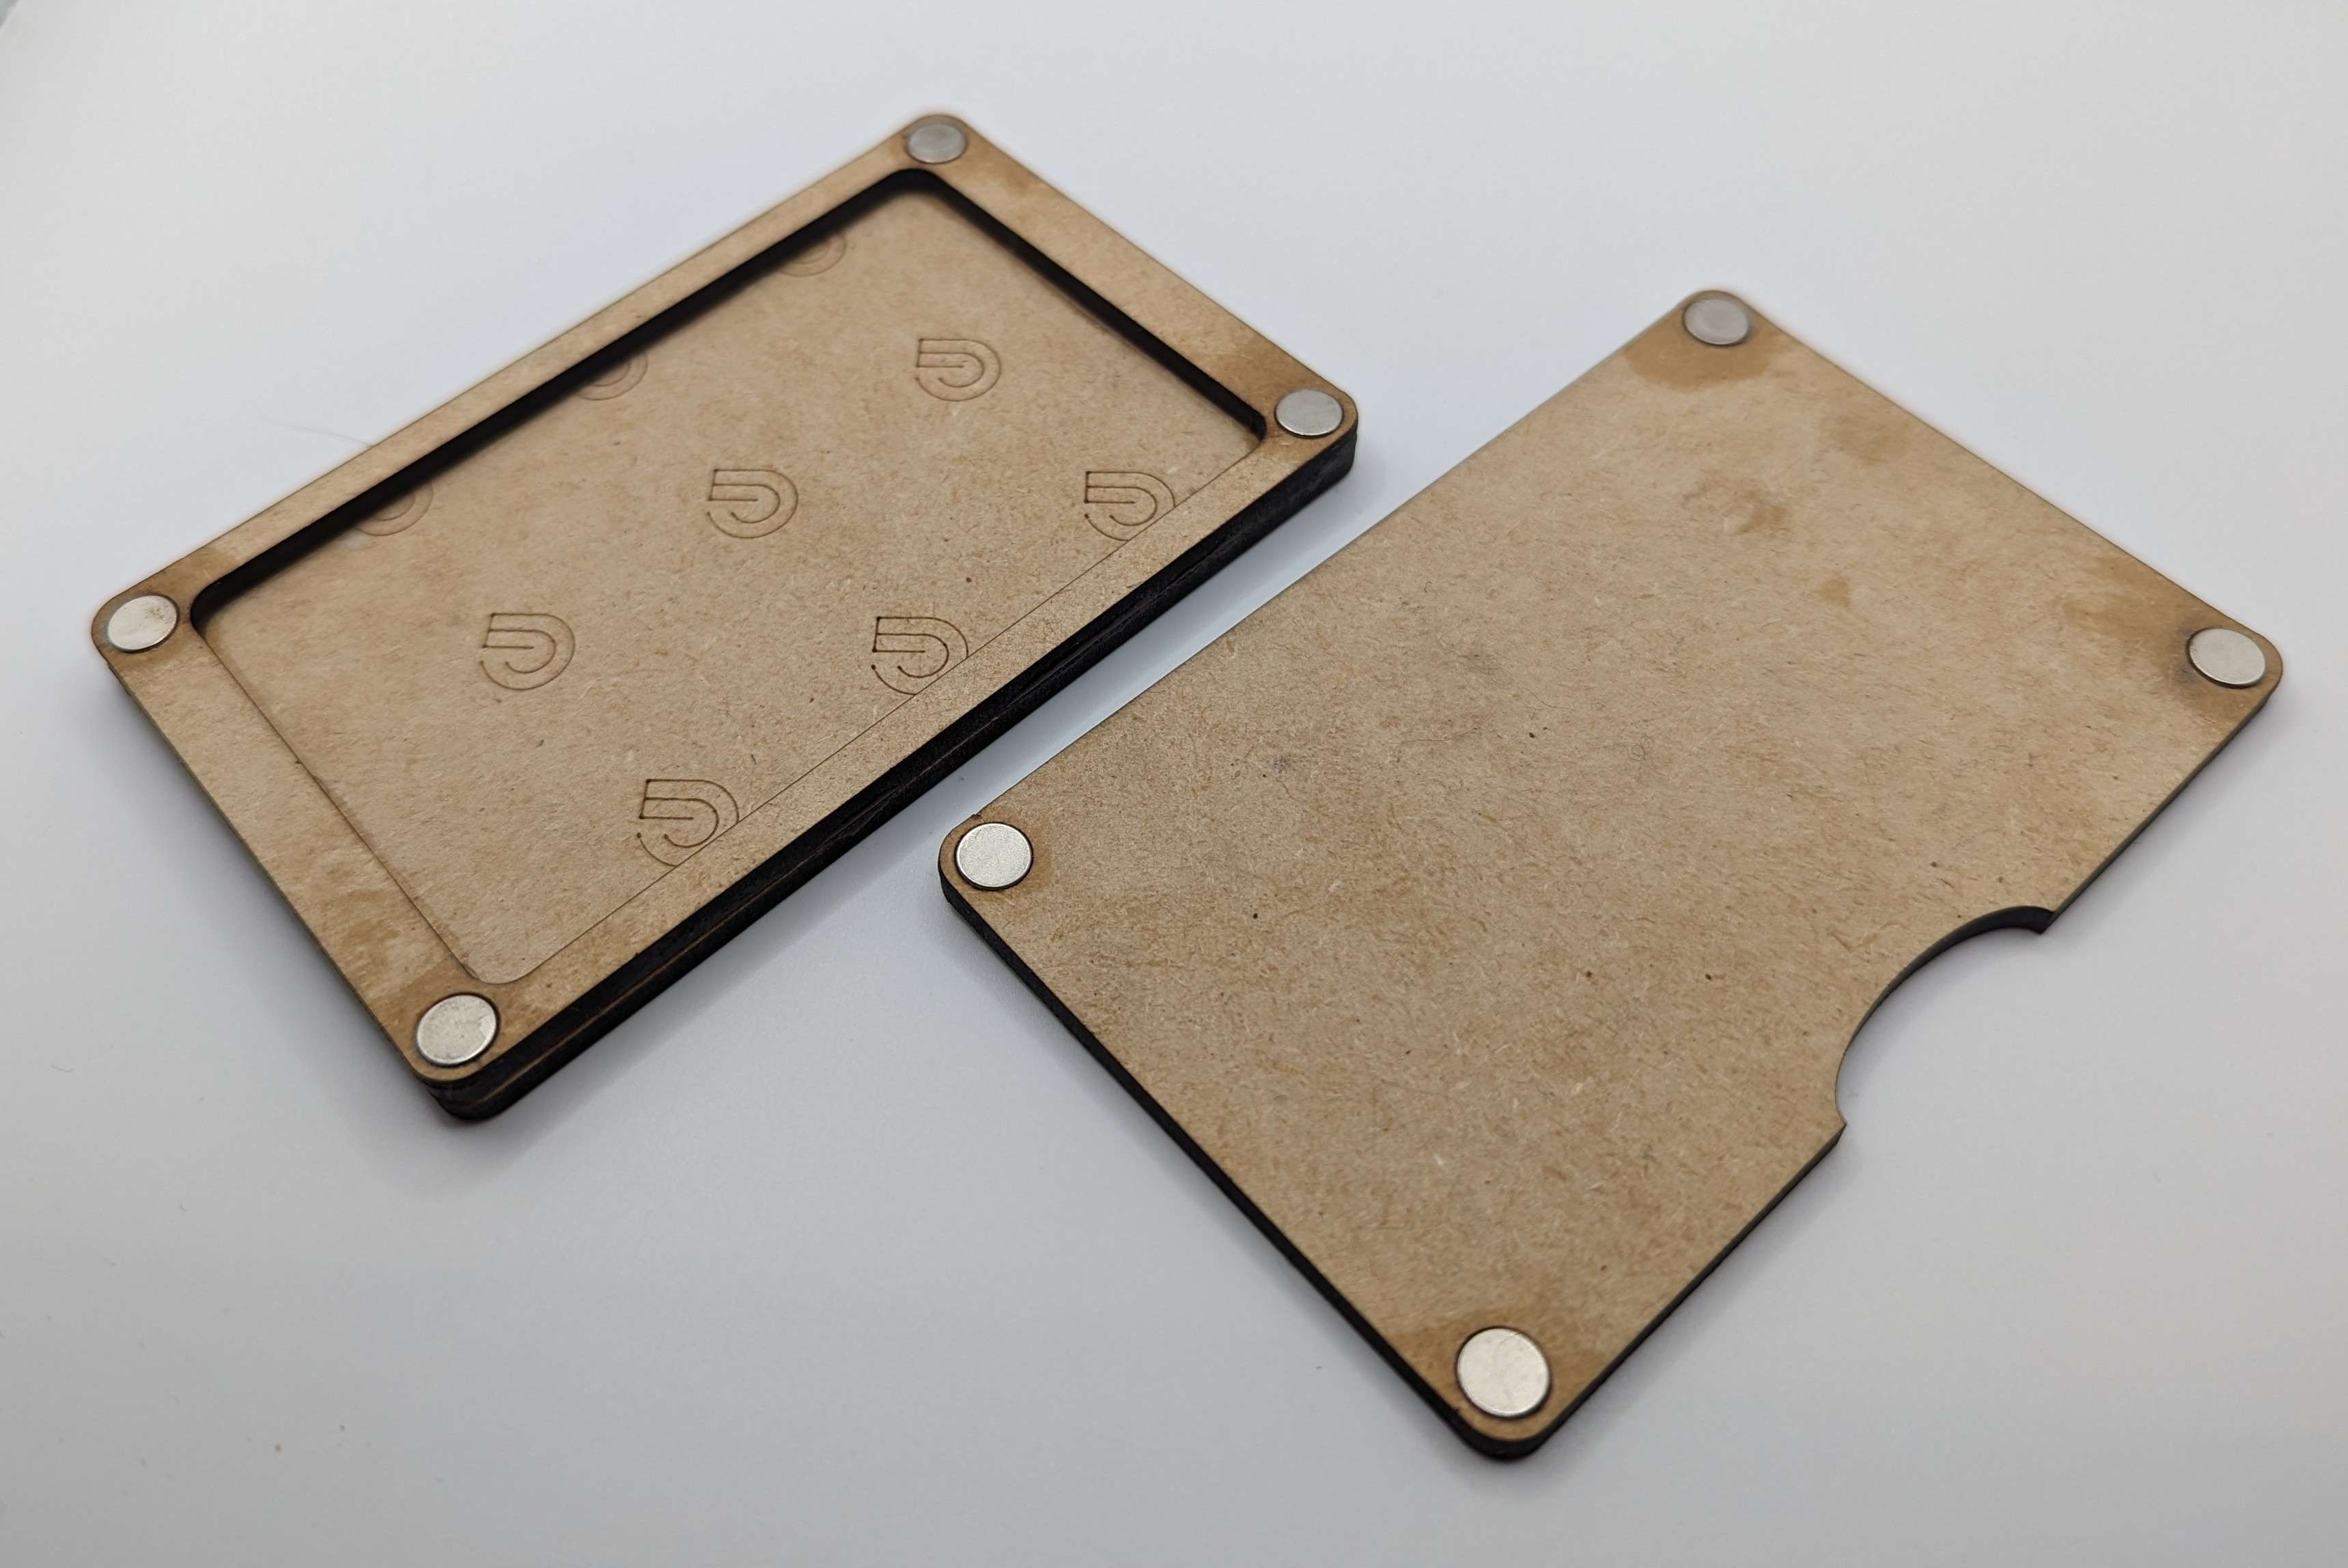
Laser cutting file for those coated metal business cards as can be found on Amazon or Aliexpress. Using 1/8" thickness plywood or Draftboard it should fit 12+ of the 0.21mm thickness cards, or 8+ of the 0.45 thickness cards. Uses 1/4"x1/16" / 6.35x1.6mm magnets to hold the case together. Engrave green and orange circles to get a proper depth for the magnets, I used 80% engrave power at 200 speed with 2 passes to get the proper depth, adjust to your taste as necessary. I found doing a couple holes in a spare spot on your draftboard until you have the depth to your liking worked well. Secure magnets in place with Gorilla Glue or 2-part epoxy. Definitely let the glue/epoxy cure for 4+ hours before attempting to stick the body and lid together. Glue red and blue layers together, and use pink layer as case lid.
OH, MAKE SURE YOUR MAGNETS’ POLARITY MATCH BEFORE YOU EPOXY! Otherwise you’ll have a case and lid that want to reject each other rather than snap together
I found a good trick for that. Even bein g careful it is easy to get wrong. I put the small magnets to a larger one and used a marker to identify the side but still it flipped as I was installing it. Finally , I glued up one side and used nonstick bakers parchment that was held in place by the magnets to glue the other side without fear of permanently gluing the magnets together.