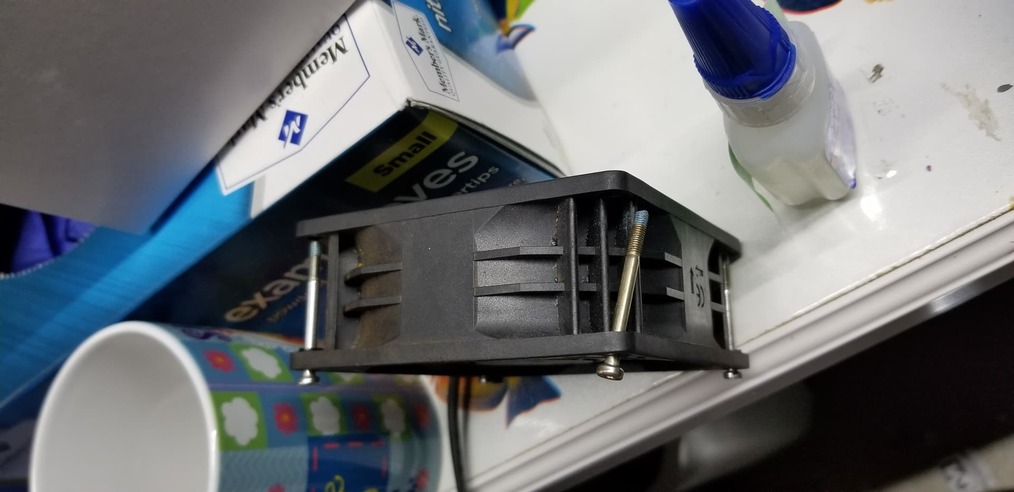
My main airflow fan starting to make some noises indicating material had outgrown or was stuck around the blade area. Cleaning the fan can be a pain if not removed from the housing of the GF machine. Last time I cleaned from the back and peaked at the inner side and quickly noticed that the main airflow fan has 4 hex screws and the two at the bottom are blocked by what appears to be a molding or screw slot that raises higher and cannot fit a tool to remove it. What I thought to use were the rounded head allen wrenches since they can still work at an angle and they worked great to remove them. The one that is on the bottom right, you have no visibility so you can use your phone to guide yourself with the flash light on.
Also note that these screws have thread locker so they are a bit hard to loosen it but it does come off. I’m a mechanic so, heat would usually be used if too tight but it wasn’t necessary for me, you can use a hair dryer or heating gun and point it around those screws if necessary.
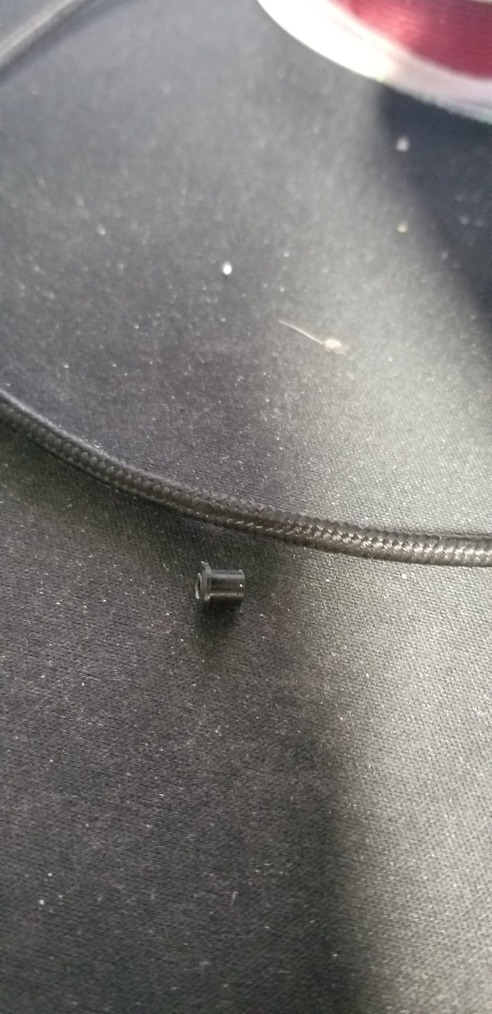
The trickly part is not the cleaning process, it is the two bottom screws that you cannot see if they are aligned no matter how you position your phone because they are berried behind the fan. My solution: Design and 3D print a screw guide at the first slot since the wholes are too big to keep the screws as straight
as possible. I have pictures where it shows the screws being straight. By design, GF did not account for removing these fans to clean it or even replace it, I believe the right way would be to disassemble a big part of the machine to get that housing with enough clearance to allow for it to be aligned properly and tighten it.
Here is the STL File that I used but this will give you an idea of what you need to keep those screws as straight as possible during installation. Also note that it is a bit hard to start position the fan housing on the guides shown in the pictures, they are great for holding the fan in place but the floor cones get in the way during installation, I noticed that it helps to first insert the bottom left corner at an angle and then reposition it in a clockwise manner and it will somehow fall into place and then just push back. Also, with the screws installed, push them all flush since they will be pushed back by the guides on the body once they are inserted into place, I hope I make sense but it is just a bad design they way it is setup. To keep the guides in place so they don’t move from the fan housing, just add a bit of loctite on the neck of the 3D printed guide and install it on the fan housing so it won’t move, mine was a bit loose but was good enough to have no movement once placed in the housing. Main Fan Screw Guide v1.stl (55.8 KB)
I use a drop of black plastic liquid’ tape’ to hold the screw straight - it then dries and makes a great seal to keep screw tight, but easily broken to unscrew it again
Didn’t think to glue the screws to the fan housing as I thought I needed to be able to slide it back and forth which I did after I saw that it was slotted. Though, I’m impressed that you managed to install those screws without too much struggle. I had to quickly think about what I had on hand, I have the GF Pro but I don’t know if any other design makes a difference.
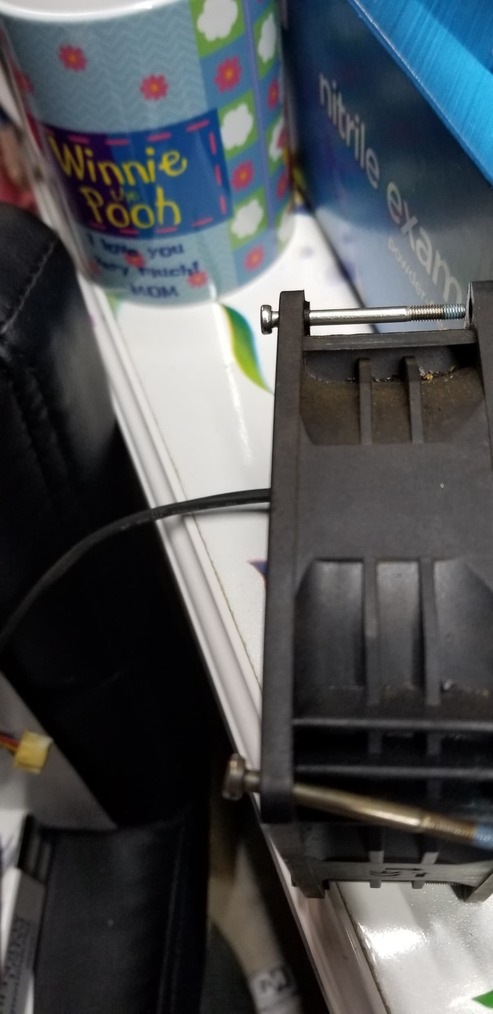
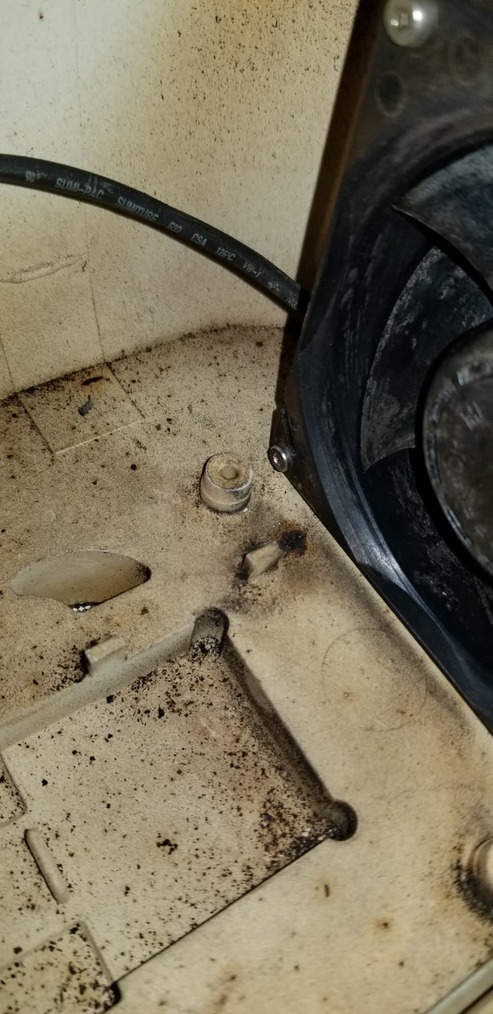
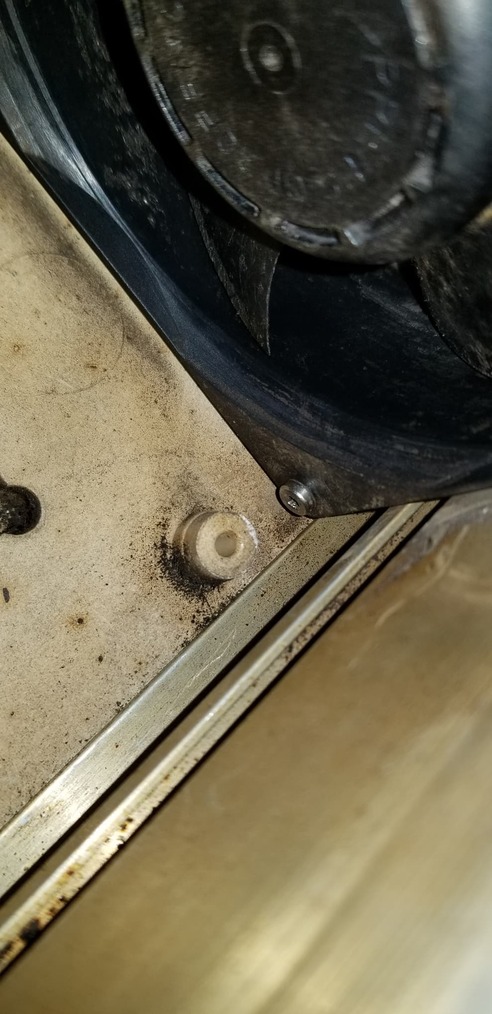
Yes, I believe not all designs are the same but from I can see, this is an impossible task because those screws move so much and having that wall there you just can’t see or even grab it to install it. Even the one on the bottom left is hard because there are those cylinder moldings coming from the bottom that does not allow for the screws to be positioned properly. This could have been easily fixed if the outer ear of the fan housing had guides already but this is a chinese fan assembly so they just included those holes for universal use. This picture shows how the screws normally sag and the one on the left shows with the adapter installed, perfect.
yea, I put the liquid right where the screw goes into the fan (remember there is a ‘cup’ that the hole fits over),then push the screw into place (remember you need to use a rounded hex key) and screw the fan in place, your idea is much more elegant, and a better idea for someone who takes their time and does it ‘right’ (cough, not me)
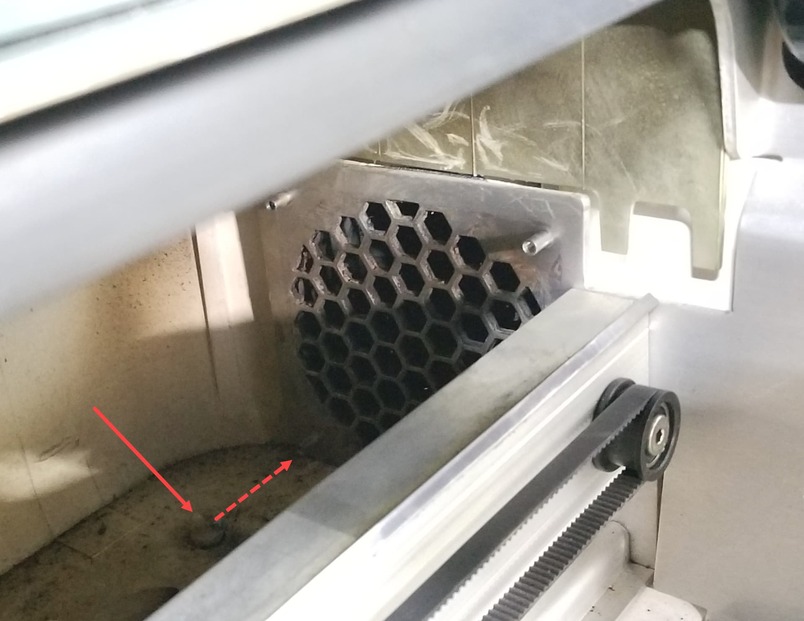
A straw would need to be a tight fit but possible if you find the right straw. The problem is that there is no room for error and that guide that you mention actually gets in the way since it is too long, would have been better if it was not too long so that the clearance of play is more and then the screw has a better chance of falling closer to where it should start the thread. I have highlighted the bottom cylinder from the bottom that is right where that screw sits, and it is on both sides lol, you can only touch the screw head with one finger (barely) for the bottom right side. which you can’t see in this pic, you have to use your phone as a mirror.
I took pictures with the fan installed, bottom screws look like they are not meant to come out lol, those cylinder posts are so annoying and so flush to the wall for the bottom right.
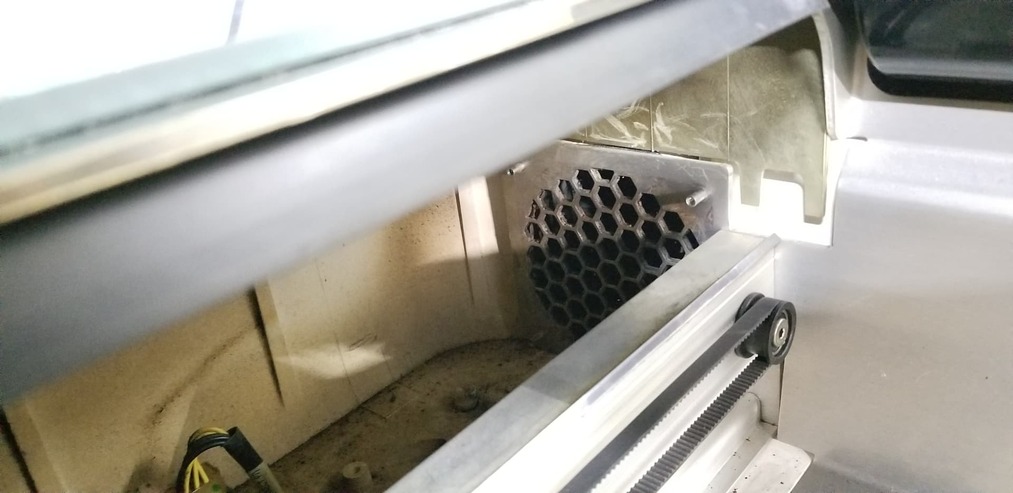
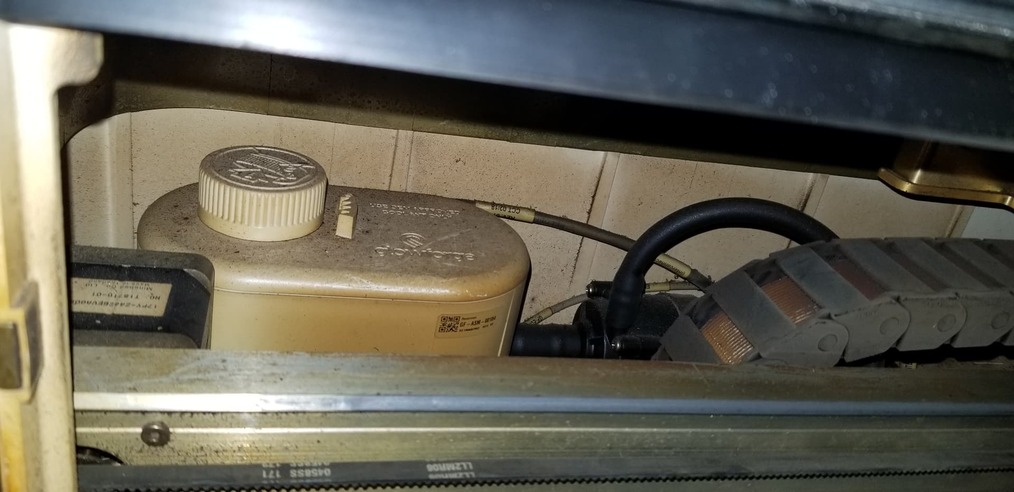
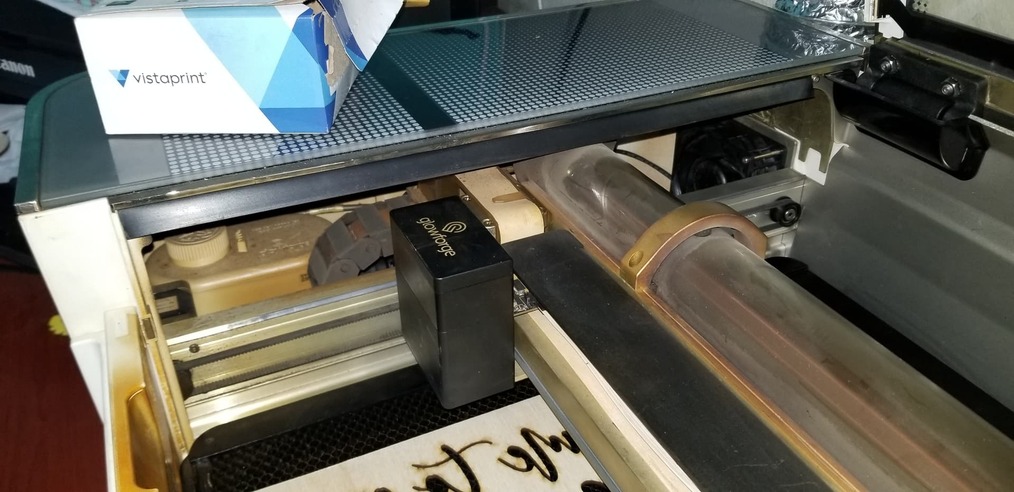
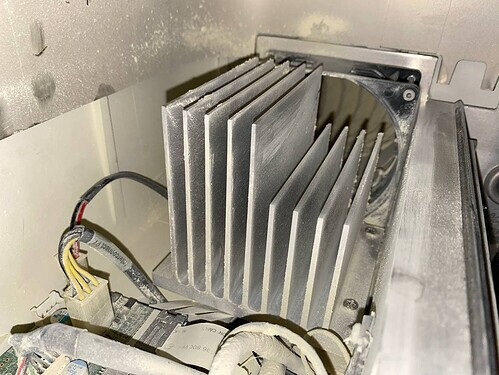
I can now see why those cylinder holes are there, it is for the heatsink upgraded version lol. Looks like you could remove that heatsink fairly easy x4 screws as well.
Only the Pro has that cooler/heatsink. It is not easy to reposition as it is plumbed into the cooling system. Removing it would require draining the entire system. Removing the fan was a royal PITA…