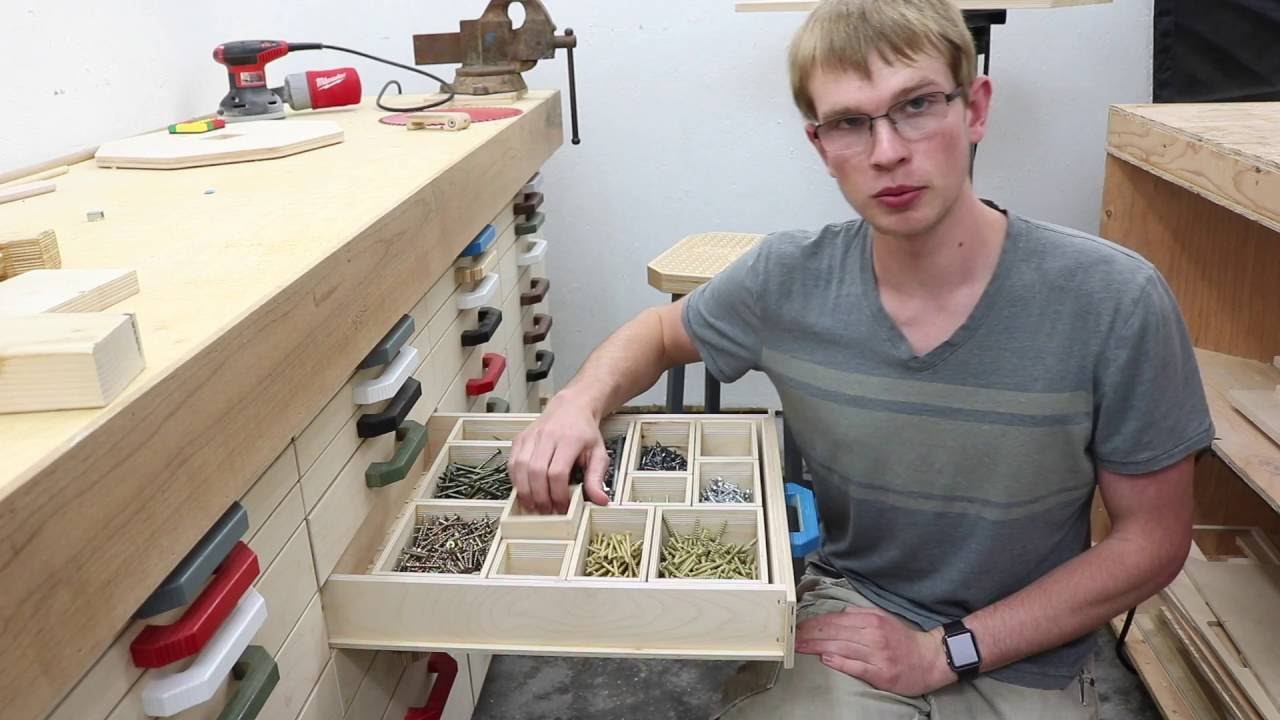
This kid (everyone younger than 40 is a kid to me these days) did it all with a table saw but this would translate SO well to the GF.
Wow that is super cool! I watch that and the whole time was like “but you had a laser cutter you could just do… Or that works with a table saw to…” haha but seriously impressed with his woodworking skills.
Right? I’m thinking all the little boxes could be designed once and made as needed. Easy peasy.
My wife has already requested a custom silverware box…thing. This ought to get me there.
Excellent find. Bookmarked.
Yeah, that’s awesome… An awful lot of little finicky groove cuts though. Also, it really helps when you have each and every tool that you will ever need to do the job right, when most of the time I’m using tools for things that they just weren’t meant for as opposed to going out and buying “the right tool”. For example, the firewood we bought last year was all too big for our wood burning stove. I was out there chopping it all with a hatchet! Today I went and bought a real axe, and it was so much easier!
Also, that home-made wood band saw was just awesome!
I doubt I ever get there but it would be awesome to have every pullout drawer in the house treated this way. Then you could make custom inserts for some of the boxes. I’d love to do the knife drawer so that they don’t bump and dull each other.
@nick07lee @markevans36301
My summary after watching that whole video…
That kid really likes cutting wood. And gluing. Like – A LOT.
And he is good at it. Well, that goes with really likes.
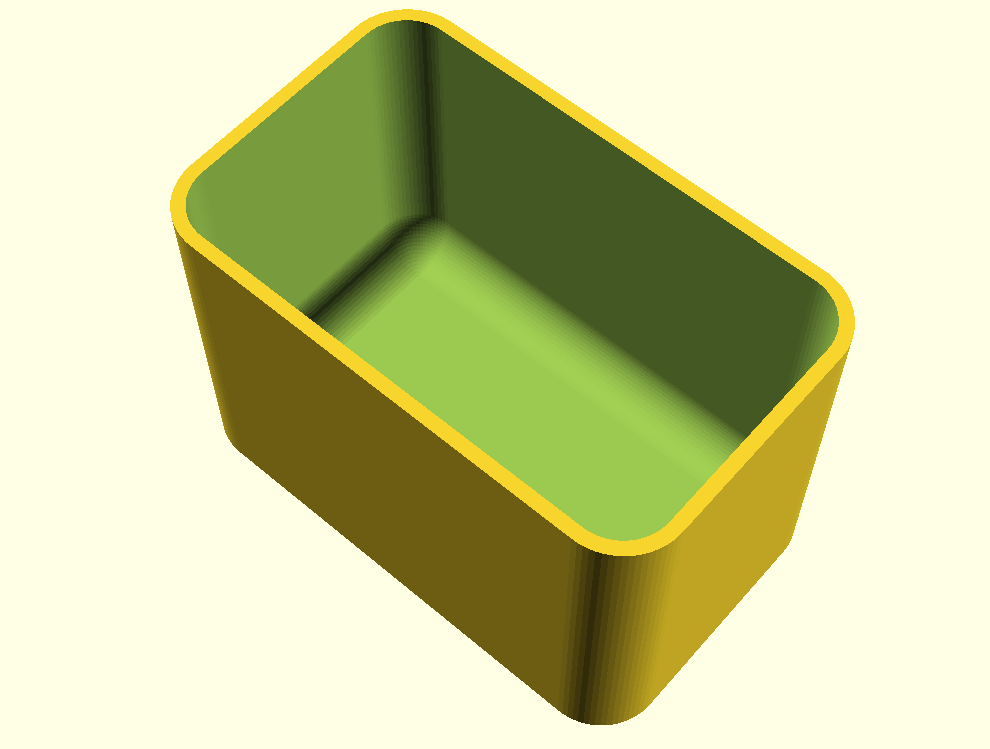
I 3D print boxes for screws although I never found the need to stop them sliding around in the drawer. One advantages of 3D printed ones are the bottom can have rounded corners inside which makes it much easier to get the last few small fasteners out. It probably takes quite a lot longer to print them than it takes him to make them but the machine does all the work.
Nice, but I think he over thought it and made more work for himself than needed. Rather than cutting grooves and then gluing strips on the bottom panel, why not just cut the grooves and modify your boxes. Simply allowing the sides of the boxes to extend below the base will allow them to lock in.
He’s pretty good with welding too.
That will be the beauty of being able to do both. Print where it is best, laser the rest.
I was most impressed with how he had standardized the sizes so that even if you made Tetris shaped boxes they would fit and lock in.
Yes I currently combine milling and 3D printing to make boxes. Here is a mini ITX PC that I am typing this post on:
The panels are milled aluminium composite. I hope to be able to etch text onto ACP with Glowforge. It has a thin painted surface over the aluminium. Removing it should reveal silver.
This could actually be simplified quite a bit as the issue is the boxes shifting forwards/backwards, not side to side. Just cut matching horizontal stripes across the bottom of the drawer, then cut the same across the bottom of the boxes.
If you want to be able to rotate the box to sit 90 deg to its original position, just rotate it 90 deg and cut the same grooves in the bottom of the box.
It will save you the trouble of cutting and glueing all those strips in to hold them in place.
Kudos for his woodworking skills and his clear need to have a pristine and perfect workshop. I can’t see my workspace ever looking like that!
It seems like a much more complicated process than it needs to be.
If the base of the box wasn’t flush to the sides, then (a) the boxes would be automatically square and (b) they could just sit in grooves on the base.
Also, I think he’s cut the grid pattern with twice as many cuts as he needs, because they cuts could be spaced to the width of the smallest box. You can’t use a 1 inch box because you would never get your fingers in.
But it was the CNC sheet of holes that really made me get the way to glowforge this.
-
Make boxes as per the video (albeit lasered of course!)
-
Take one base, cut to the size of the draw. laser cut square holes in a grid (like his sheet with all the circles cut out)
-
Put the base in the draw as one sheet (with the cutouts still in place)
-
Put glue on each of the squares, load in your boxes, weight them down and wait for glue to set.
Done. Life out the box and you will have the squares glued to the bottom of the box ready to go 
No messing around having to cut all of those individual strips and gluing them in.
AND, the squares that stick out of the bottom would slot into the top of other boxes, so you can create a vertical stack and they won’t slip around either!!
That Kid is awesome! Great Idea, Thanks for sharing!
Definitely an easy way to accomplish something similar. I have a few minor remarks on it however.
-
I want to say the reason he used 2x2 squares even on the smallest boxes is to prevent tipping. The middle ridge gives a bit of extra hold should the piece behind it be missing. Highly loaded single boxes would easily topple otherwise (unless the fit was exactingly tight) which brings me to the second point
-
The kerf would take away a bit of the snugness you would want in a system like this if you used the cut out squares as the guides. There would be a noticeable amount of movement which he definitely didn’t have in his.
To prevent both of these issues you would have to cut the squares out separately in order to fit snugly.
I think the 1" (or so) squares were not for useless 1" boxes but for 3" (5", 7", etc.) boxes. If he had used 2" squares all the boxes would have to have sides in multiples of 2". Also, maybe his drawer was an odd number of inches wide/deep.[quote=“tbelhumer, post:11, topic:2965, full:true”]
Nice, but I think he over thought it and made more work for himself than needed. Rather than cutting grooves and then gluing strips on the bottom panel, why not just cut the grooves and modify your boxes. Simply allowing the sides of the boxes to extend below the base will allow them to lock in.
[/quote]
That’s a great idea! Much less work that way. Maybe “underthought” would be a more apt description.
Good points both of you.
About kerf…
I understand the tolerance issues on push fit objects. But I can’t really get my head around everyday stuff, whether the very tiny kerf is really an issue or just perfectionism?
In this example I’m not even sure that the tiny kerf width would actually allow you to push in the boxes into the base. Similarly, when stacked (or even in the drawer) whether there would be any noticeable movement.
Kerf ranges from 0.008” - 0.025”. so max kerf is less than 3/100ths of an inch, that sounds really small to me… Isn’t that like the thickness of a 5 sheets of laser paper?
So, existing laser users out there - does kerf really matter apart from non-glue joints?

