My favorite airplane of all time! That is now on my “must make” list.
Beautiful work.
My favorite airplane of all time! That is now on my “must make” list.
Beautiful work.
You’re allowed to print up to 50 copies. After that they ask you to repurchase the pattern for every 50 copies you make.
You beat me to the post for almost exactly my response!
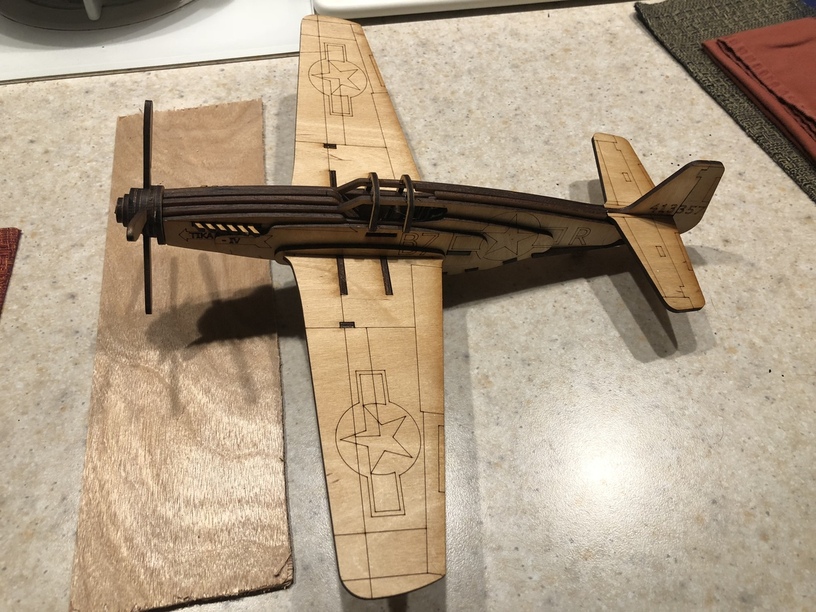
Very good. I love how the strips shape the lifting surface of the wings. Now my gears are turning.
It weighs a pretty good amount. I haven’t put it on the scale, but it’s quite sturdy feeling. I’d say its probably about the weight of 1.5 sheets of walnut plywood.
One of those moments when you look at a build and just go… WOW!
Inspired!
This is really awesome and thanks for the site!
I’m trying to make a list of material suppliers and files while I await my GF. Soon…
I’d buy that for a dollar… in the GF design catalogue.
That is awesome
Sweet! 
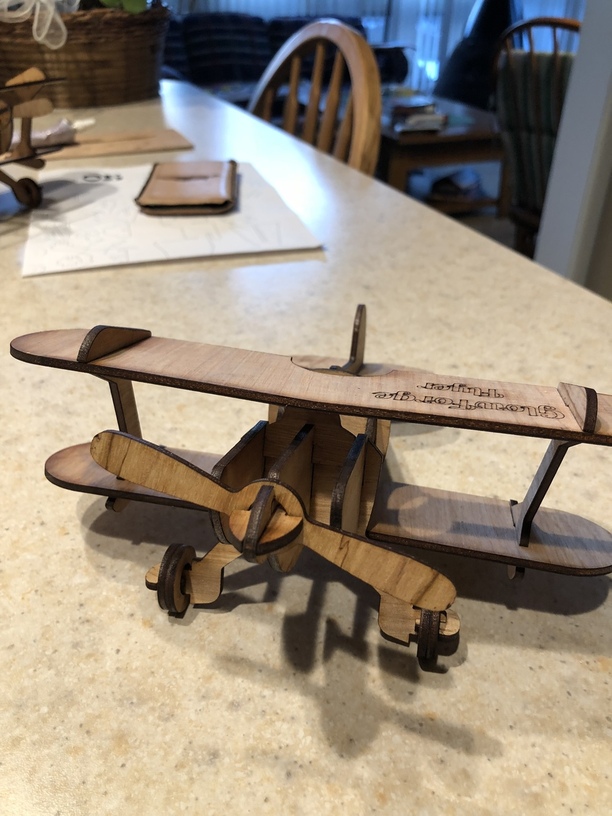
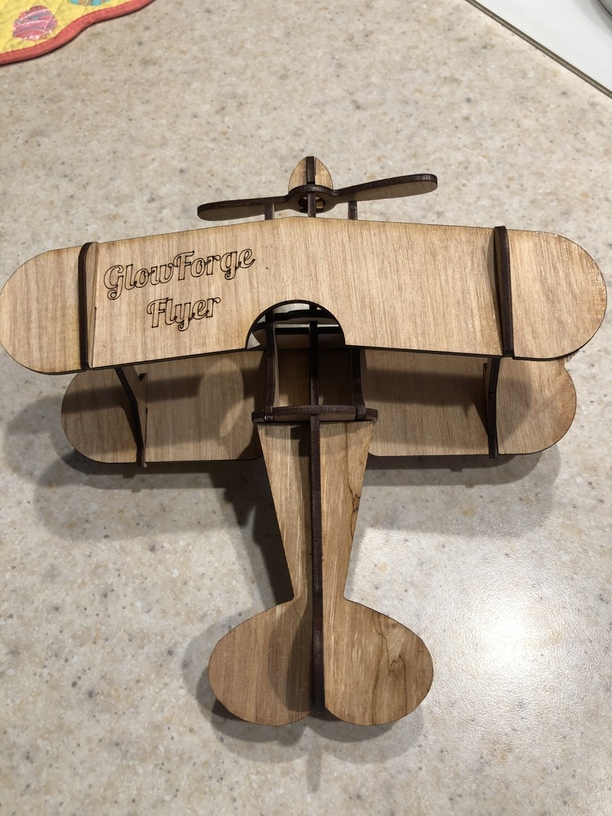
Just made one! Took about 45 minutes to cut and all evening to assemble. Will post a pic tomorrow. Thanks again for the inspiration and a reminder about MakeCNC!
For anyone who didn’t catch jj’s post or for the convenience of those who find this post later, here is a link to his build of this plane:
Wow … gorgeous!
Nice! What material did you use?
This thread is so nostalgic for me. I had a model Corsair and Mustang hanging in my bedroom as a kid. Add an F-15 and an SR-71, and the collection is complete.
(Mine were not this cool, though…)
Just some inexpensive 1/8” plywood from Home Depot ($9/sheet). No tape. No fuss. No muss. .107” / cut 220/full and score 350/35. A loose fit but easy for trial assembly and then just a little glue.
Oh, that’s cute!