so trying to make a box 11.75 by 15.5 so the sides cut great with the joints but when i go to do the top and bottom say doesnt fit the glowforge. any way to have work all the way to edge??? I trying to make a board game box to replace old cardboard box, the game board is 11.5 so cant make it any smaller
I’m assuming you have a Basic model.
Your best bet is to split the design with an artistic join. Like a finger-joint box edge, but flat rather than a joined corner. With kerf adjustment you can get a nice tight fit, and with some decorative engraving you can hide it nicely.
There are more arcane arts for this type of thing, but I highly recommend sticking to the straight and narrow while you’re getting started.
7 Likes
What Tim said. If you want to get creative, you could cut the lid so that you have a large disc in the center, and engrave the game name and some design elements onto it, like a medallion. Or, just cut and engrave a large square of veneer and apply that over the lid once the halves are joined.

4 Likes
I have a Basic and made a couple boxes that were bigger than the bed of the  . I used the box extension in Inkscape and did a lot of adjusting. Once printed, i added supports for where the joins on the bottom and lid.
1 Like
Hey, I thought about this and actually you CAN do this on a single sheet in a basic.
What you need to do is split the cut in half, but make sure it is EXACTLY in half, so the first cut is the perfect mirror of the second.
Place your material about 1" away from the front edge, and firmly up against the lip on a side edge of the crumb tray, and secure it with magnets or hold-down pins.
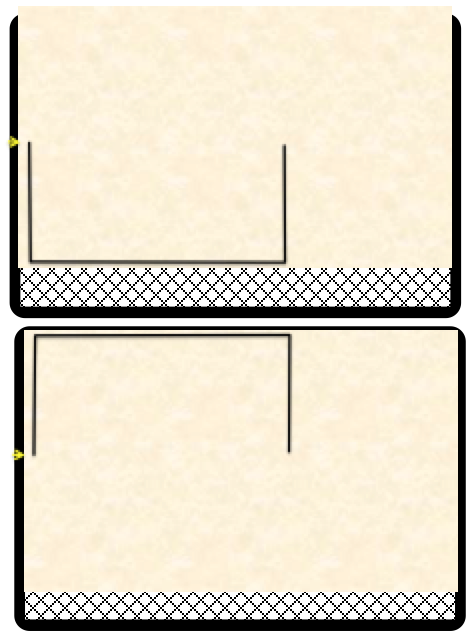
Make the first cut, open the lid, and being VERY careful to not move the material, use a ruler to carefully line up the “top” edge of this first cut, mark the side of the crumb tray with a sharp pencil or a small piece of tape.
Flip the material over, front to back - this is so you have the same reference edge as previously.
Using the ruler again, line up the cut with the mark you made.
Print the 2nd half of the cut (which really should be the first half, printed again…)
There is a very small rise at the back of the crumb tray but that is not enough to prevent a clean, functional machine from cutting thru cleanly. You can always bump the cut speed down a little to make sure, however. Also, careful placement of hold-down pins can pull the material tight against the bed if needed.
2 Likes
In case you need a visual - first pic, after first cut, mark the “top edge”. Second pic, material flipped, and lined up with mark, ready for second cut - which should be the repeat of the first cut if you had it perfectly cut in half.
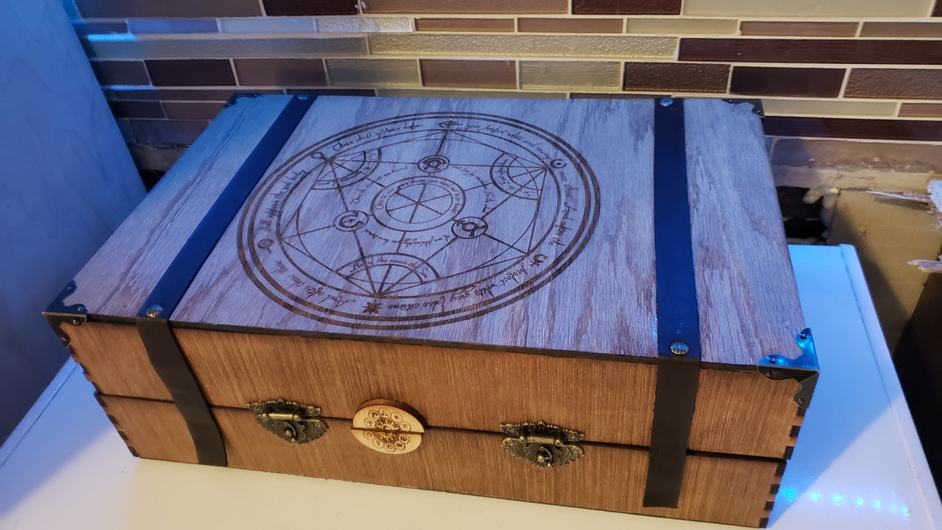
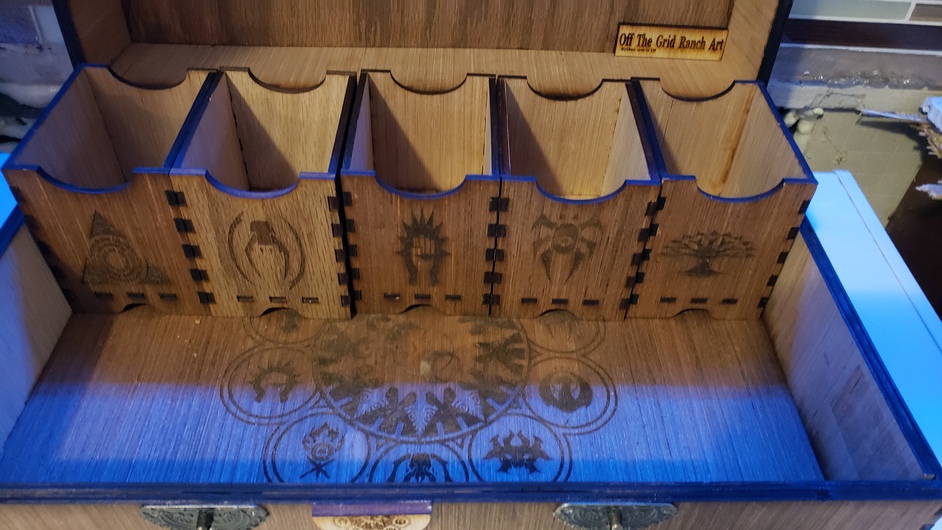
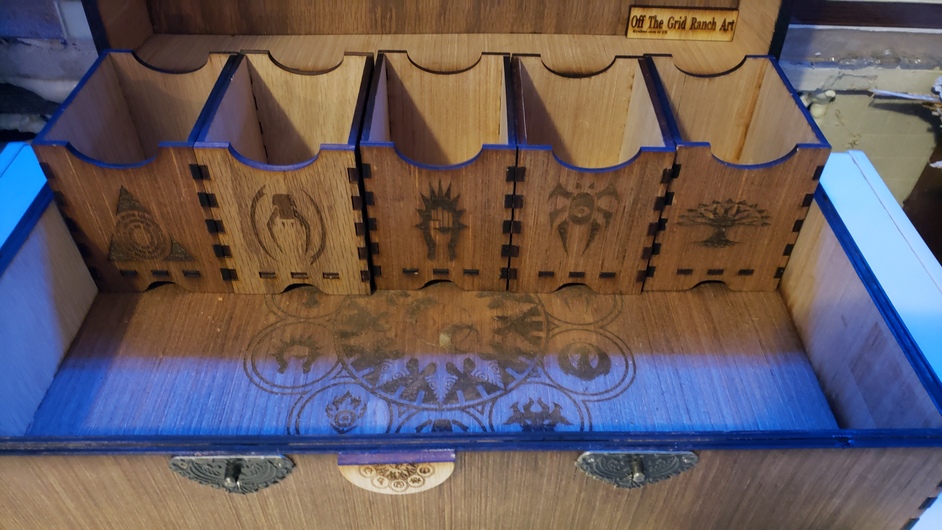
Thanks everyone for ideas I am going to try it tonight in 2 cut and add joint board on the bottom. I ll post pic later to see how this come out.
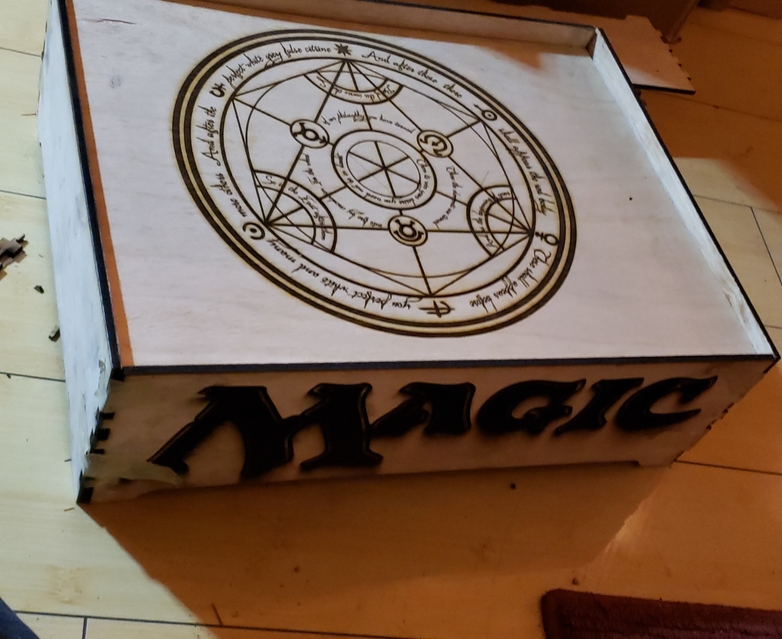
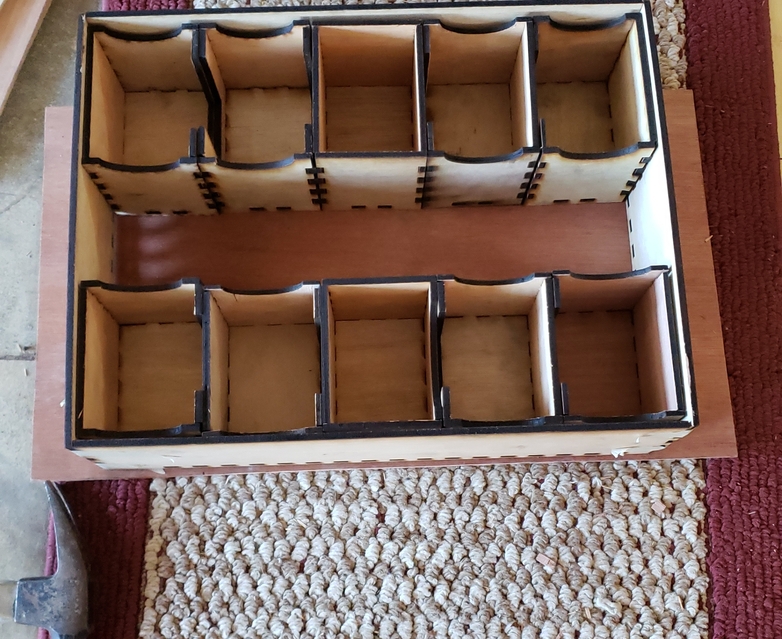
It looks like you nailed it!
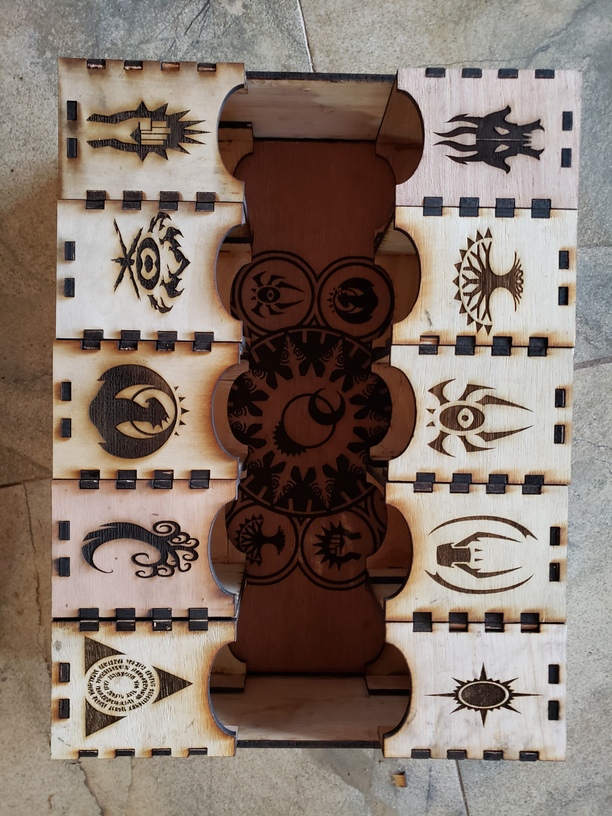
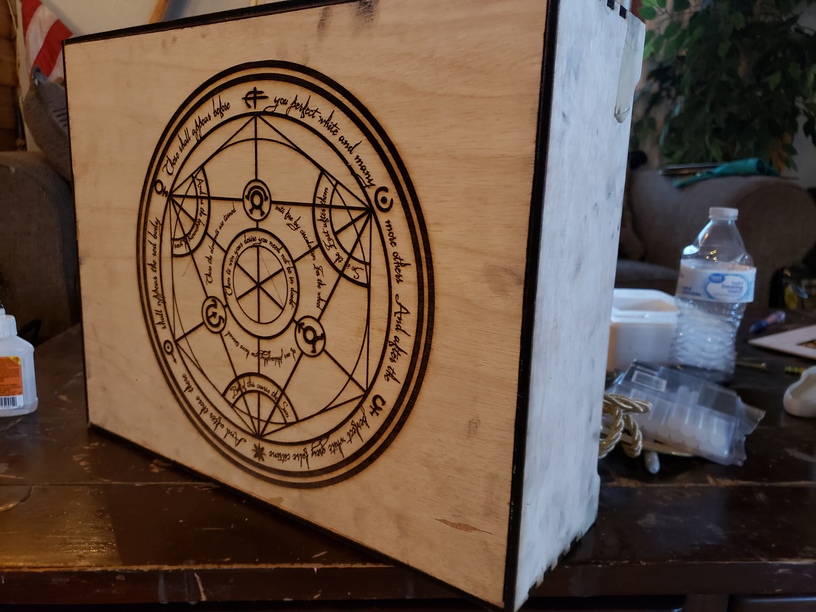
thank you have about 24 hr of labor, but learning,
Looks great!

Very nice!
Love that!