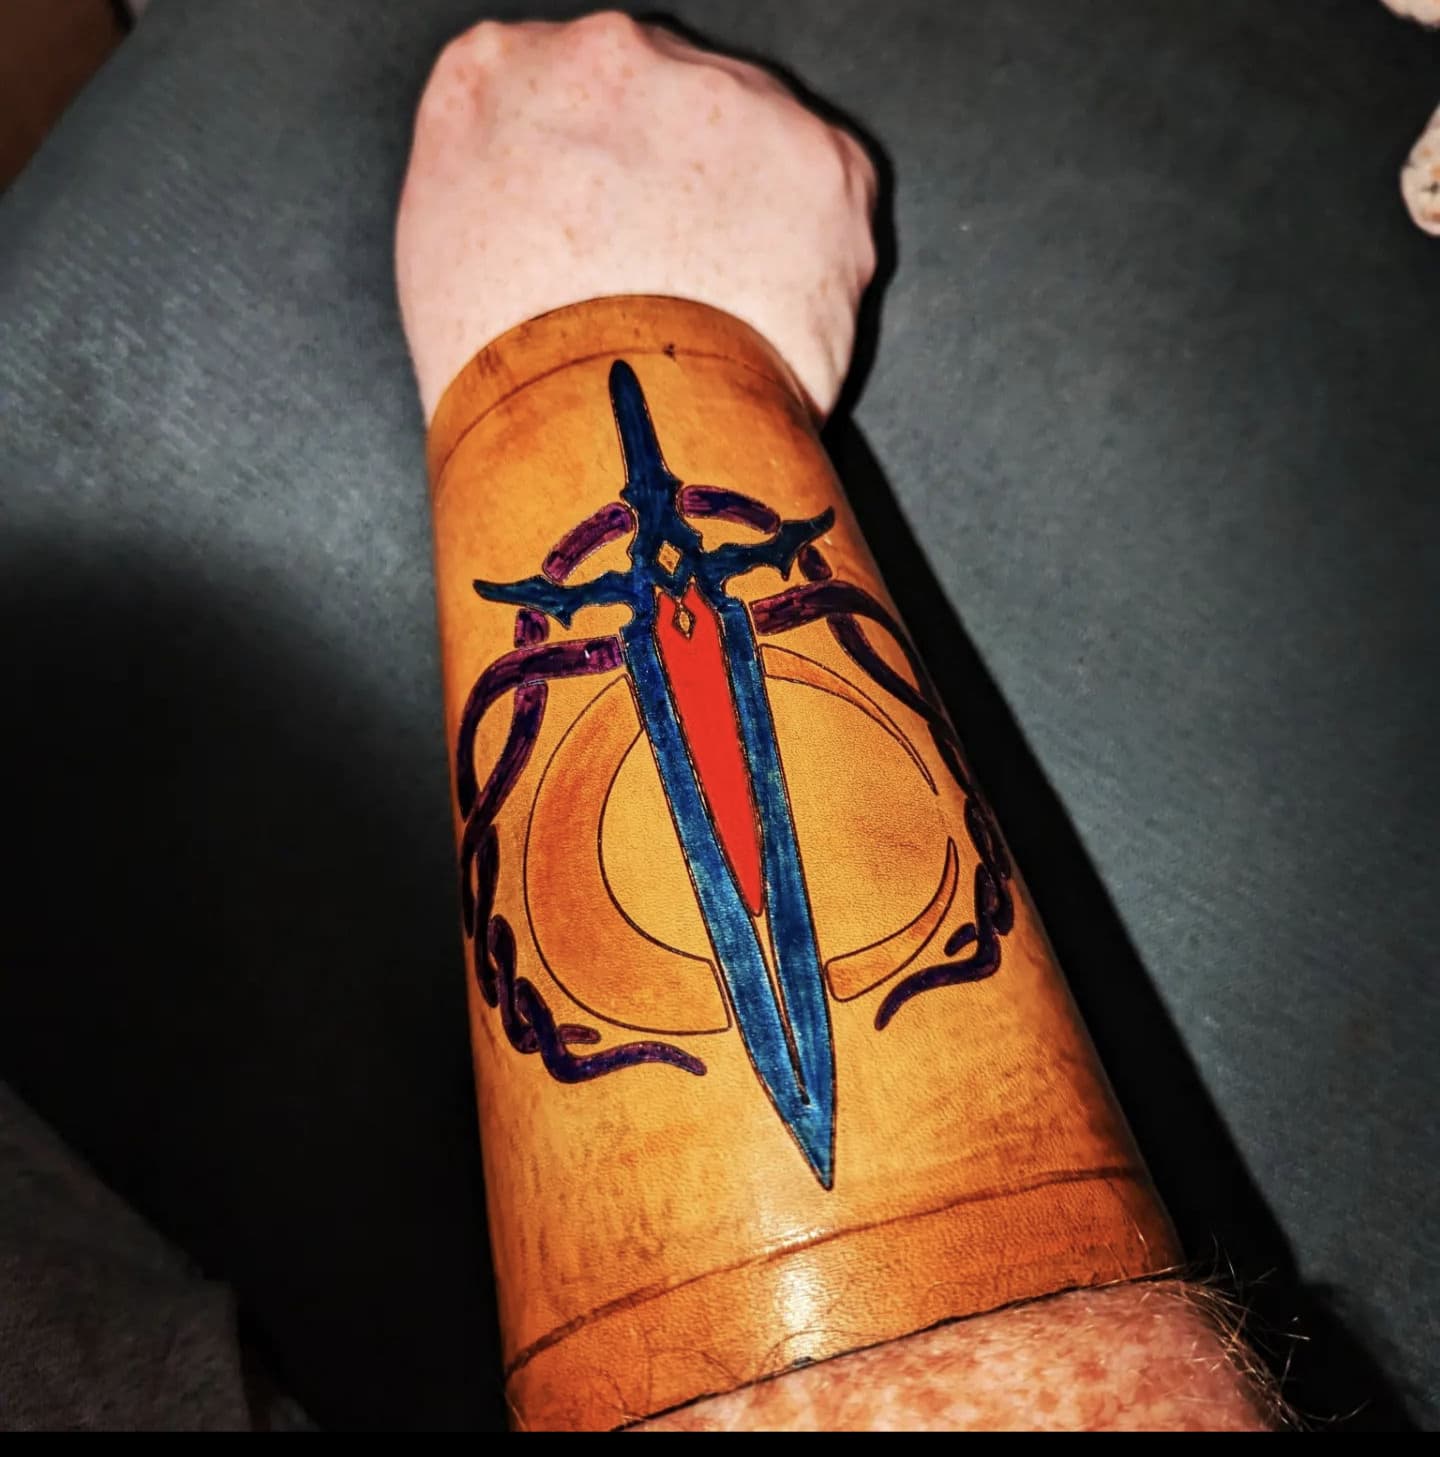
Recently my Monthly D&D group started back up from our summer vacation, a few of us has slowly been working on making cosplay for our characters and I had struck out making a gauntlet with my characters house name on it. One of the others was working on a cloak for his wizard. So I got the idea that I should make a shield for mine and slowly work into armor.
I will start off by saying this wasn’t fully made on the glowforge but it was a key component in several stages of this project.
I got the pattern from Etsy from a fantastic maker named Niles from BeardfootCtafting (YouTube channel by the same name). He provided extremely well written instructions, as well as the video. I ended up following the video as I’m more of a visual learner.
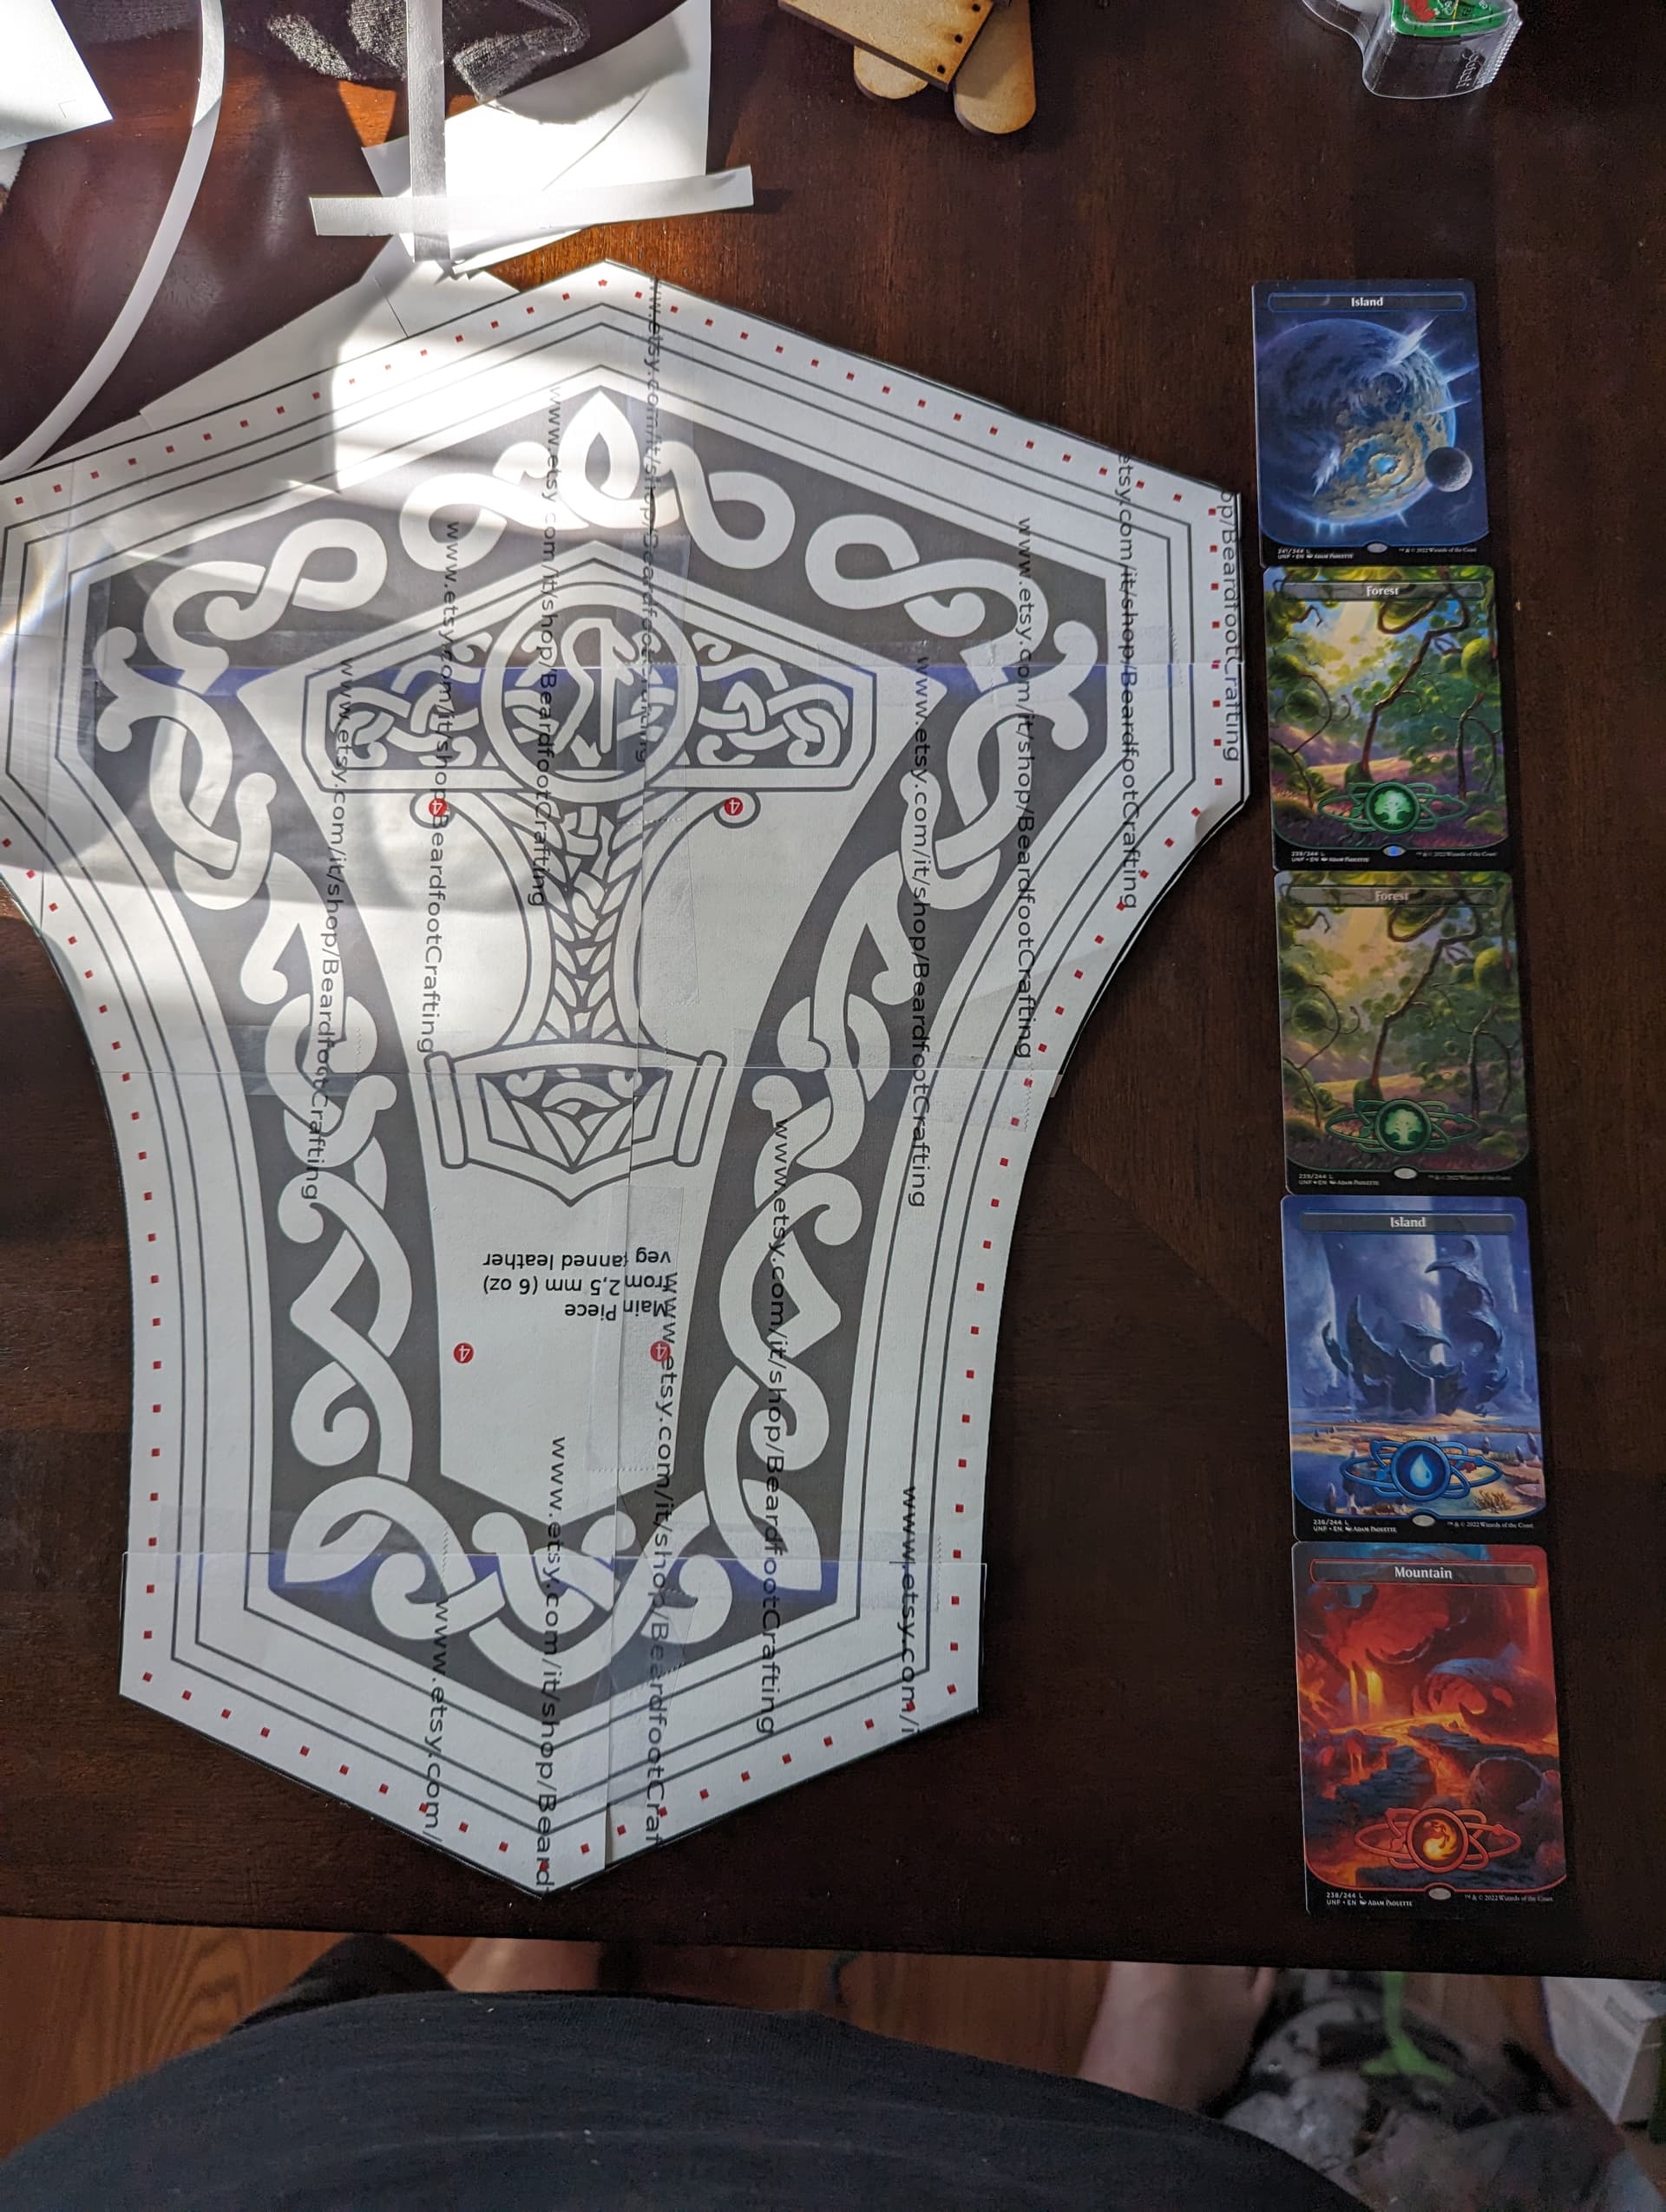
I knew from the start I wasn’t going to keep 100% of the same aesthetic he uses, so I got the template made up and then decided that the laser file he sent could be partially used since it was too large for my plus, but the straps and siding could be cut easily, however my leather wasn’t in a shape to be put into the leather bed yet, so I opted for some proofgrade draftbord to make some templates out of.
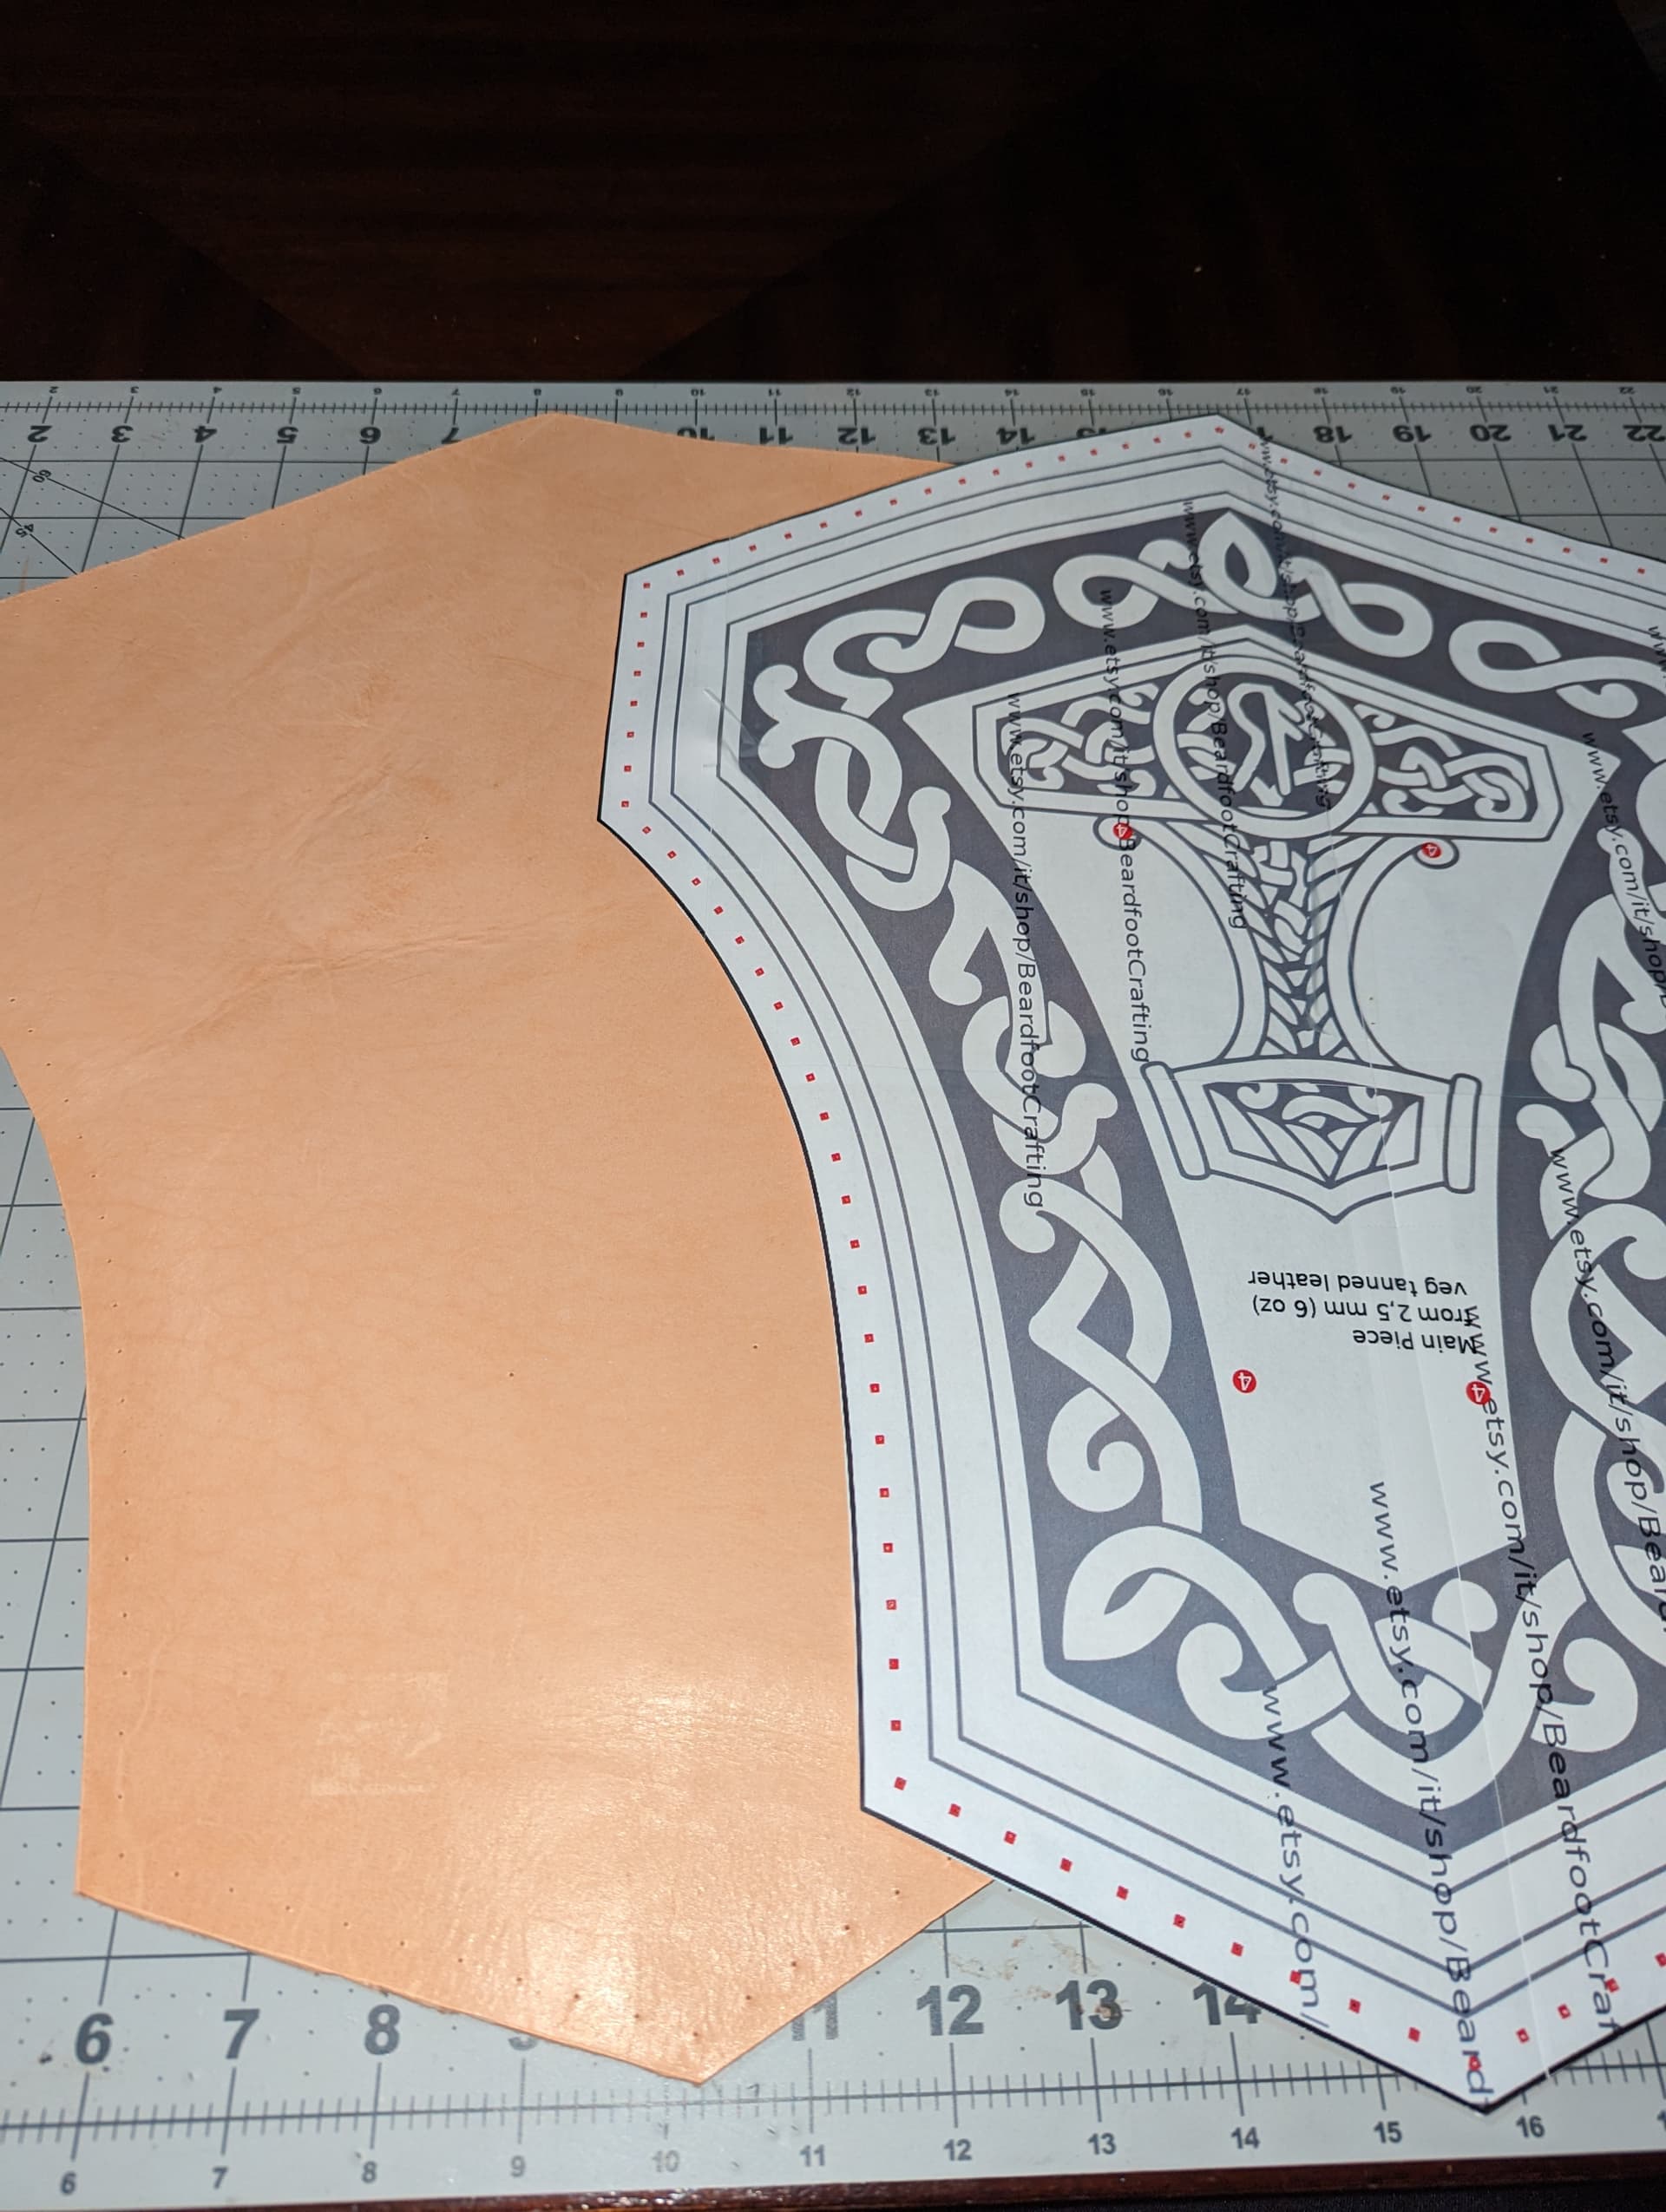
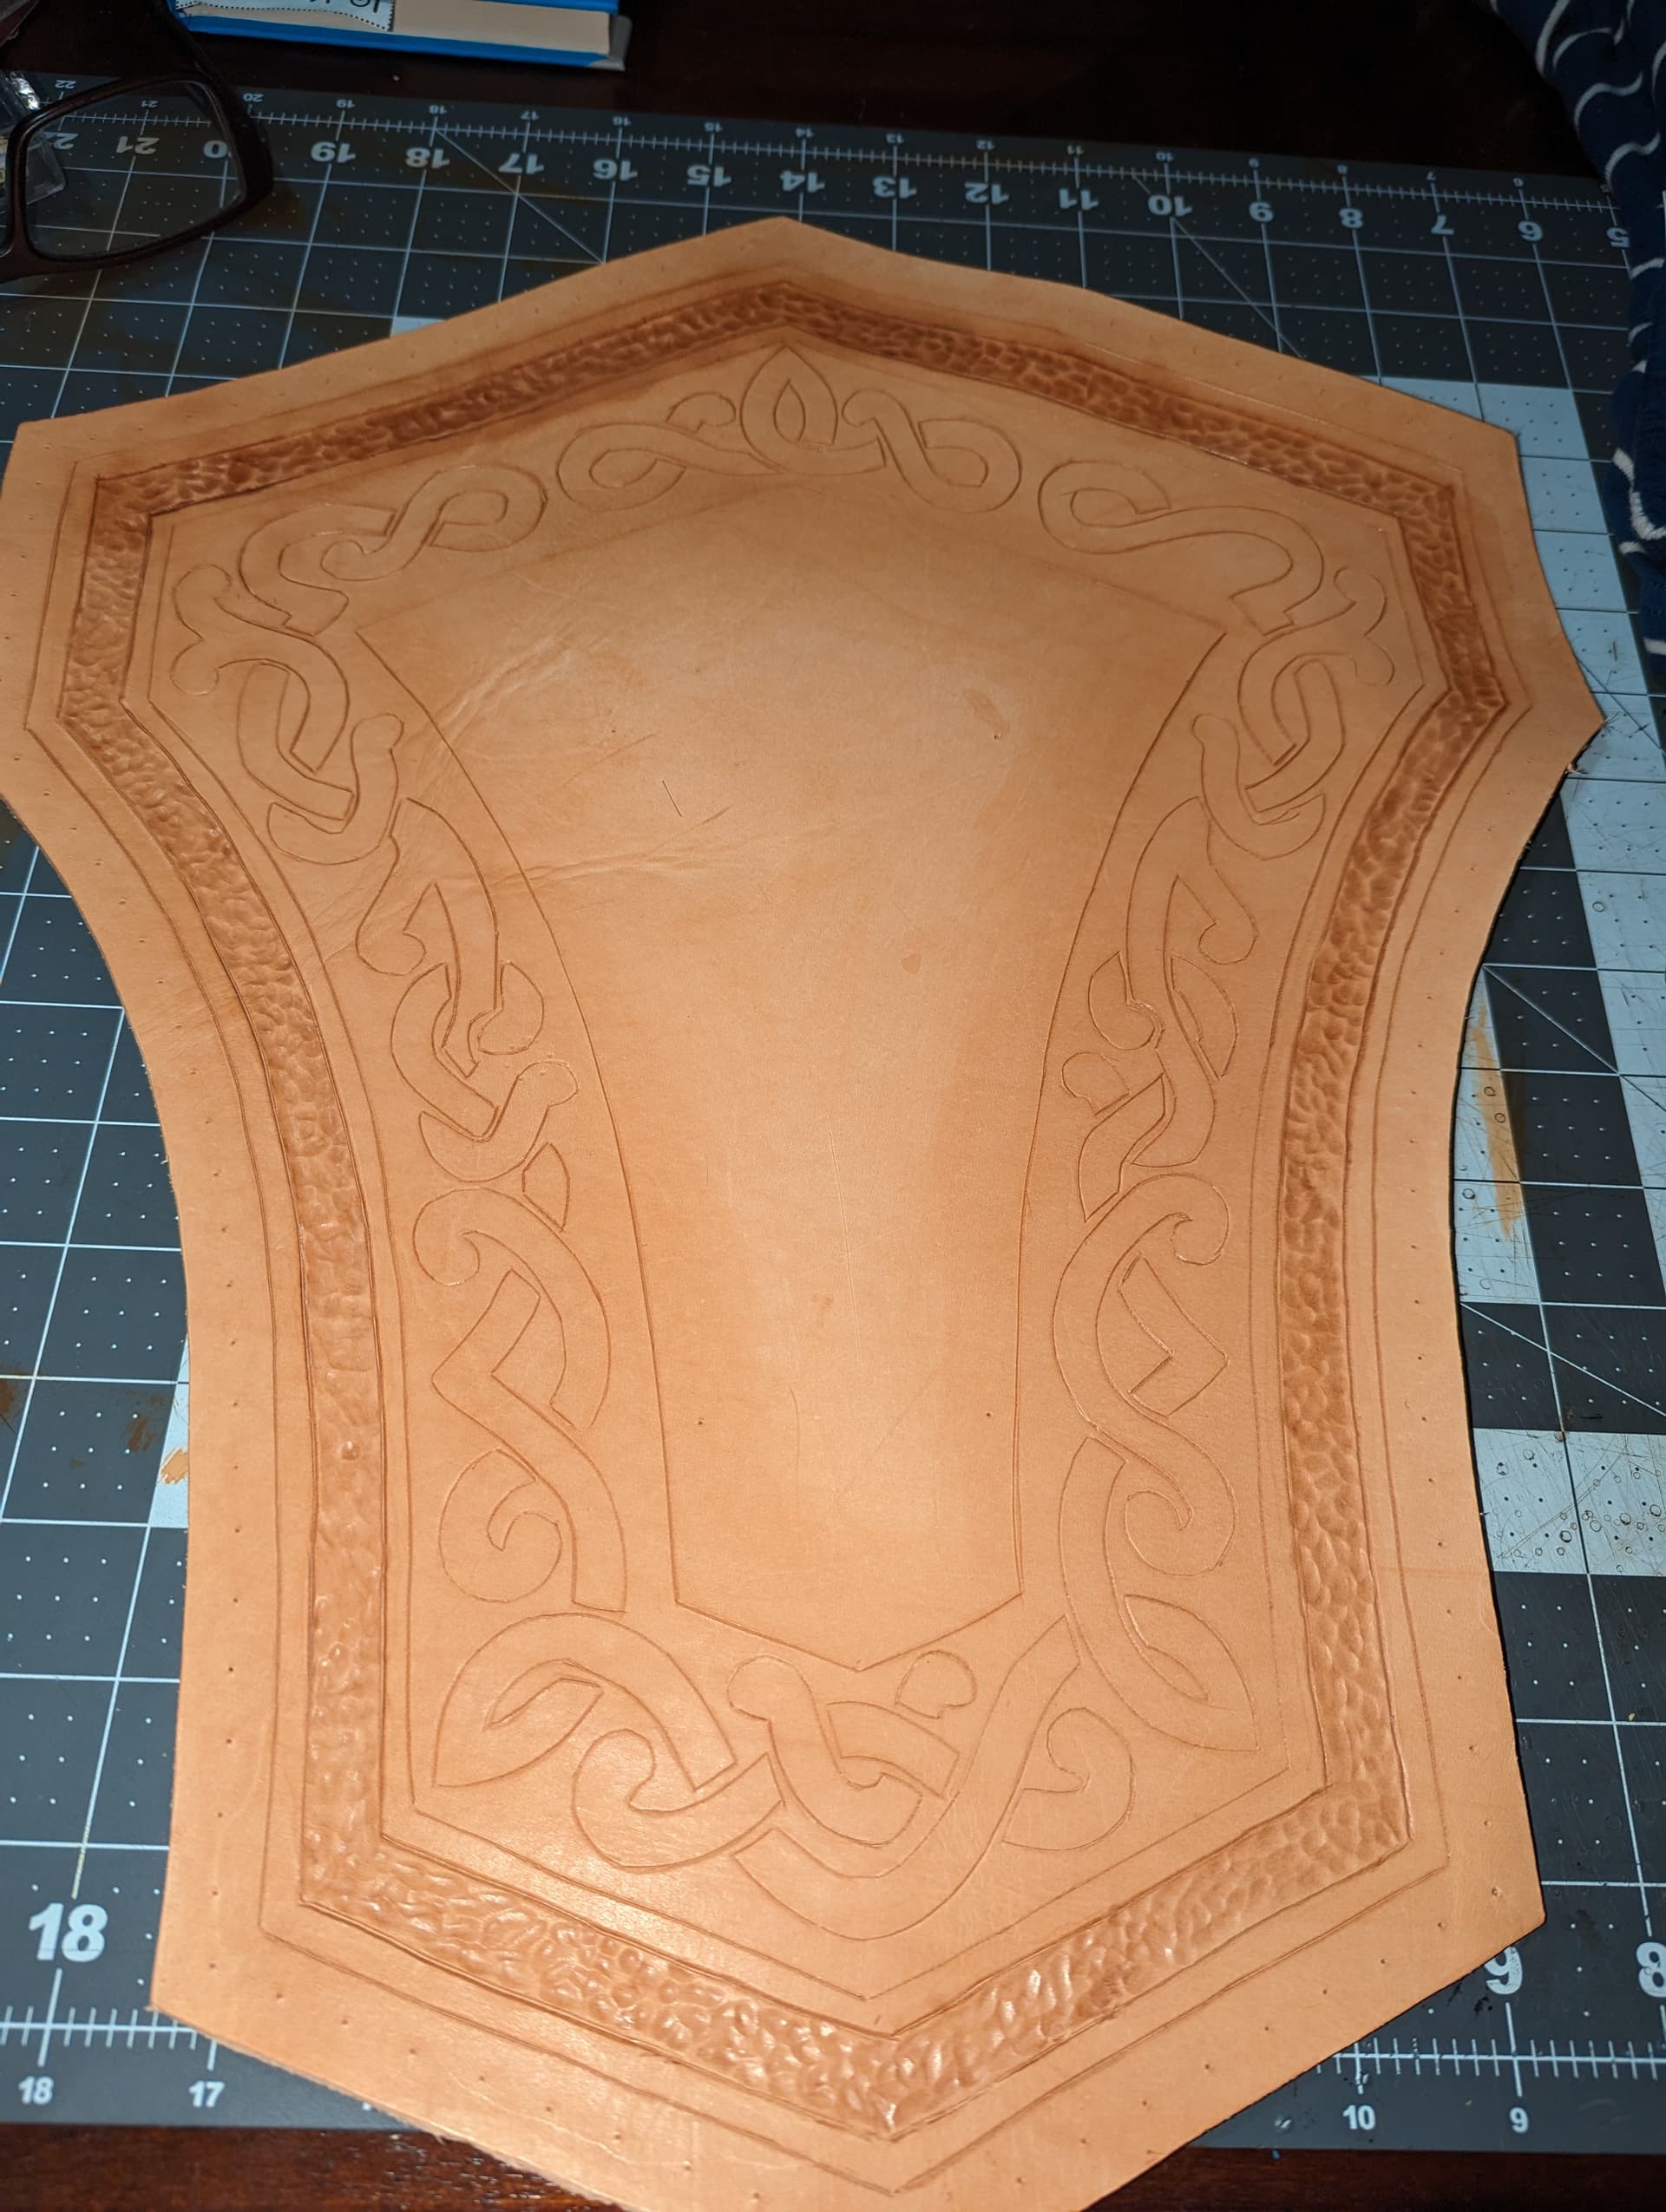
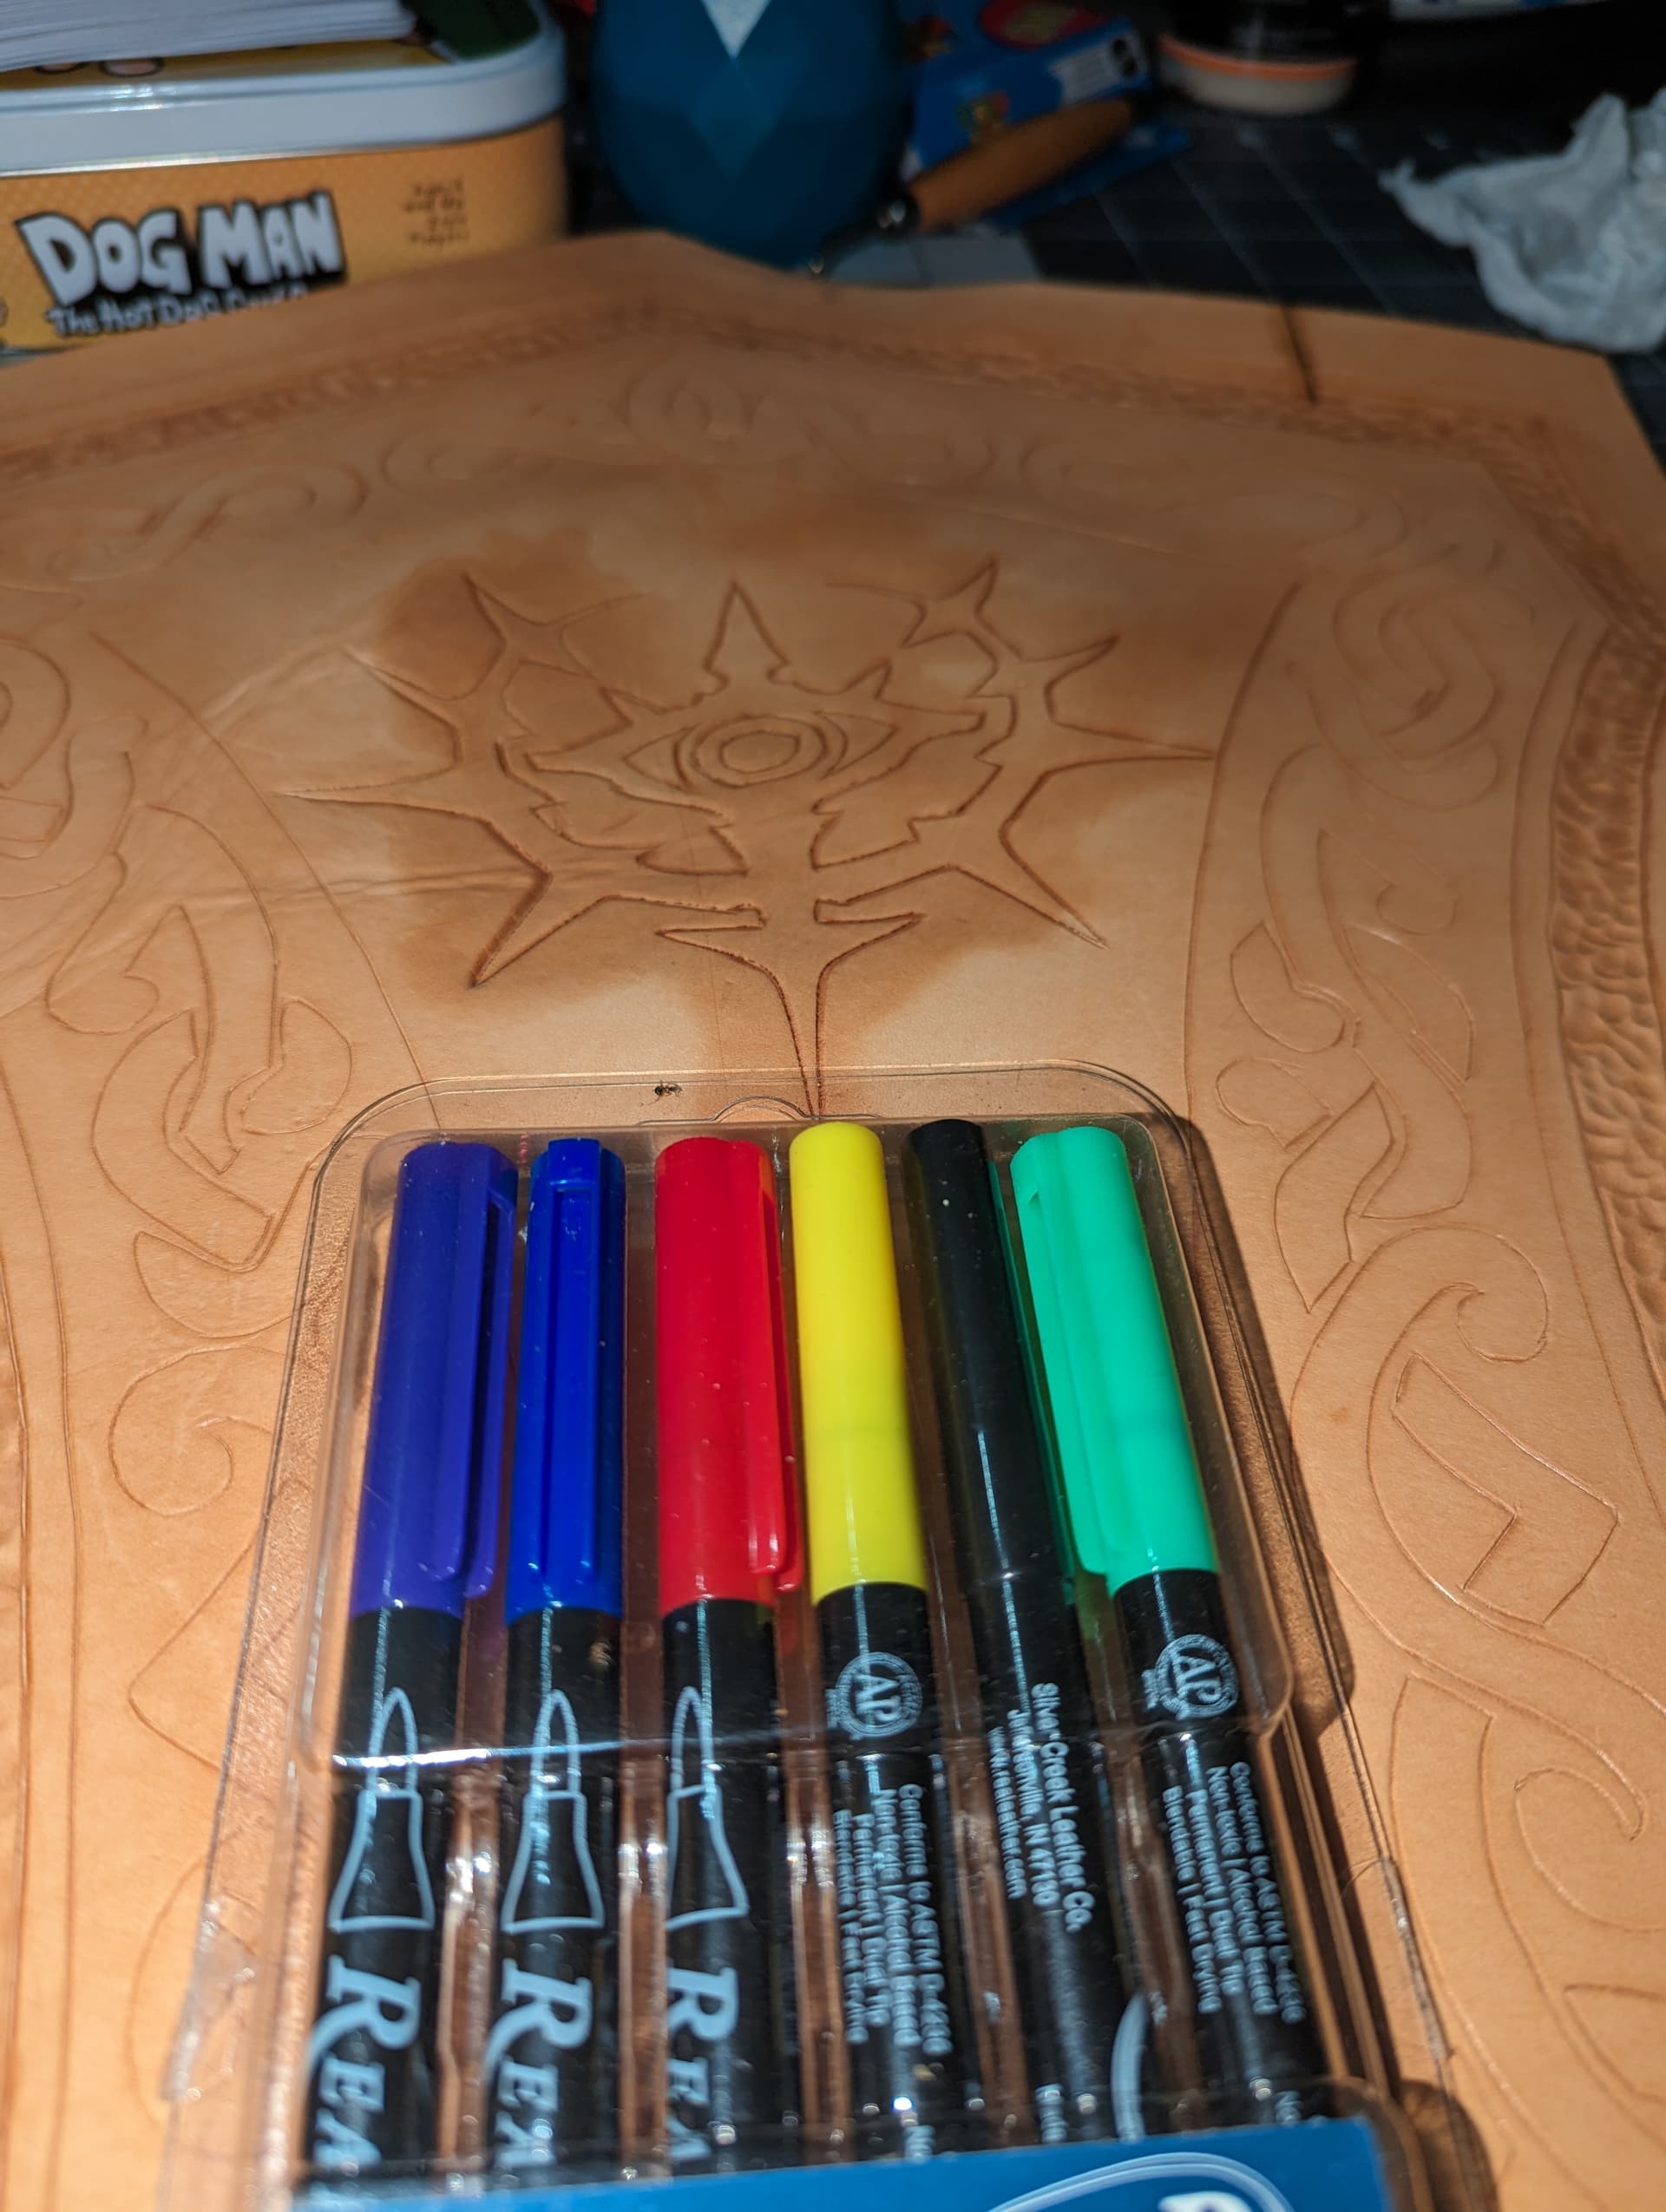
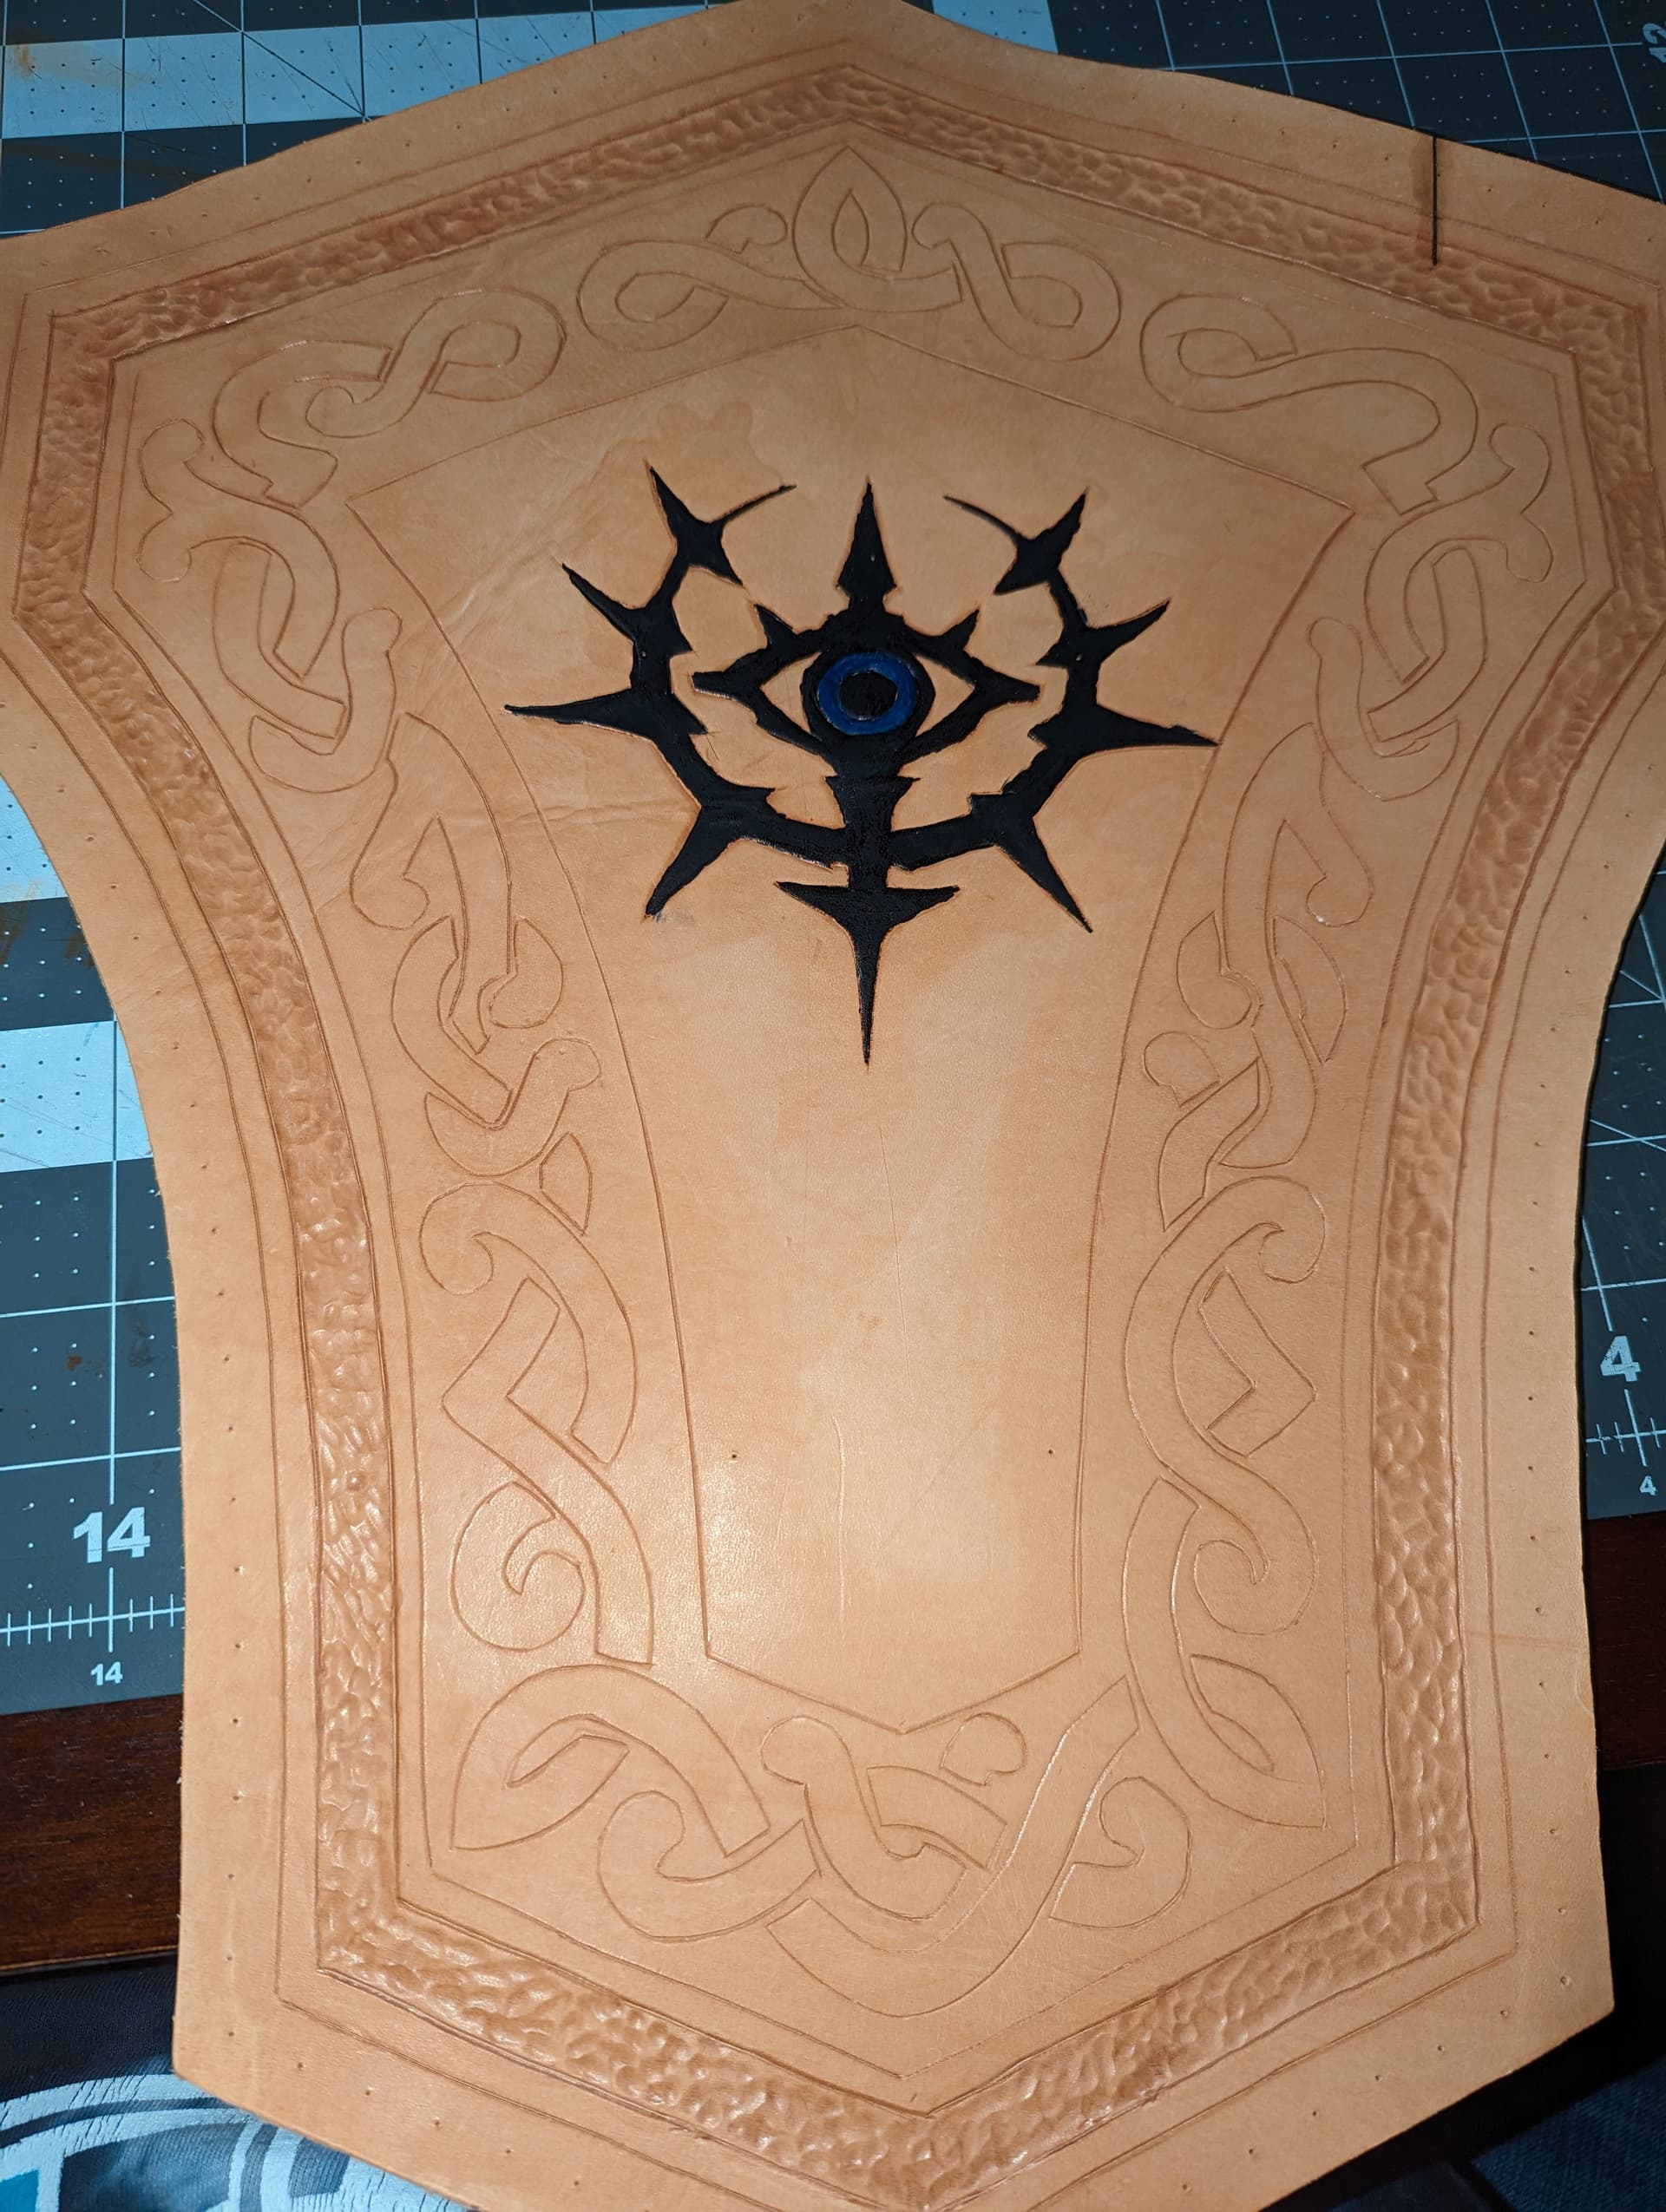
This project pushed me in several ways, I’ve been putting off really getting good with my swivel knife, after watching a few choice videos I used an embossing tool to transfer the pattern to the leather and then used the swivel knife to get the edges crisp.
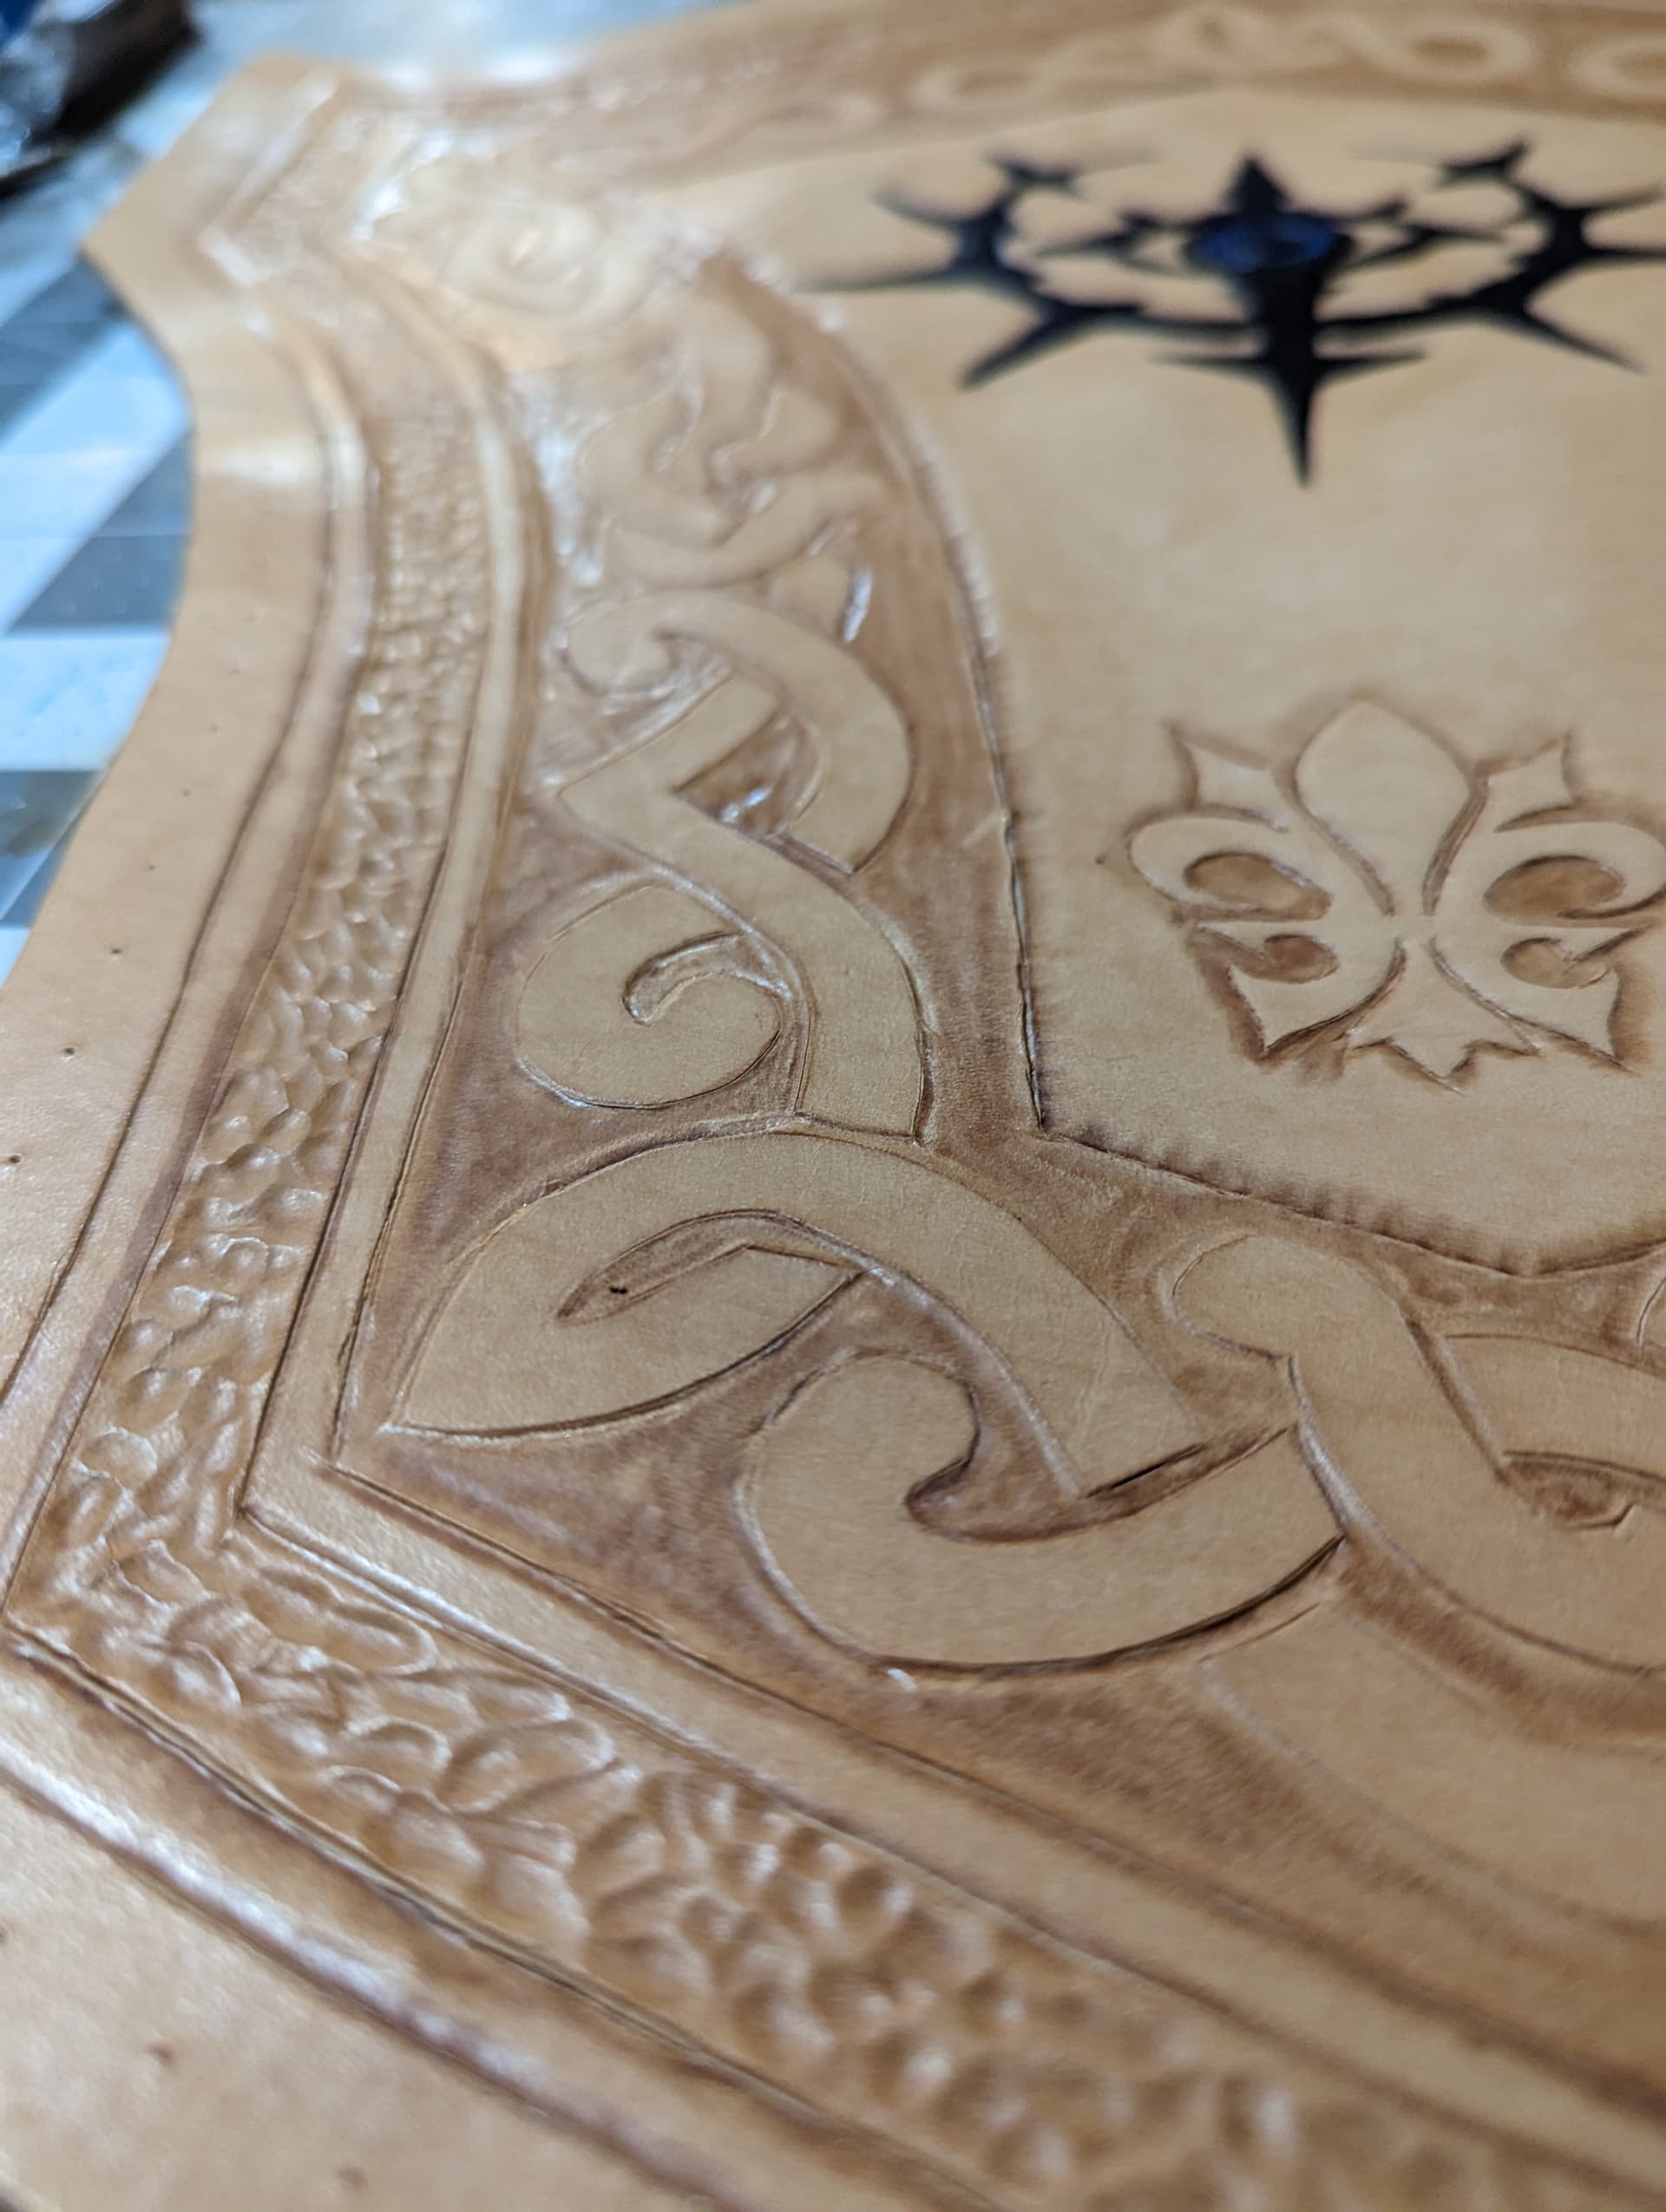
Over the next several steps I used embossing tools, mule foot stamp, as well as a variety of other small tools to add a stonework effect as well as the area around the knotwork. Additionally started adding some color with my leather dye pens.
I dyed the shield a few layers of red and then my wife decided to get in on the activities and helped me weather and paint the metallic coats on it and then used a weathering sponge and dye from a junk journaling kit she had to make the bronze look dirty and used. Stitching the leather to the foam was pretty annoying, doing it over again I would put the leather down first with contact cement and then drill the holes, not the other way around.
I’m sure there’s a lot I’m missing steps wise but here’s the finished product
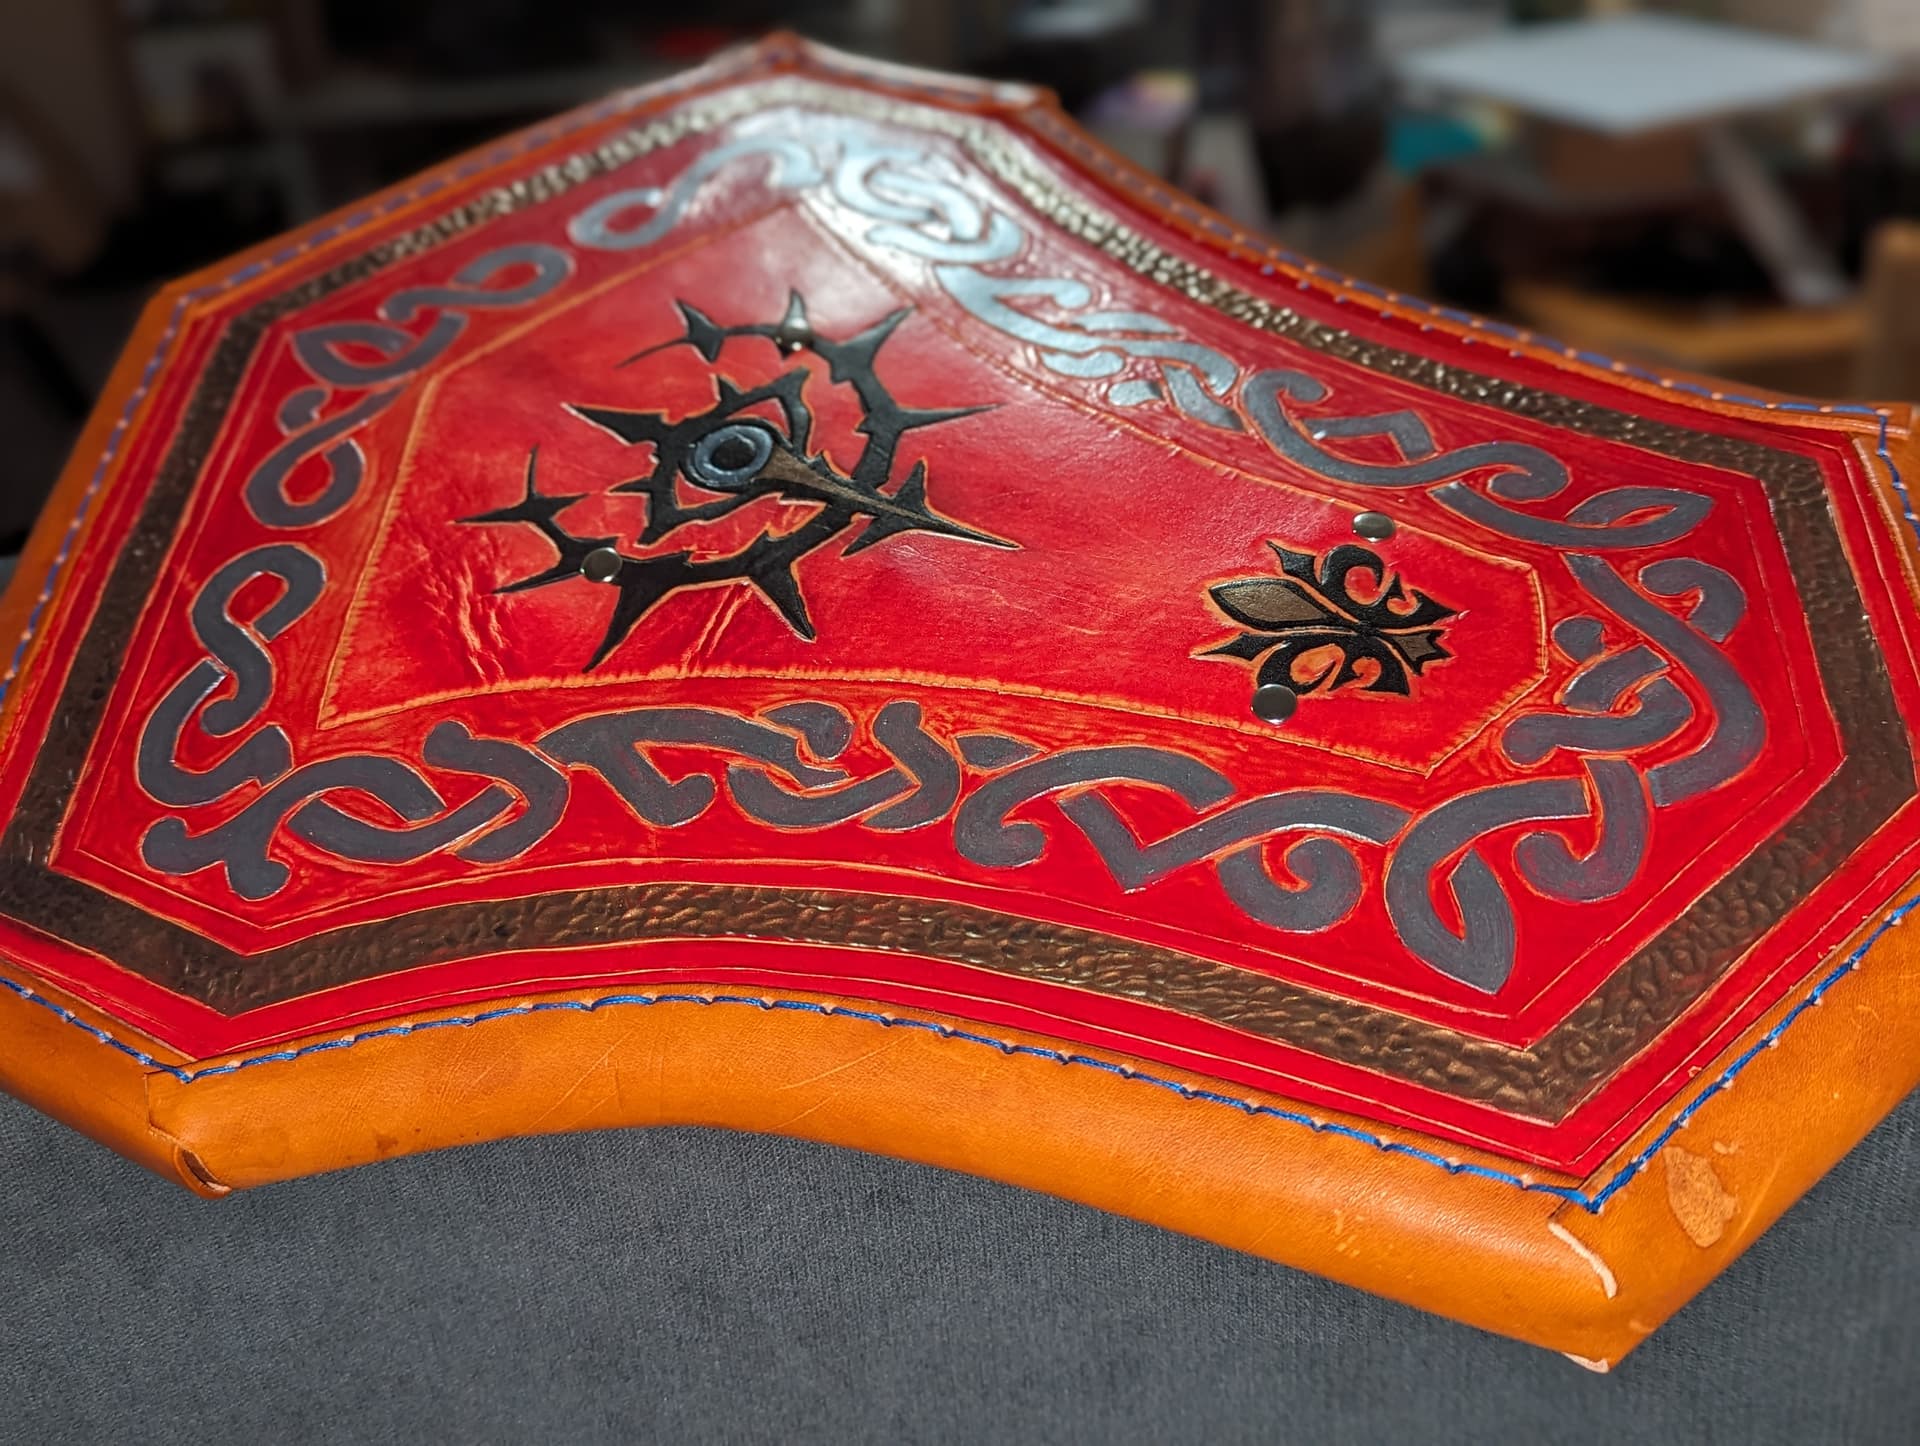
It fits my arm comfortably and looks pretty snazzy, I think I’ll be working on a war hammer or some chest armor next. All in all I had a great time learning with this one.
Till next time
Hock