Oh man, more stuff to learn and buy. This pushes my buttons.
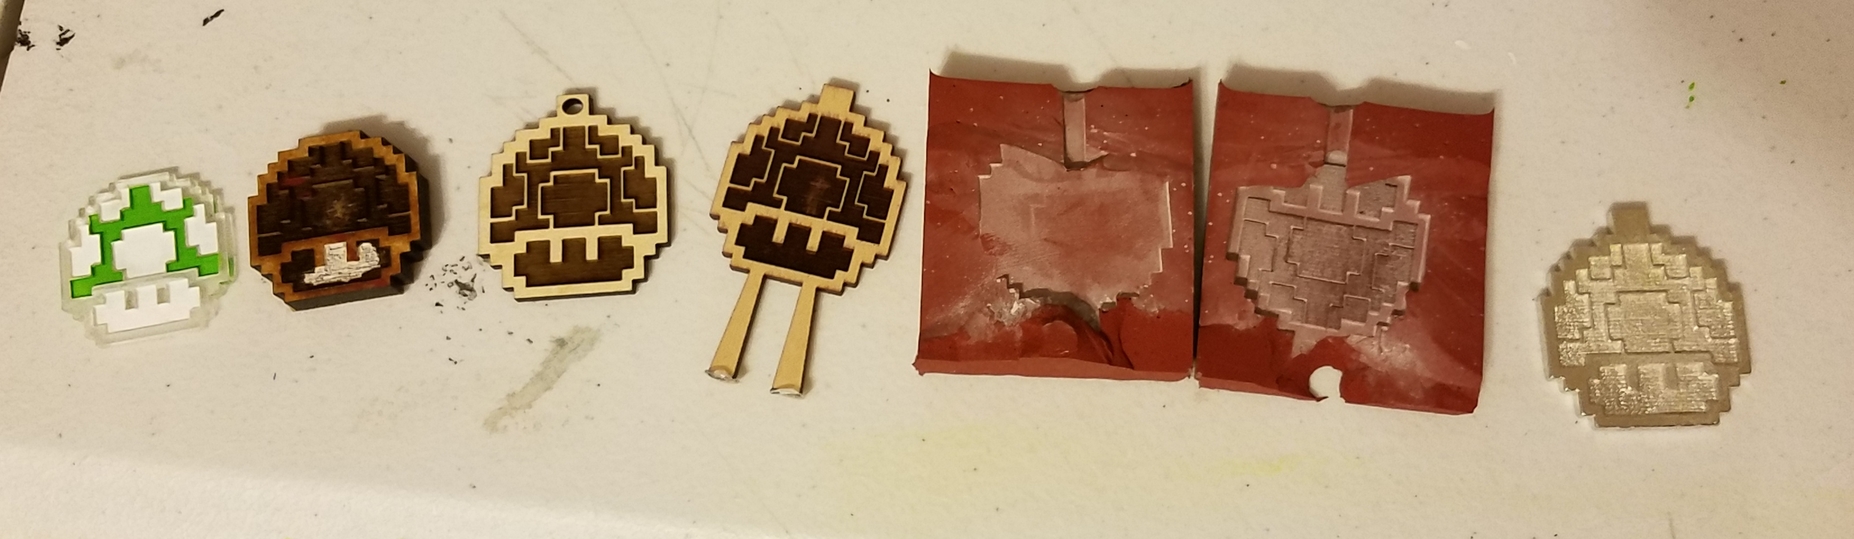
What I am having a hard time with is eliminating the crispy laser texture on 3d engraves. You can’t really sand away the char in little crannies and deep holes.
Quick question, once you are set up with molds and molten metal, is it easy to get other metal base colors? Brass, gold, copper, etc?
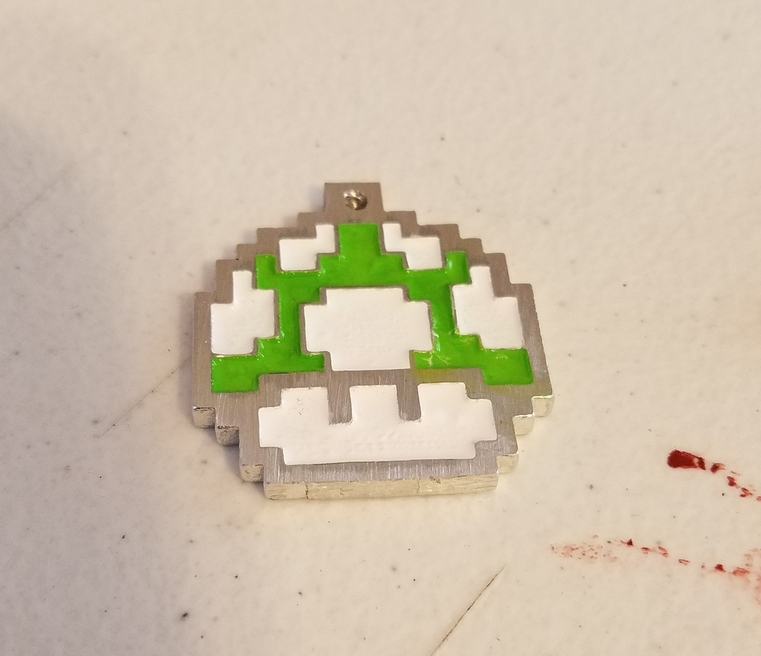
The crispy lines are a problem that I had too. I tried sanding them out at first, but finally just lived with them. You can kind of see them in the final pewter casting before I painted it. The trick is to use several of coats of enamel paint until they build up enough to hide the lines.
I haven’t run into any gold/copper colored low temperature alloys yet. And these silicon molds are only for low temps (<650F I think). I made a King of Random (He’s on YouTube) metal foundry for aluminum and brass, but I haven’t had any luck casting anything this intricate with either of those metals.
So for now I’m stuck with silver coloring on my pins.