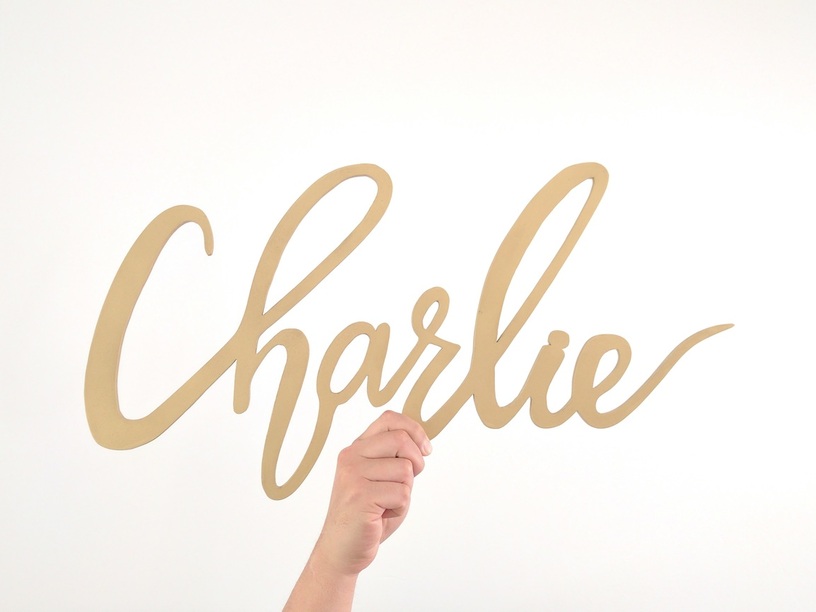
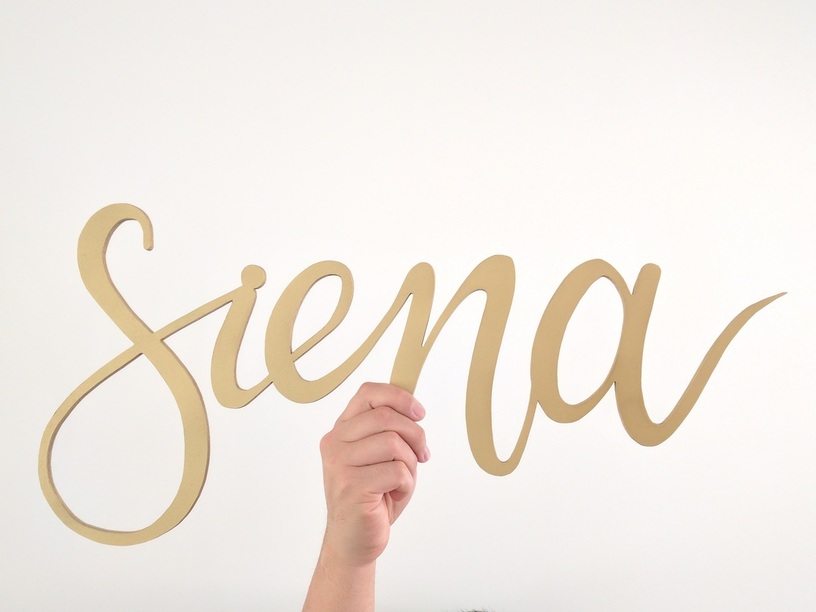
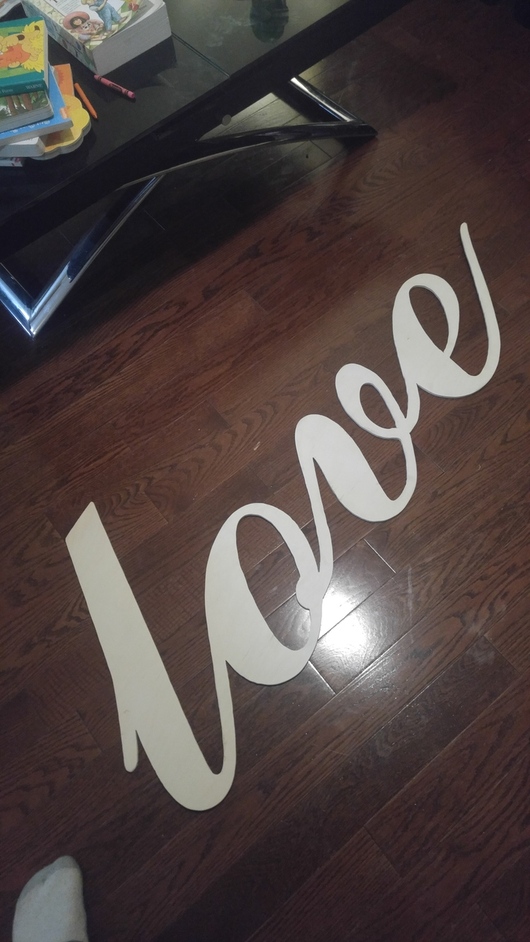
Seeing so many projects made on a GF around here had me itching to get something made, so here’s my first post (I normally would never post, but this community is so friendly and welcoming so I thought I’d give it a try). A couple of my friends had some babies, so I decided to make them some name signs. I hand drew their names and luckily knew someone that could laser cut it for me at a reasonable rate.
From the pictures, you can’t really tell, but I guess I was a bit heavy-handed with the spray paint which resulted in some clots, and I was wondering if anyone knew any better ways to get a more even coat of paint, because it was hard to get the sides sprayed smoothly.
Also, if you’ve ever lasered MDF before, is there a way to get rid of that burnt smell and charcoal besides sanding the edges? It’s been a couple of days and I did some light sanding but the smell is still lingering.
These were made on a 30W Epilog laser cutter and my friend said it was pushing the limits of what his laser cutter could do and took two passes. After getting these signs made, I’ve gotten even more excited for the GF. July can’t come soon enough!
Thanks for looking
I don’t have any laser experience but I know MDF makes an awful mess when cutting it with the CNC router. I have been thinking cutting it with a laser would be better because it would be less messy but I hadn’t thought about the smell.
Wow, not sure about the sealers, but love your hand drawn lettering! You’ll be able to do some great things with a Glowforge!
I don’t know if it will completely eliminate the smell, and it might cause MDF to swell a little, but I found that misting it down with vinegar and giving it a little wipe takes a lot of the smell down.
I’ve heard… somewhere * that there’s a product designed to remove the smoke smell from houses if there’s been a fire inside the house. I’m lazy and on my phone at the moment so I don’t want to find the name, but I bet Altavista knows.
*maybe on this forum?
I couldn’t stop myself… this stuff sounds like it fits the bill (though, for all I know it’s a glorified bottle of vinegar).
As for painting, it’s just a tough shape to deal with. I think the best way to handle these is to focus on spraying the edges first. You’ll get some spray on the face as well but that’s OK.
Let the paint on the edges tack up, then spray the face. The tacky layer underneath will help hold the paint on the face and keep it from rolling over the corner, avoiding runs.
Of course using lighter coats will help avoid runs as well.
Or, another option is to cover the whole thing with a nice wet coat so if it does happen to run, you get the bead that collects at the very bottom corner instead of along the edge. It’s less noticeable than a drip in the middle of the edge.
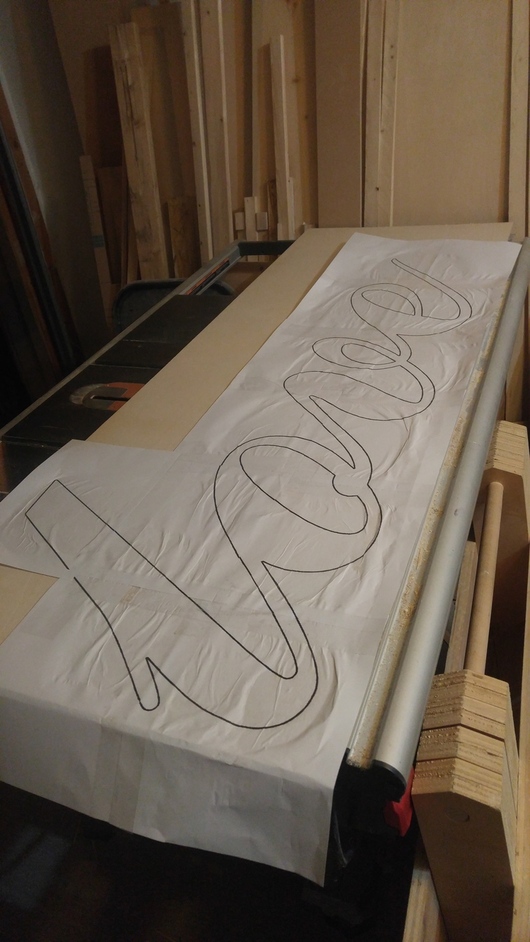
Its in around 20x50 ish, on Baltic birch ply. I did the bulk of what I could fit on my lil 14" bandsaw,. Now to jigsaw and spindle sander… At least I’m getting paid.
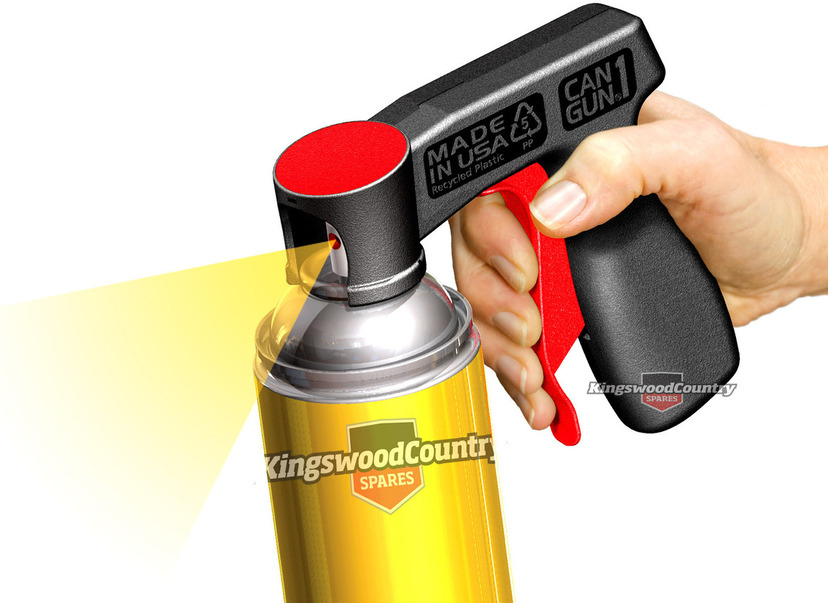
Multiple light coats of spray paint. For good even coverage over a large area, start with your can to one side of the workpiece, press the nozzle and then move in a steady motion across the piece and off the other side before releasing the nozzle. (This is to avoid buildup areas where more paint falls because you are not moving the can).
Overlap your passes by 1/4 - 1/2 of the width of the spray pattern.
If you started with horizontal passes, continue to do horizontal passes all the way to the bottom, then flip the piece 90 degrees, wait a few minutes, and repeat the procedure.
Single easiest mistake with spray paint is putting down way too much at once. Have some patience, rushing things will not save you any time. Two light coats of paint will be dry long before one heavy coat, and avoids the issue of big ole drips forming.
If there is interest, I can try to find time to make a few rattle can tutorials in the near future.
How to spray paint, as taught by you, I’m in for the read! All I have is a half decent HVLP and my compressor. So learn spray can technique would be useful.