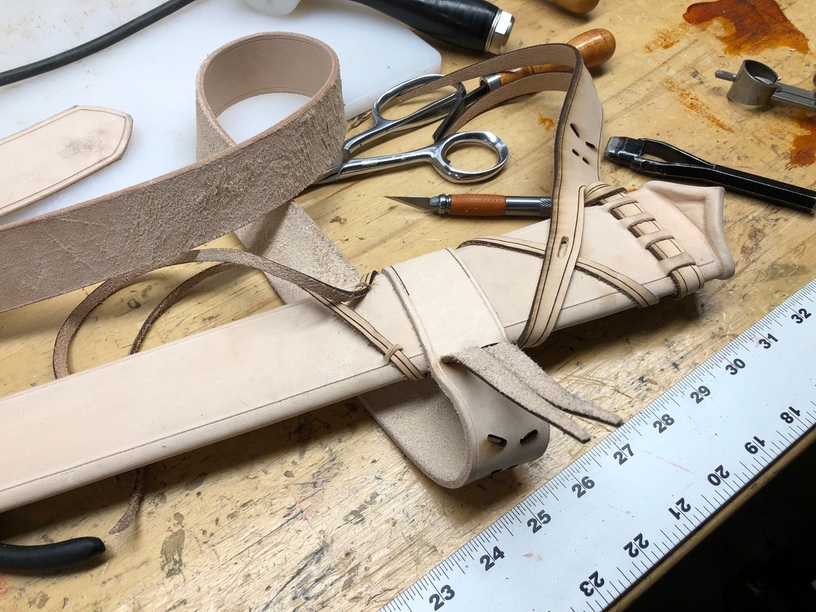
Complicated patterns are readily cut out on the Glowforge…once you figure out the vector file, of course.
68 Likes
Excellent work. Can you share your leather coloring process?
3 Likes
Oh wow! Very realistic looking job! 
3 Likes
It’s a two part process: a light colored liquid base dye to soak in, followed by a darker gel dye to add visual texture.
5 Likes
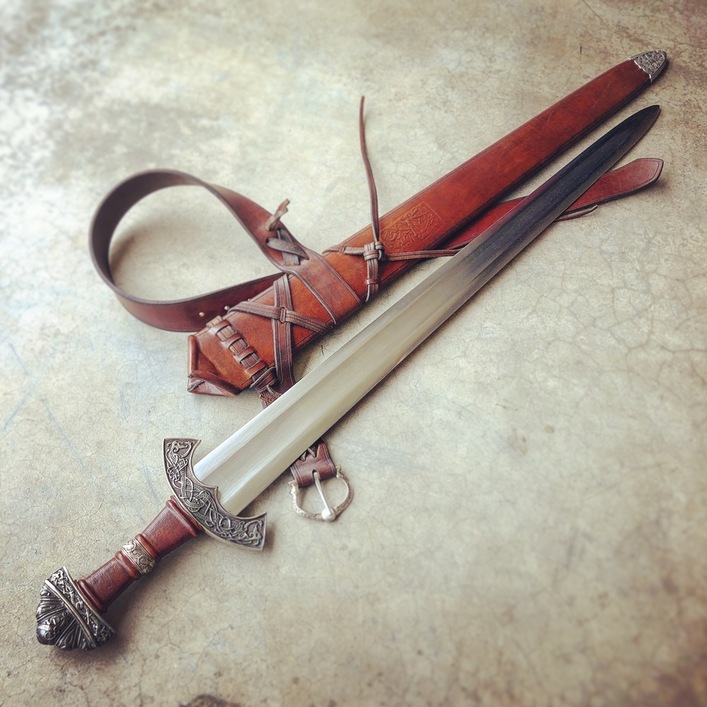
Being constructed of wood, bronze and tempered steel it’s actually a fully functional reproduction of a 9th century Viking sword.
8 Likes
Beautiful leather work. That sword though! OMG!
3 Likes
Stunning work! 
3 Likes
Wicked cool!
2 Likes
I was under the impression that the Vikings imported wootz from the Ottomans by way of Ukraine that made their swords “Damascus” steel even though they could not create the wootz themselves, but it made their swords better than any they went up against.
2 Likes

4 Likes
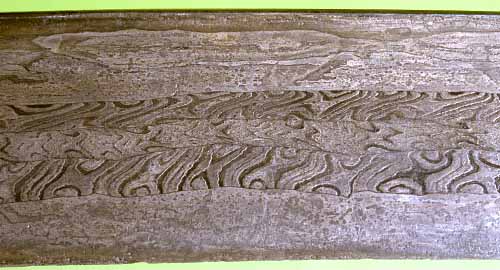
It’s true that this sword differs from the originals in that the blade is a modern mono-steel, unlike the originals. Those had pattern welded blades, made by twisting and layering various grades of steel stock into billets. This yielded very complex patterns in the blade:
 http://www.vikingsword.com/ethsword/pat06.jpg
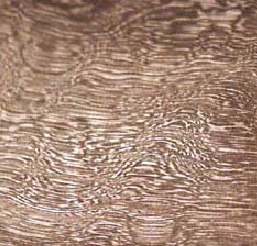
Wootz was a high carbon crucible mono-steel with a more uniform distribution of carbon.
 http://www.buffaloriverforge.com/WOOTZ/wootz%20steel10.jpg
Pattern welding has a more dramatic appearance than wootz but is structurally weaker due to the lower carbon content. It’s a method of making the best of less than ideal materials. Modern high carbon mono-steel, btw, is stronger than both pattern welded and wootz. It’s also aesthetically boring in comparison.
8 Likes
What a stunning finish … this is really lovely!
2 Likes
Truly excellent.
I’m curious about the leather thickness - I experimented with an old belt if my husband’s and had some difficulty cutting without charring the heck out of it
I use 8/9 oz and 5/6 oz undyed veg tanned leather and manually enter the material height and set the speed to 140 - 150. Some charring occurs, of course, but it’s generally limited to just the cut edges.
3 Likes
Love technique discussions. Thanks.
1 Like
Just purchased a Glowforge to work with leather. Can you give any advise for the setting needed to cut and engrave leather.? Not planning on using the proof grade. I purchase whole hides. What weight leather did you use? Any help would be greatly appreciated.
Jan
Hey welcome to the fun:). Good news, there’s been lots of leather talk on the forum. If you search it for “leather settings” or just “leather” you’ll find lots of good info.
I’d recommend looking at @jae’s and @morganstanfield‘s posts, they’re both excellent leather workers and have put a great deal of info out there.
1 Like
This topic will need to be moved to the beyond the manual category. Discussing settings for non-proofgrade materials is only allowed in that part of the forum.
I’d have done it for you but apparently my phone isn’t allowing the move.
Thanks for the info!
Best wishes.
Jan