Hi all ~ I am very nervously attempting to cut mirrored acrylic. Per the posts on the board, I & am using 140/85 settings.
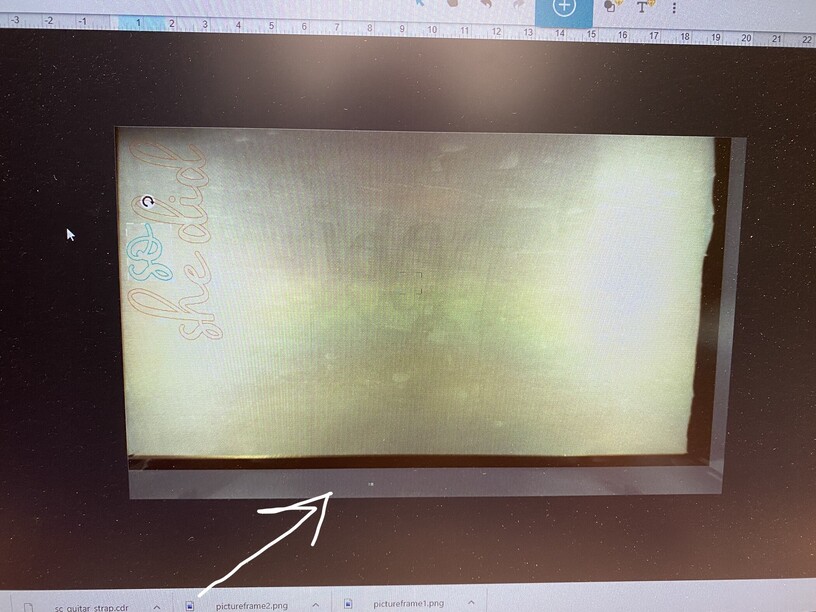
Question: When I click on the uploaded art (i.e. words), a light gray box appears around the edge of the bed (see pic). Can anyone tell me why, & will that affect my cut?
That gray box shows you the area you cannot cut or engrave in. It will change based on the speed you have set. As long as your artwork is inside of the gray box, then you should be fine.
No problem. But you’ll notice it changes width. Like for engraves, it’ll be set in more. If you are using Inkscape, search the forum for the bed template for Inkscape. It will give you the bed size, and mark off the edges of cut and engrave, so there aren’t too many surprises when you bring the file into the glowforge interface.
I’d remove the masking from the side facing the laser. Do not mask this face (mirror acrylic only).
Remove the down-face masking before cutting, and either replace in selective areas with masking paper, or place a manilla folder (open) beneath the down-face and the bed. The extra thickness won’t affect your outcome, but will make finishing small pieces much easier.
If you don’t already do this, start having a piece of tape handy at the end of the cuts. Use the sticky side to lift pieces while you press the board down (don’t move side-side). If anything does not release, then leave in place and cut again.
The paper masking is pressure sensitive - you need to rub it down quite firmly to get it to stick. Folks around here swear by the plastic “razor” blades. I use the edge of a piece of proofgrade scrap - but whatever you use you need to firmly press it down all over or when the heat/fan of the laser hits it it’ll just peel right off again.

 So thankful for this board!