For those that are interested here is a quick overview of how i built the box.
I started by generating a plan using the makercase website.
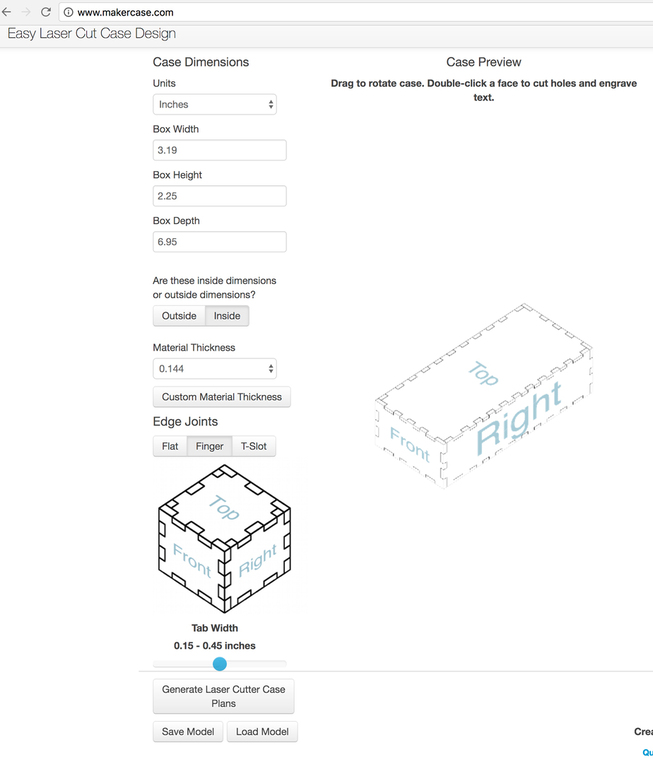
This is a quick and easy way to get a good starting point for boxes. I would highly recommend cut a test box out of cardboard to test the size of the box before making edits to this file.
The real problem with this technique is that if you have to change the box size or material thickness later on you have to make all your changes again. I really need to build a parametric finger joint box in Fusion so i can easily change the box parameters.
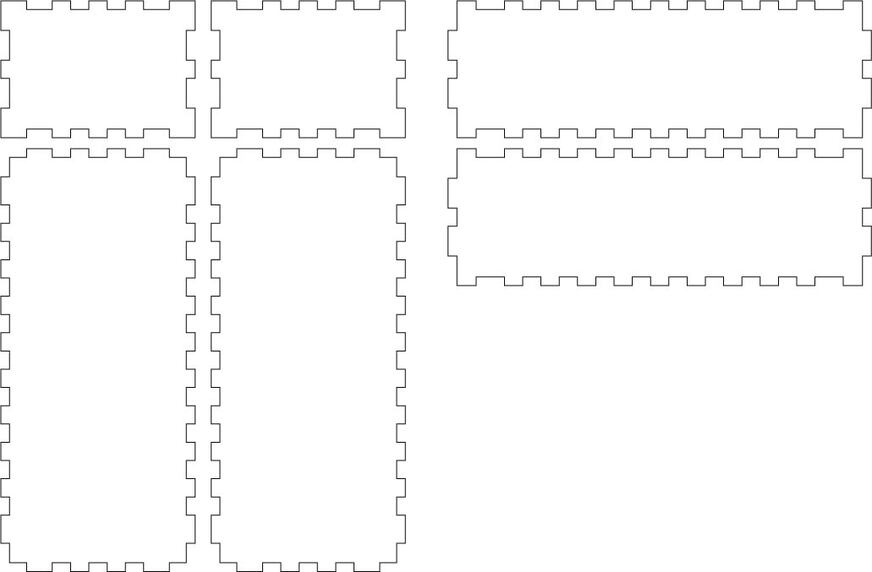
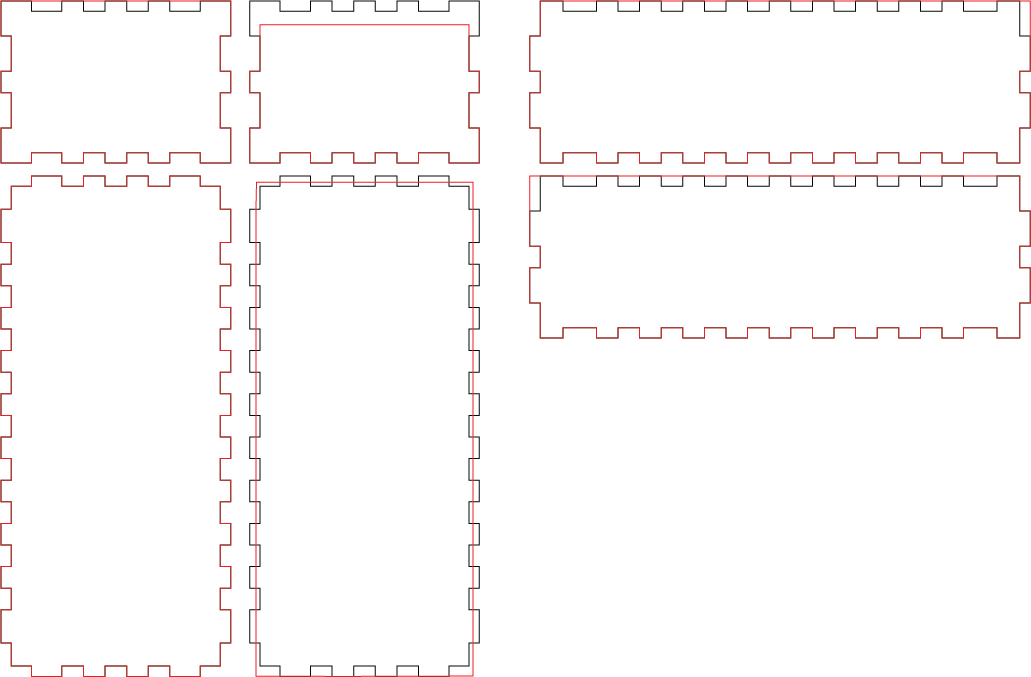
Here is the plan from the website followed by my edited lines overlaid in red. Basically you want to remove the finger joints from the top section and and the tops of the sides. Then lower the top of the front to make room for the top to slide off.
Next came the areas that needed to be engraved to make the slot for the top. The channel needs to run down both sides and the back so the top can close all the way. Make the channel slightly larger then the thickness of the top material.
It can run all the way across the back if you are ok with gaps from the channels on the sides. Otherwise only make it as wide as the sliding top.
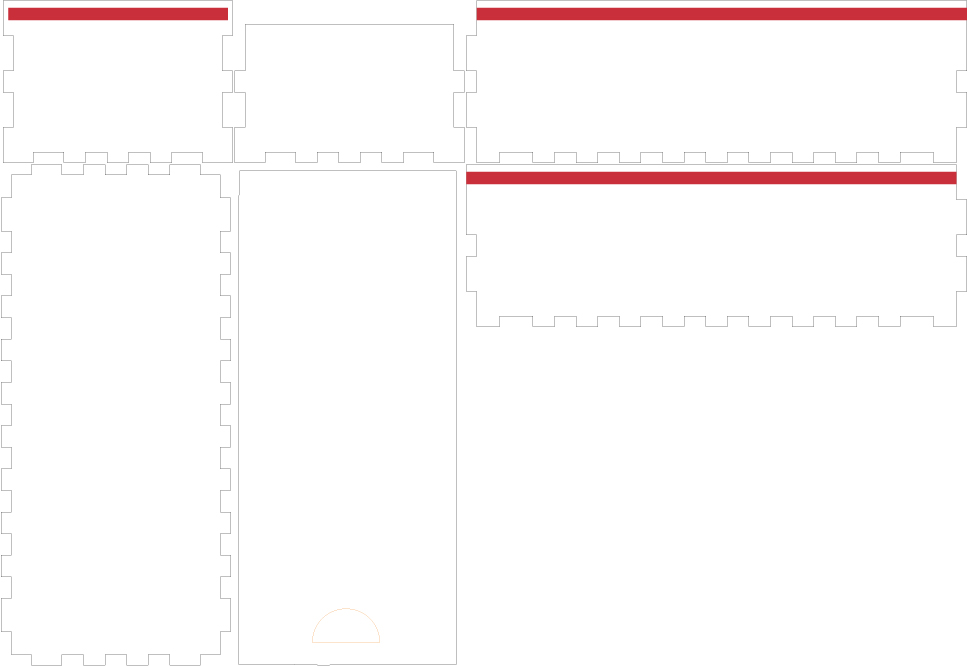
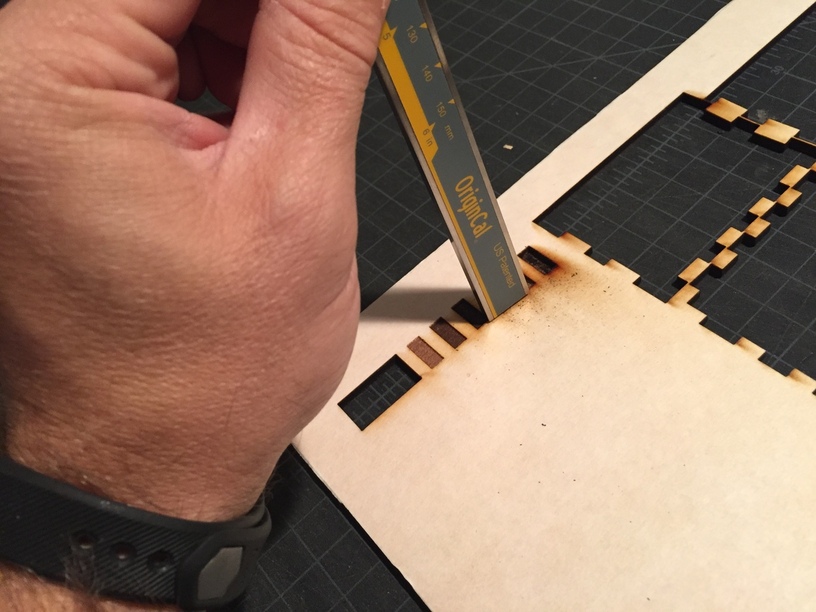
Now we need to figure out the settings for cutting the file. Since i was using Proofgrade this was mostly done automatically for the cuts and my image engraves. But since i wanted the channel to be roughly half the thickness of the material. So i made a test file with several small boxes to engrave in the material at different setting till i found one that was the right depth using my calipers.
That is basically it. From there i just cut the file and glued it up. It took a few attempts to fix all the issues.
Like i said before my plan is to make this in fusion where i can make it parametric so it can be easily edited and be used to make boxes of different sizes.