I have been continuing to evolve the box project I talked about in my acrylic box post.
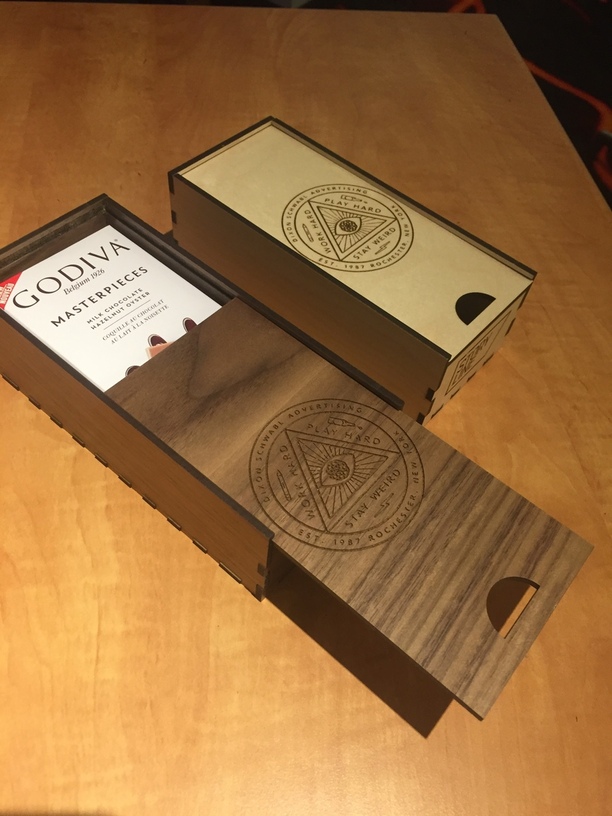
We have now decided to go with a wood box with a slide off top. And i must say that @dan you have turned me into a huge Proofgrade fan. This stuff is fantastic. The quality is top notch and its just plain simple to use. Hopefully you have a good supply on hand since i’m going to need a bunch of it. I think we are up to 120 boxes that i need to make in total.
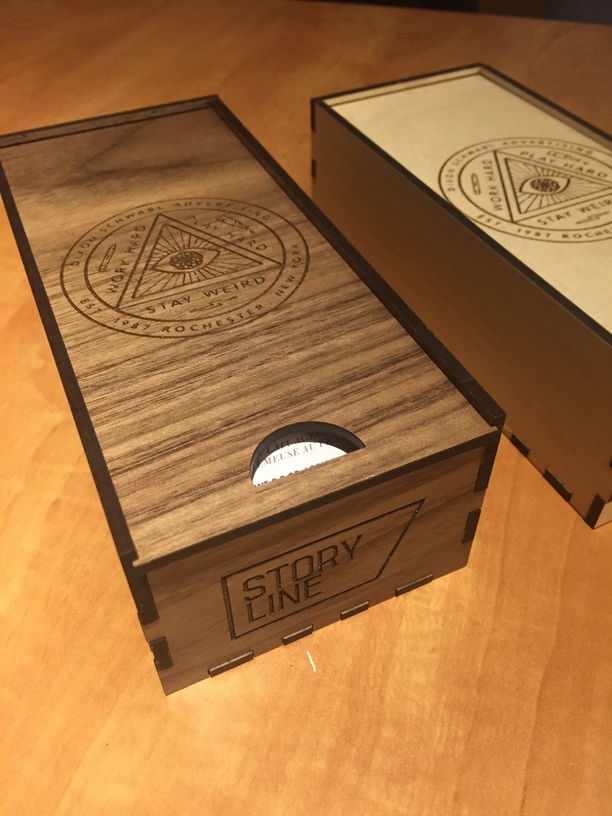
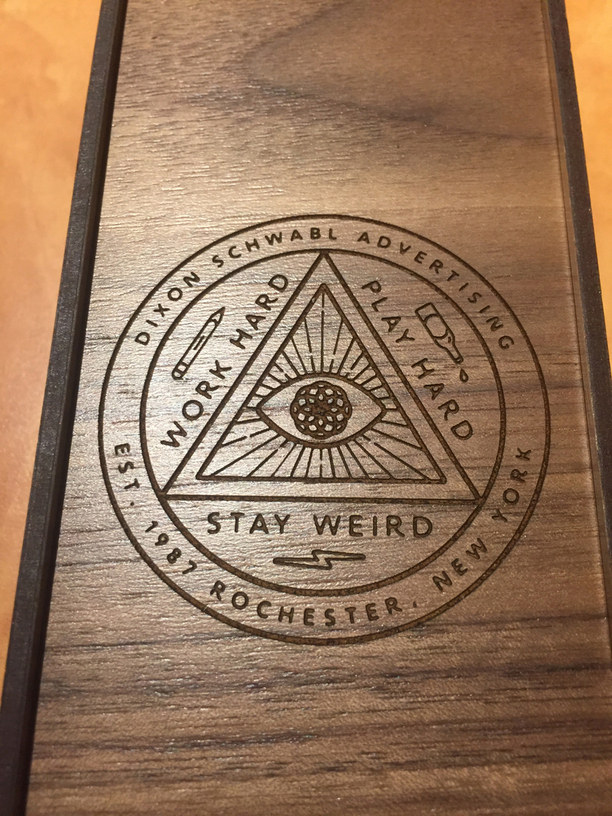
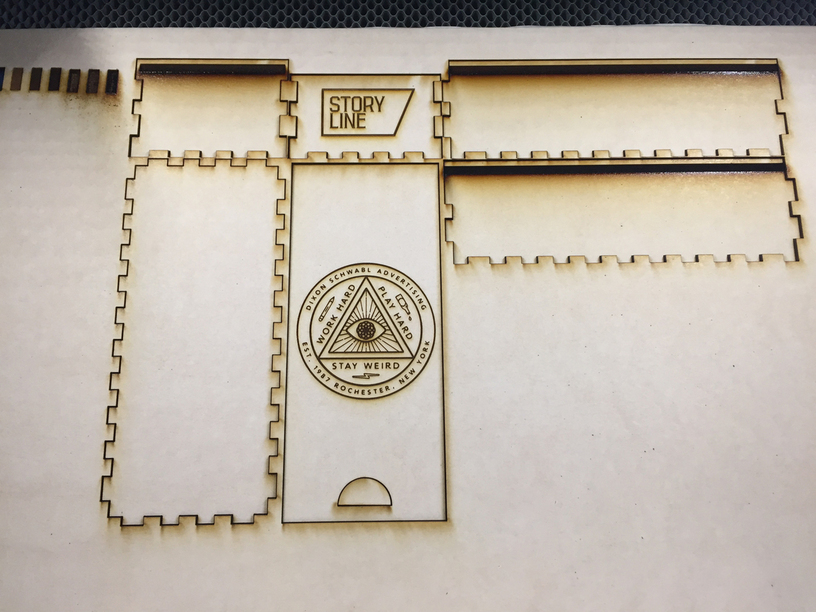
Here are a few prototypes i made last night in both maple and walnut plywood. The engraving is just a placeholder for now as we nail down the basic box design.
Now the fun part, i need to figure out how to pack as many lids onto one sheet as possible. Each lid is going to have a custom design for each client. I think i can get 9 lids on if i share cutlines. My GFUI is going to be a huge mess after this project. Hopefully we get a way to organize it soon, Please @dan
BTW, have you looked at combining different woods? Maple and Walnut? Or Cherry is often a good in between - get contrast almost as prominent at the maple but the surrounding wood isn’t quite as dark. And you can darken the engrave by giving it a shot of Polyshades Savannah Oak (I think, I’d have to check the can I have) before you pull off the masking.
These are amazing! Making a box with a sliding lid has been on my ‘to-do’ list for some time now. I have no clue how to begin making one, though, so guess it will now be added to my ‘to-learn’ list.
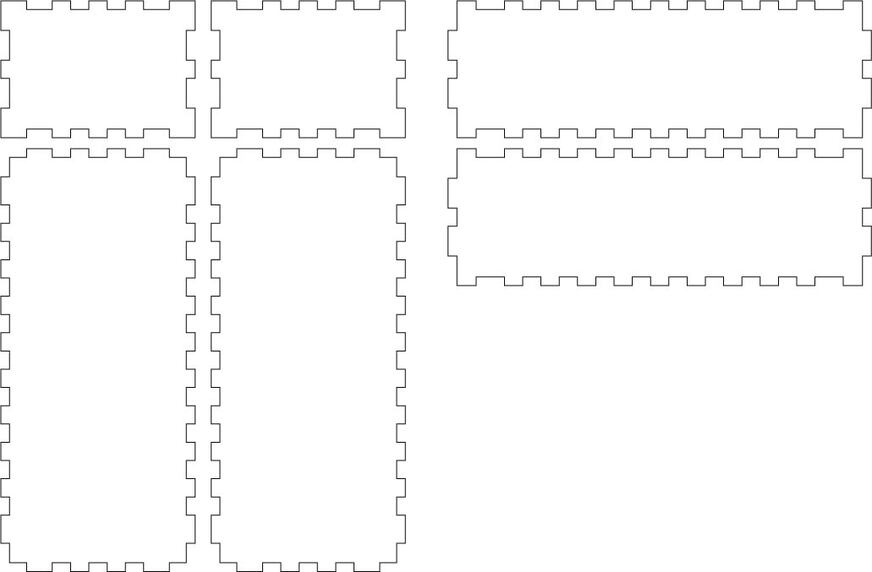
It is fairly simple. I basically just used one of the box generating websites and modified the file it generated to flatten the top and then added the channels for the lid. I’ll try to grab some screen grabs of the process and post them later.
This is a quick and easy way to get a good starting point for boxes. I would highly recommend cut a test box out of cardboard to test the size of the box before making edits to this file.
The real problem with this technique is that if you have to change the box size or material thickness later on you have to make all your changes again. I really need to build a parametric finger joint box in Fusion so i can easily change the box parameters.
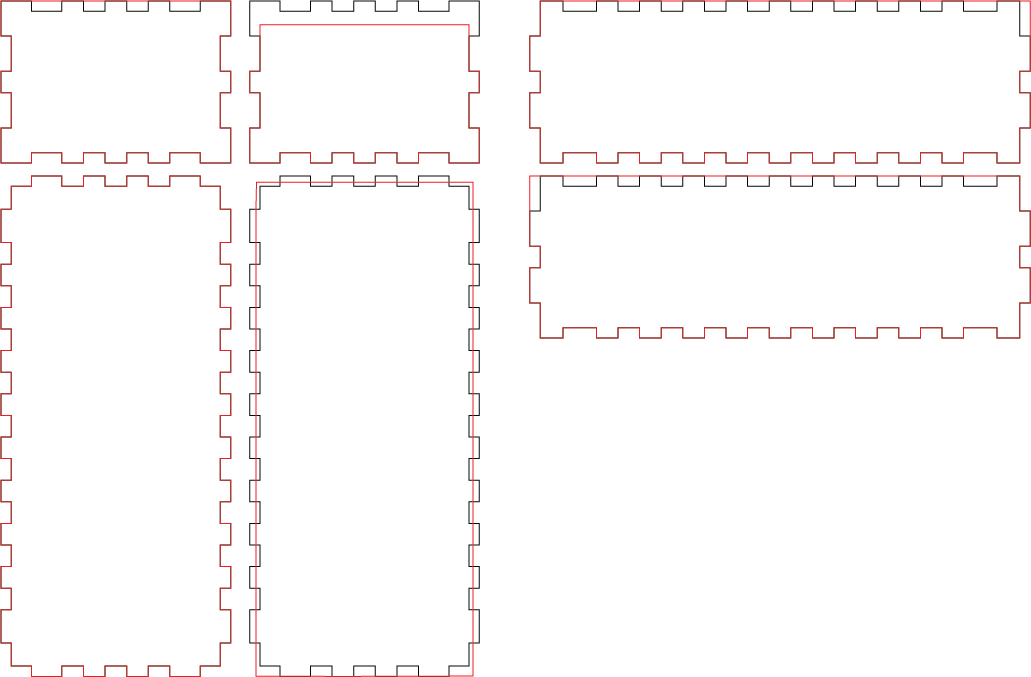
Here is the plan from the website followed by my edited lines overlaid in red. Basically you want to remove the finger joints from the top section and and the tops of the sides. Then lower the top of the front to make room for the top to slide off.
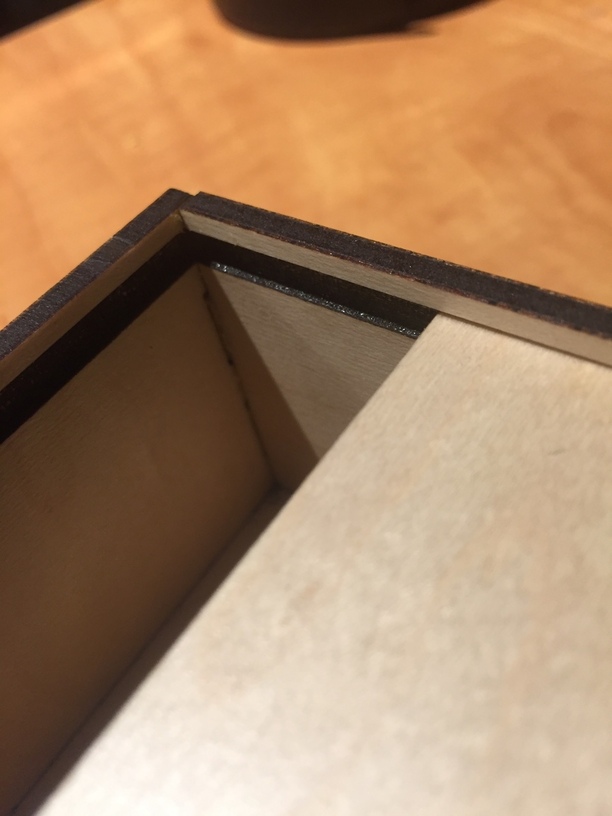
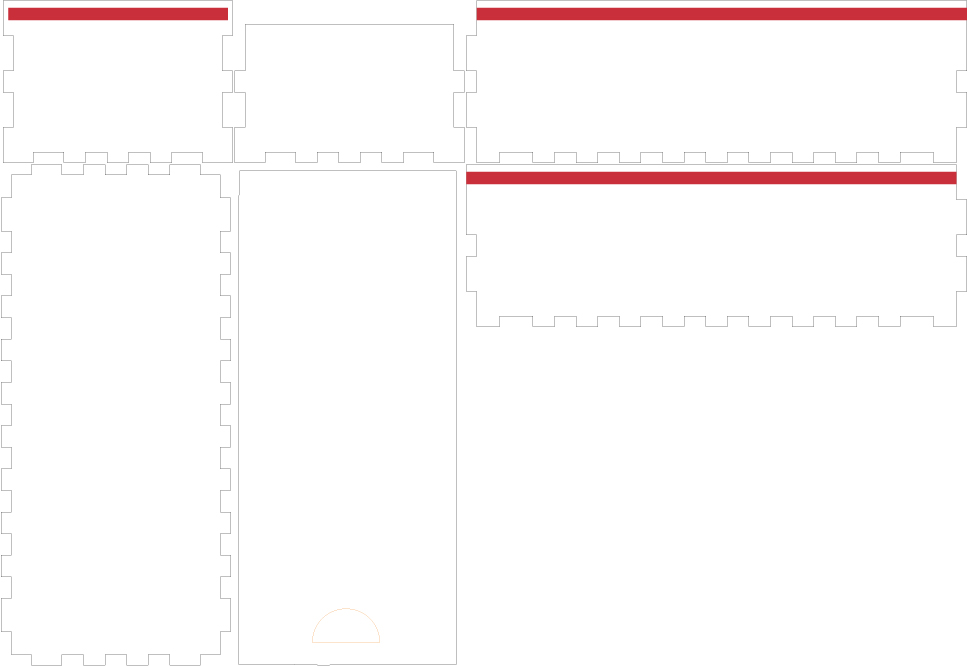
Next came the areas that needed to be engraved to make the slot for the top. The channel needs to run down both sides and the back so the top can close all the way. Make the channel slightly larger then the thickness of the top material.
It can run all the way across the back if you are ok with gaps from the channels on the sides. Otherwise only make it as wide as the sliding top.
Now we need to figure out the settings for cutting the file. Since i was using Proofgrade this was mostly done automatically for the cuts and my image engraves. But since i wanted the channel to be roughly half the thickness of the material. So i made a test file with several small boxes to engrave in the material at different setting till i found one that was the right depth using my calipers.
That is basically it. From there i just cut the file and glued it up. It took a few attempts to fix all the issues.
Like i said before my plan is to make this in fusion where i can make it parametric so it can be easily edited and be used to make boxes of different sizes.