I have a modest little collection of pocket knives and have been keeping them in a wooden box. It was cramped, they often scratched against each other and it was hard to get them in and out. A while ago I purchased a Pelican-style case from Oakley (another one of my obsessions) and decided that that case would make a much better knife box, if only it had custom foam…hmm…
You obviously you know what is going to happen here. A little measuring, some cheapie EVA foam from Harbor Freight floor tiles and viola!
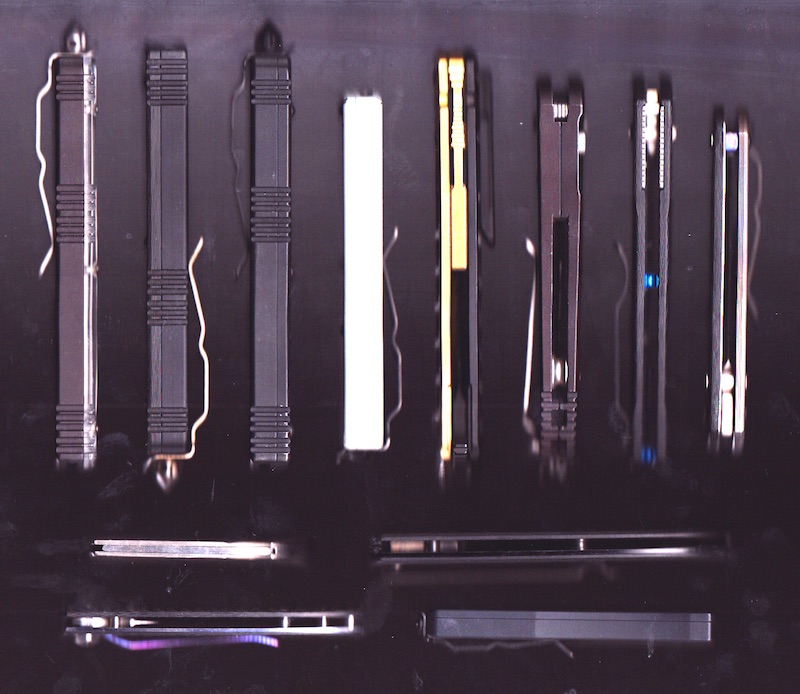
First I laid out the knifes on my scanner so that I could use that as an outline for the shapes.
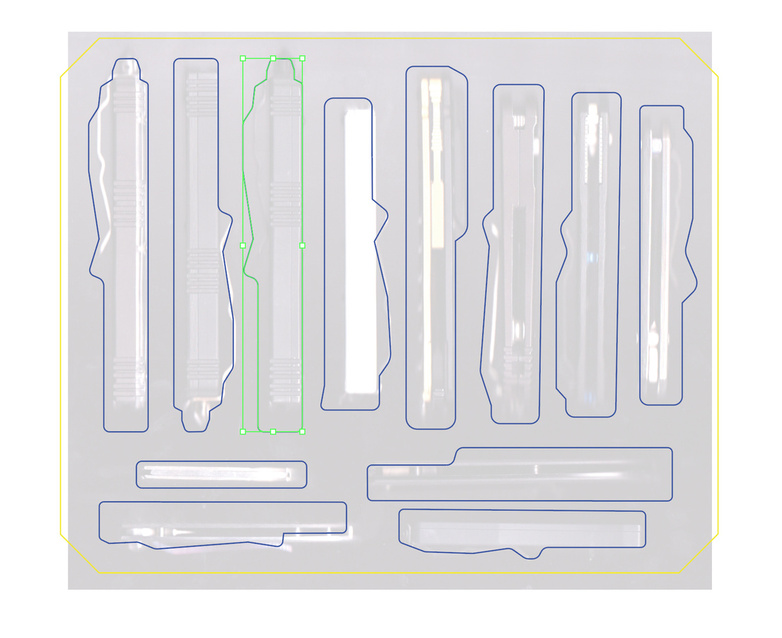
Then I brought that into Illustrator and used the pen tool to draw outlines for each knife. In retrospect I’d make the outlines even closer, but this works well for this particular case.
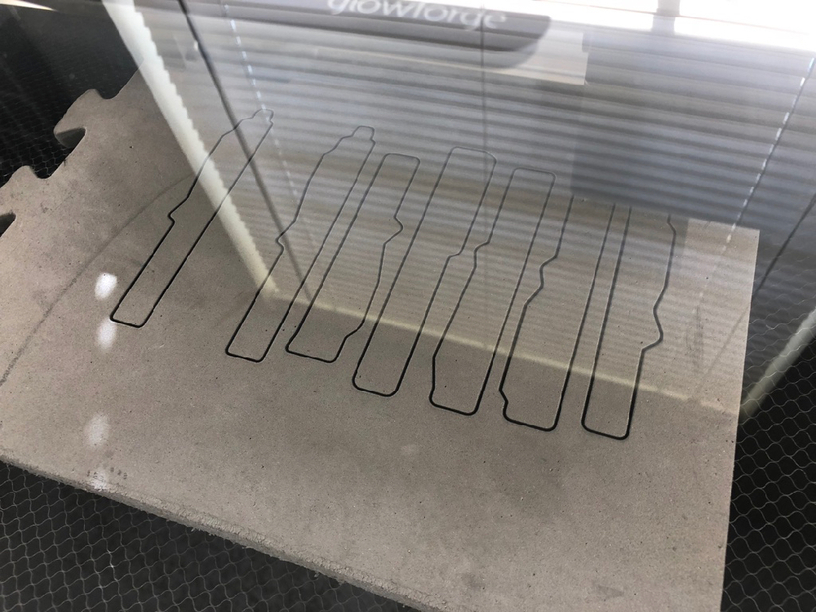
Then I cut out the foam, using 5 solid layers of just the outer line (the case was about 2.5" deep and each sheet was a little under half an inch thick). Then I cut out the top layer with the holes for the knives. I used a speed of 200 and power of 85 and got a clean cut.
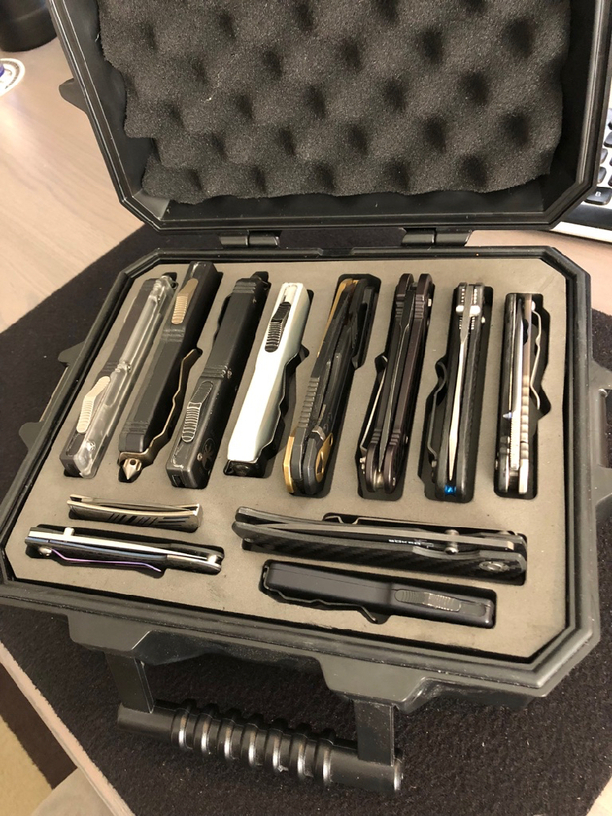
Put all the layers into the box, place the knives and we are done! The foam in the lid keeps everything snug. I probably could cut another layer with all the holes so all the knives sit deeper in, but this setup makes it much easier to get them out.
Nice! The only little oddity while doing this project was that I would hit print and once it processed the GUI window would come up with a time of 49 seconds. The button glowed on the forge, I would press it, the fans would turn on, and then it would sit for a solid 10 seconds. Then it would move and start the cut and the GUI would immediately jump to 35 seconds. The timer would hit 0 in the GUI but then it still kept cutting for a few more seconds. Just generally seemed like the timing was off for the entire operation. Haven’t seen that before, and my test cuts in the foam with a little square worked normally and started movement/cut immediately, so I have to assume it was something in the file
For use like this (holding tools/knives/mid-heavy-things) what kind of foam is everyones favorite?
Both @joker and @Jules talked about EVA - I see EVA listed on some other laser sites as cuttable, but I was thinking vinyl wasn’t recommended … err maybe I’m confused - too many materials to remember!
For tool drawers - like wrenches, etc in the garage-living tool wagons, a photo (try for a full drawer top view straight on shot) with a small ruler (like the GF Founder Rule) in the picture will substitute for the scanner.
Then drop the pic into your design program, resize it until the ruler measures true and now you’ve got the right size for the wrenches, etc. Convert to black & white and have it draw outlines on all the tools. For large tool cabinets, you’ll need to split this into a couple of artboards but it saves you a lot of tedious measuring and drawing.
Great idea! I hadn’t even gotten to the point of thinking about it yet - just bought a couple of batches of the foam squares, cause it’s a project on the list, and they were on sale somewhere.
cool. I have been playing with the trace function and my pistols to see about making cases without the hand tracing. It does look promising, just a little hard to get the sizing true
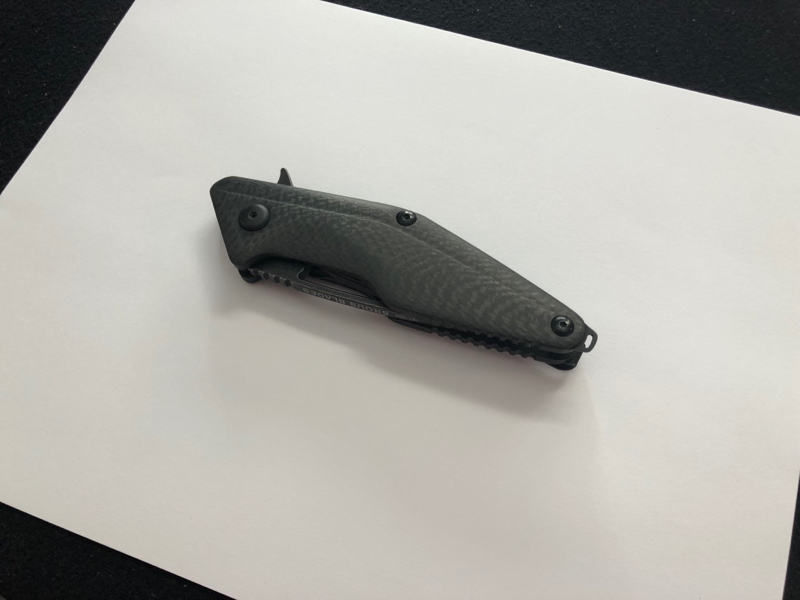
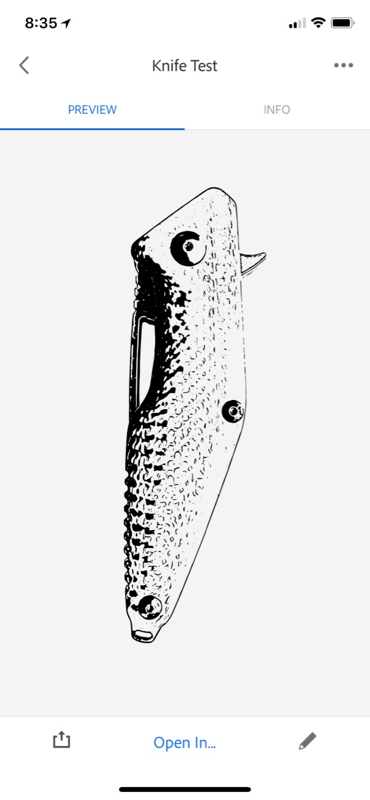
Using my phone and the “Adobe Capture” app for iOS, I captured a view of the knife from straight above and adjusted the contrast until there were no shadows around the object.
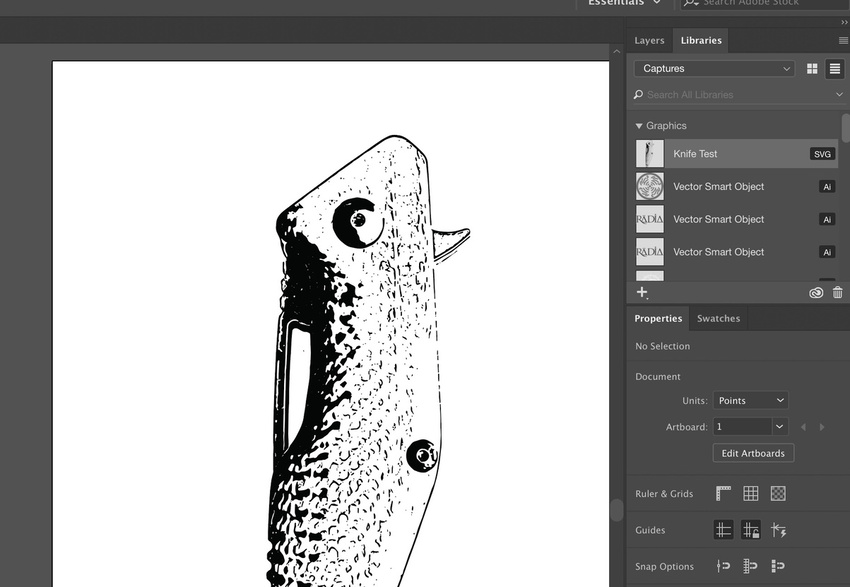
Saving that, it will automagically appear in your library inside Illustrator (as an SVG no less) and you could then refine or pull the outline of the object out.
That could be very cool for this type of project; just lay out all the objects on paper, take a capture, separate out the outlines in Illustrator and then send the SVG to the Glowforge. (Note that it took about 4x longer to write this post then it did to run through the process, it is super fast to use Adobe Capture)

 Adobe Capture!