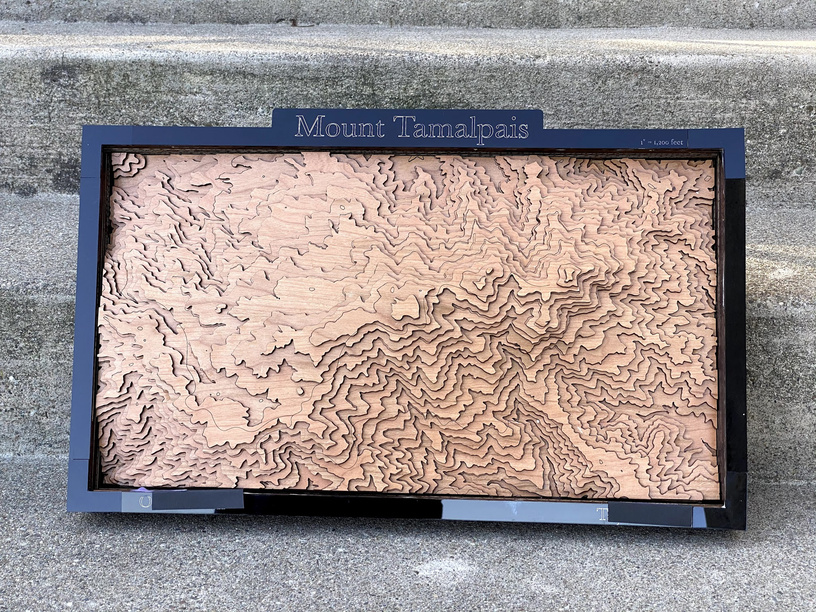
I made a topo map of Mt. Tam, just north of San Francisco, as a housewarming present. The hardest part of this project was getting the topo cut lines that I needed. Ultimately I learned just enough QGIS to extract the contours from the USGS data. I wish that was easier.
The material is cherry plywood and the frame is one layer of black acrylic glued to several layers of draftboard to get the required depth.
I ran through several prototypes. The first was at a smaller scale and wasn’t very impressive.
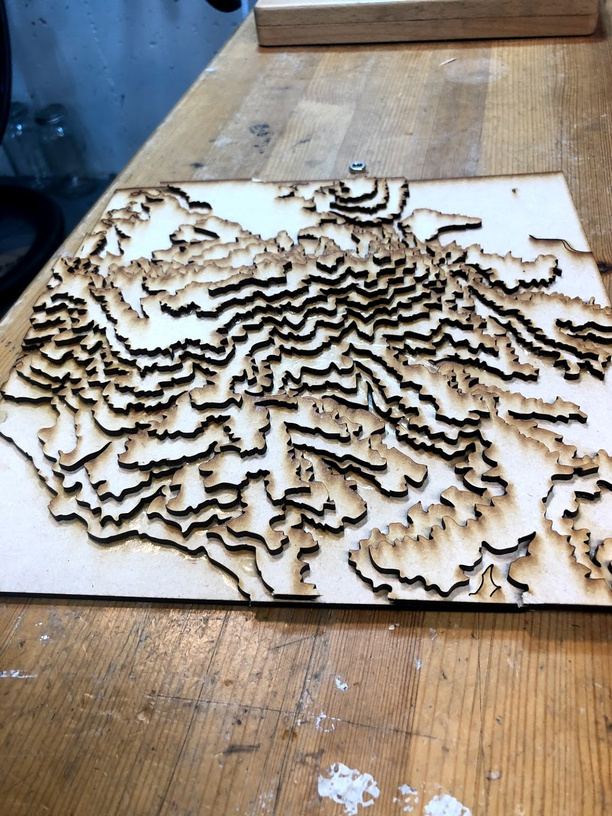
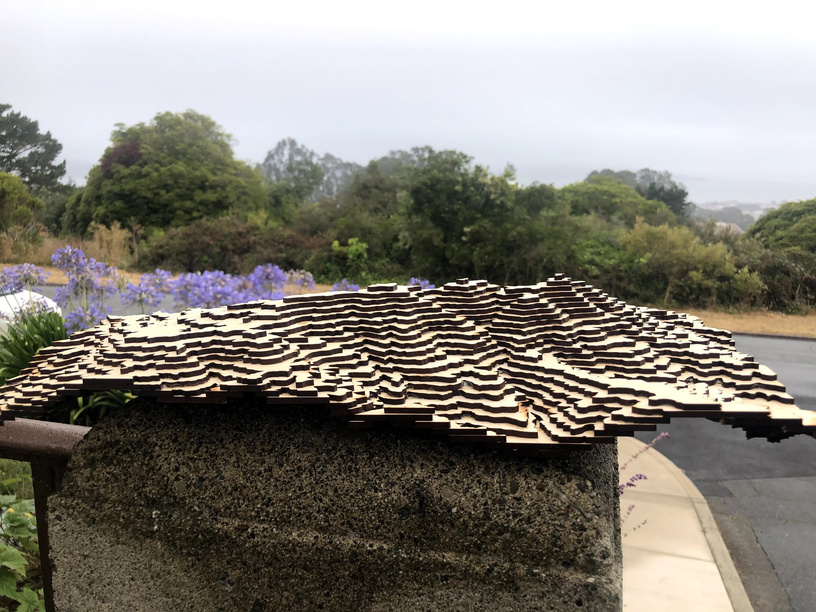
I then doubled the scale to 1"=1,200 feet and built a good prototype out of draftboard. I used the “cut every other contour” method to reduce the materials used, though I hadn’t yet figured out the tip that you can score the contours that you don’t cut in order to create a gluing guide. It takes about an hour to glue all the layers together.
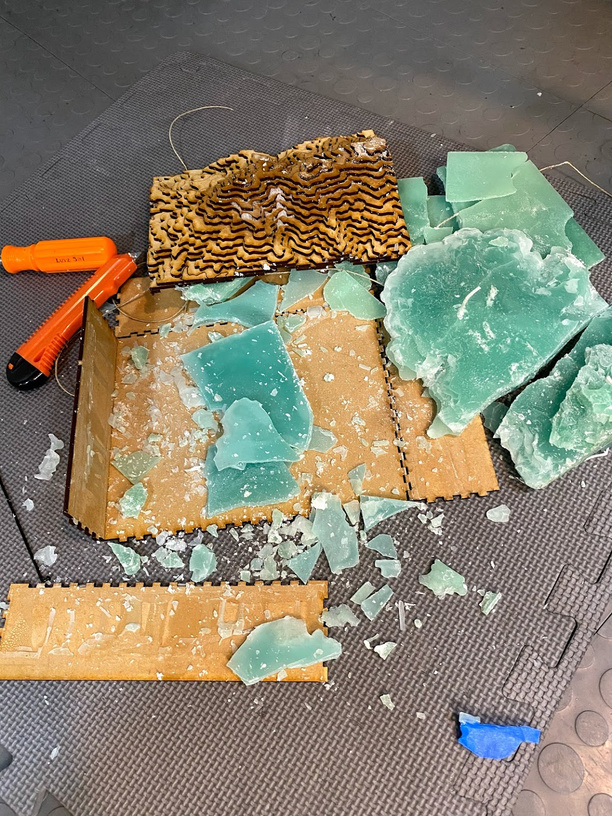
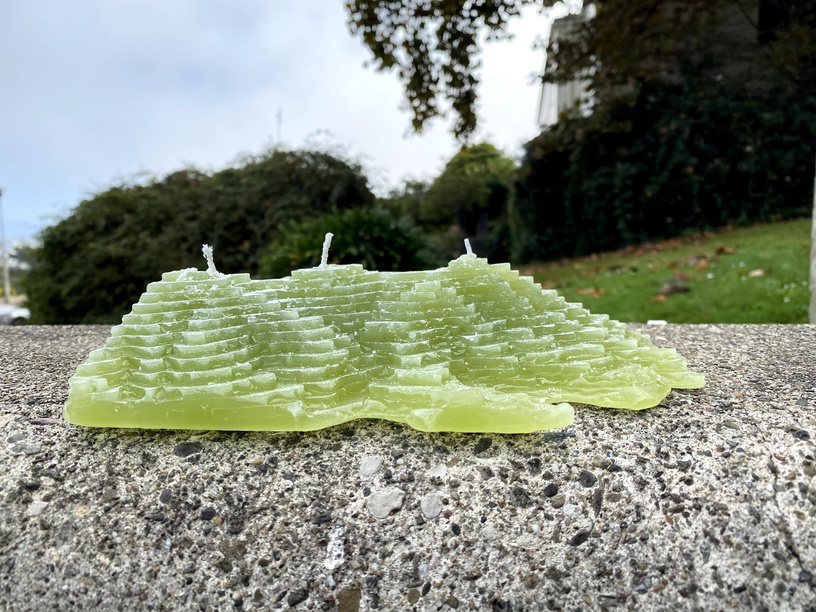
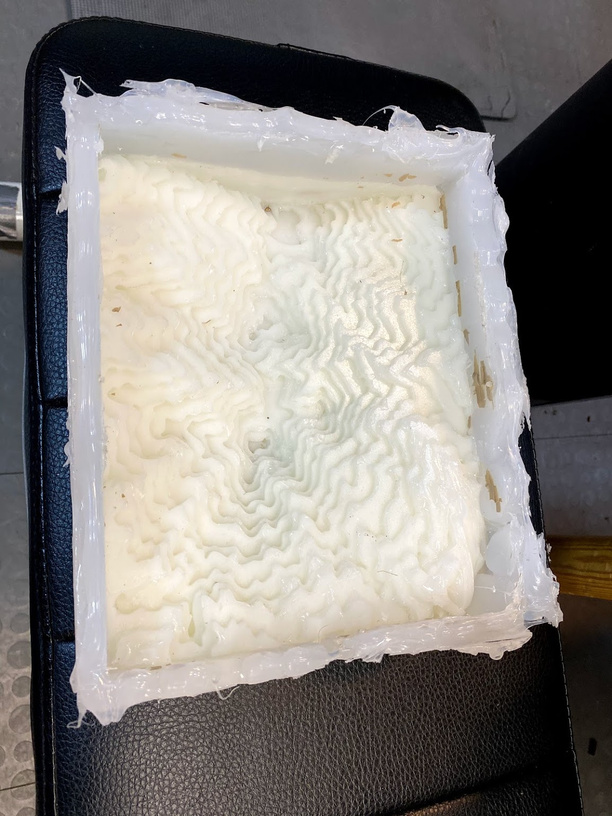
The hollow prototype got me thinking that I could use it as a mold to create some version of this model more quickly. After some fits and starts I made a form that I used to create a mold from silicone and corn starch, and I’ve been using it to create three-wick candles of Mt. Tam quickly and easily.
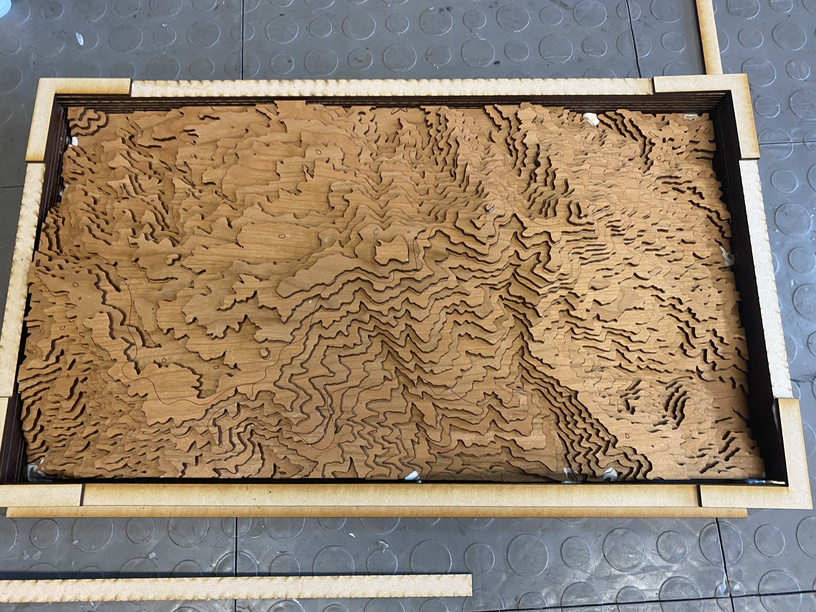
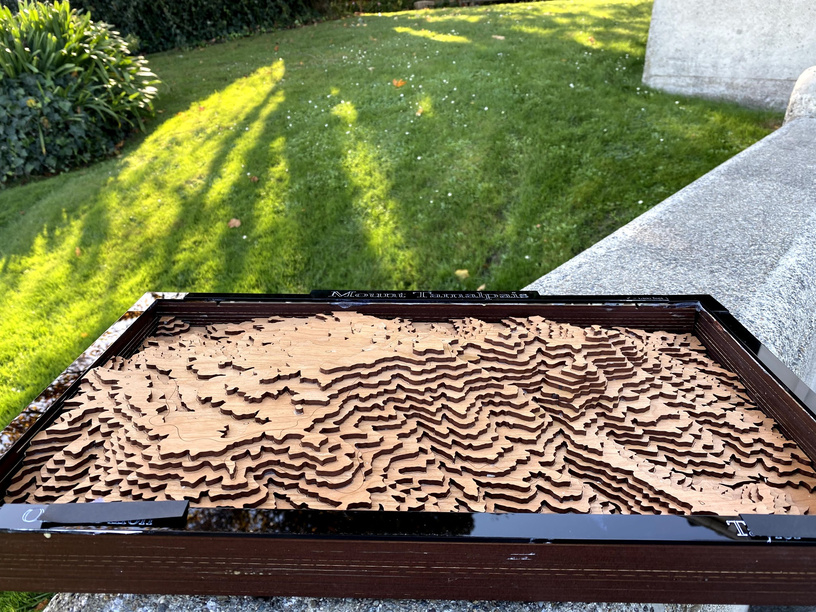
For the final topo map I added a score line for the main road up Mt. Tam then cut two sheets of cherry plywood. I alternated the cut and the score lines for the topo contours, which made the gluing stage much more accurate. I carefully glued the layers together, using office binder clips as clamps when necessary.

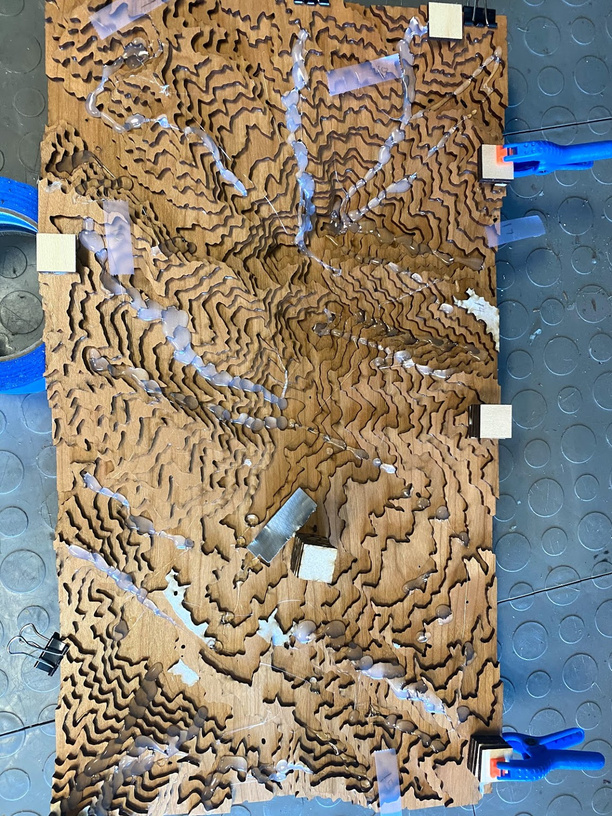
On the underside I shot a few lines of hot glue gun (they look silver in this photo) to add some strength, and I reinforced the edges that didn’t quite reach sea level with some columns of square draftboard so I could mount the model to the base more securely.
I’m not thrilled with the frame - I probably should have made my model a bit smaller because I didn’t have a big enough print bed to cut complete rectangles for the frame, so I had to cut draftboard in 0.5" strips and glue them together, about 2.5" high.
I then cut the top layer of the frame from black acrylic and scored the captions, which I then filled with white paint so they’d stand out more. Again, I wish I’d left enough room to do this seamlessly but I had to do it it pieces because the main model was almost the size of my print bed.
I learned a lot from doing this project and although it was pretty time consuming I think I could work more quickly on projects like this in the future, especially if I get better at using QGIS to extract the contour lines.