MPCNC: a new toy in the shop

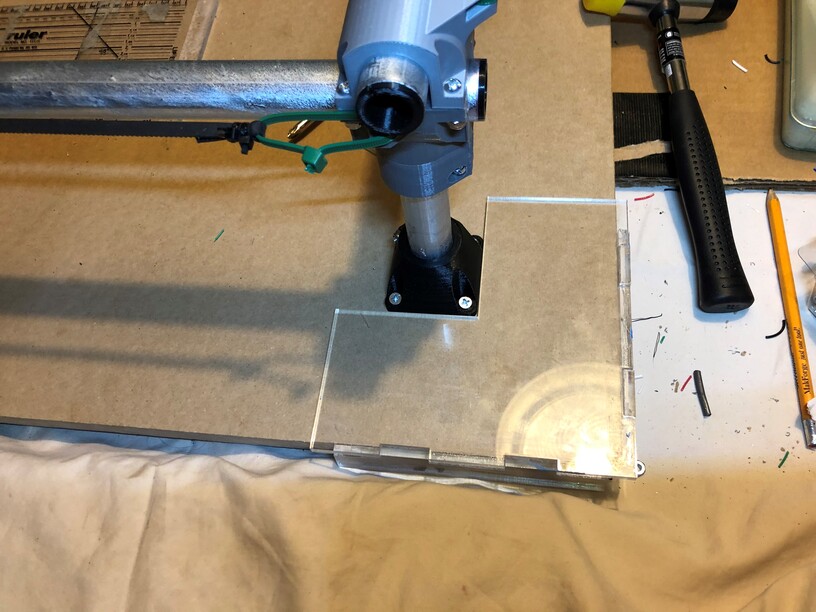
One little jig is an excuse to post about my newest project. Made it out of thick acrylic so I could set the corner feet easily.

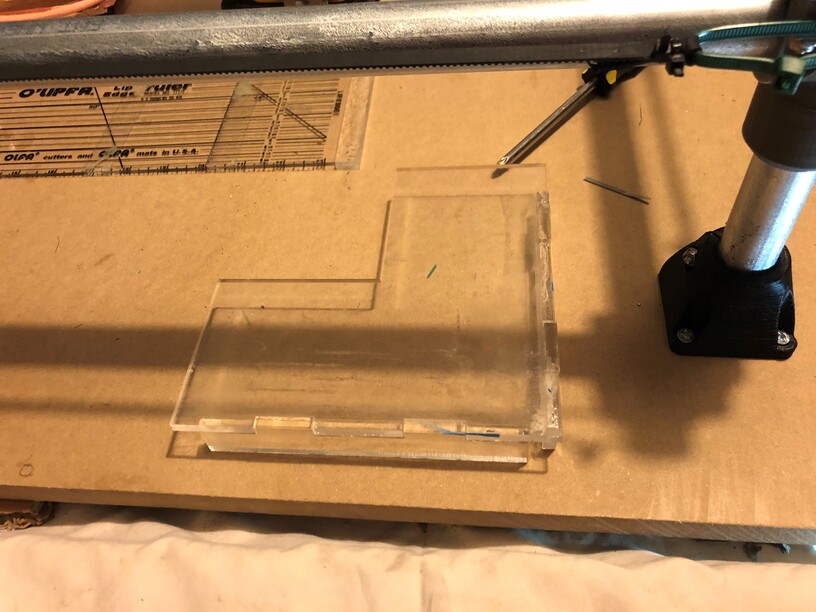
The jig really made a difference in getting it square. With dual end stops it is holding square well.

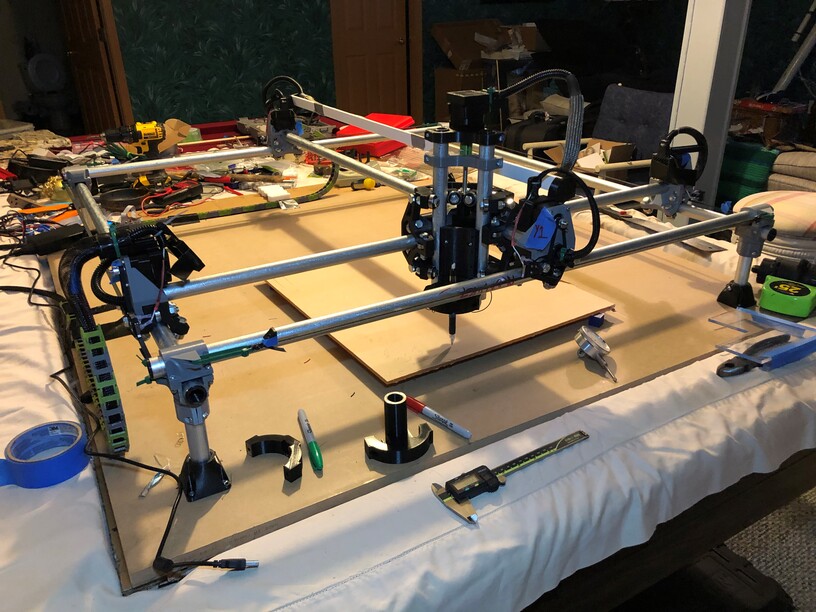
Pool table makes a great project table for assembly.

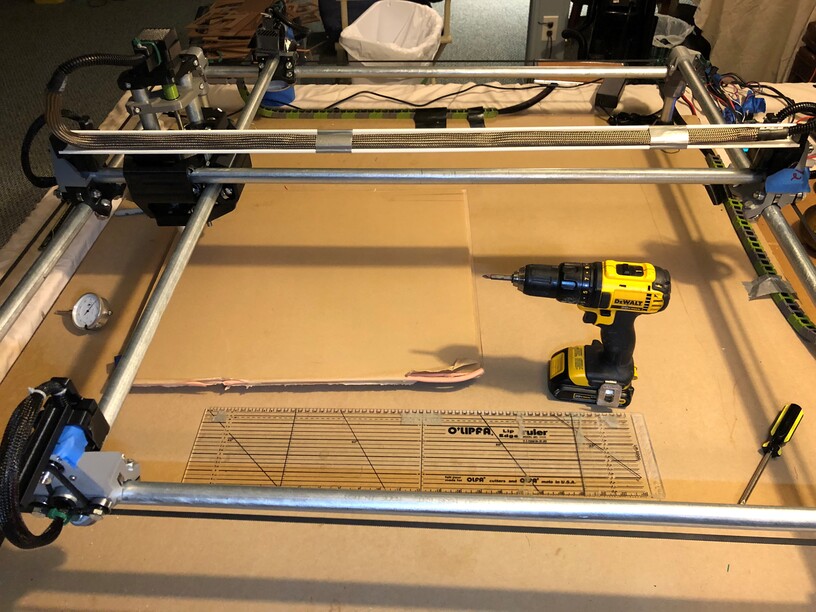
Accessible bed is about 800mm x 800mm. Should accommodate 2.5 inches of material. You can buy all the electronics and hardware from the V1engineering. I just bought the motors and control board.Wish I would have bought the wiring harness but figured I would make my own up. I had ordered a dupont connector crimper and kit but it never showed up. So it was a lot of soldered connections and shrink tube.


As much as I read up and wrote things down and tried to plan ahead with a spreadsheet and everything to source the parts, I still fell prey to confusion and printed out the 25mm parts which are common for European stainless pipes rather than standard 3/4" US conduit which is 23mm. Haven’t been the only one confused about the naming conventions used on Thingiverse. I had two downloaded directories and didn’t expand the column in explorer to reveal the whole name of the directory. Picked the wrong one and just kept printing from that directory during the two weeks it took to print it out. That was way back over Christmas and I was so deflated over it, that I had to put it on hold for a bit.

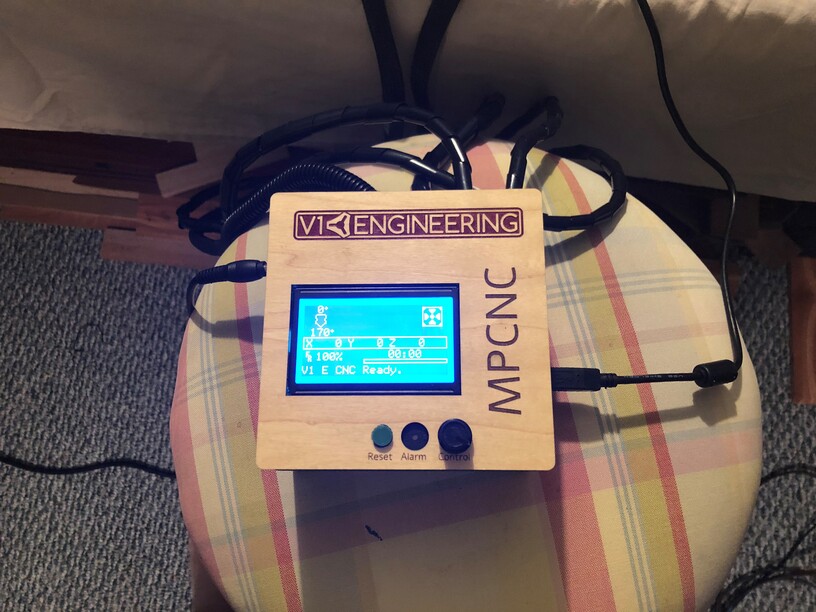
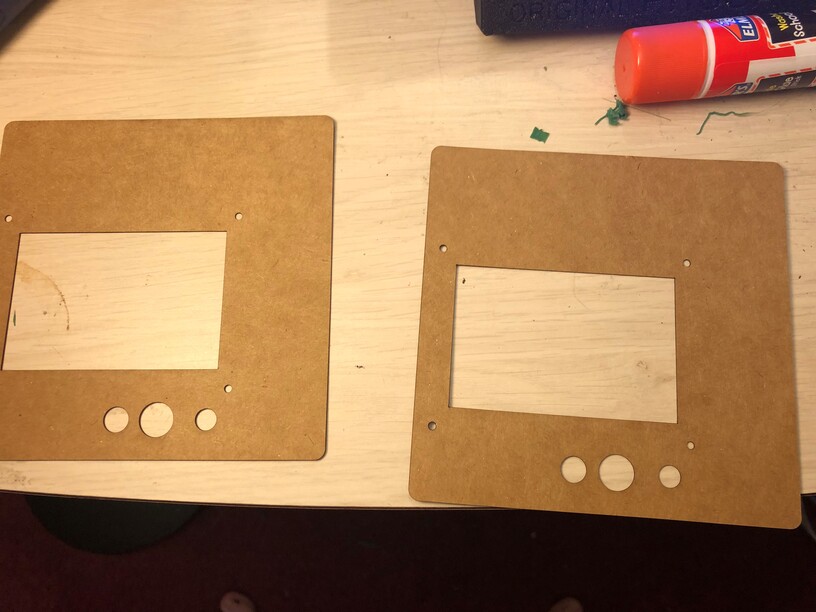
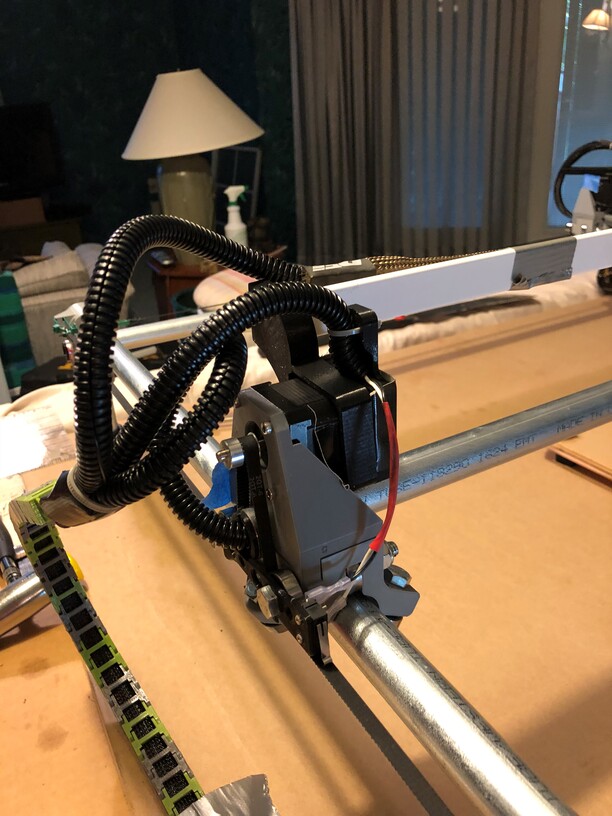
Got all the wiring neated up except for the very ends that are waiting for the control box. I’ll probably do a combo of 3D printed and Glowforge for the control box.

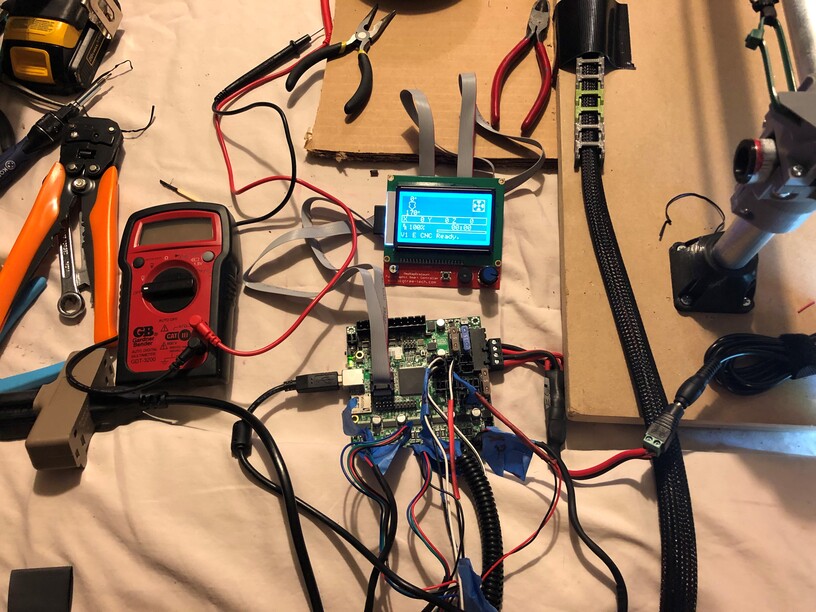
Was absolutely floored that no magic smoke appeared. Just so confused in figuring out the build instructions. There are so many options and parameters and versions that it took a long time to decipher everything. Everything was wired correctly but with the x and y swapped from where I wanted to put the zero point. So I swapped the stepper plugs and it’s off to the races.

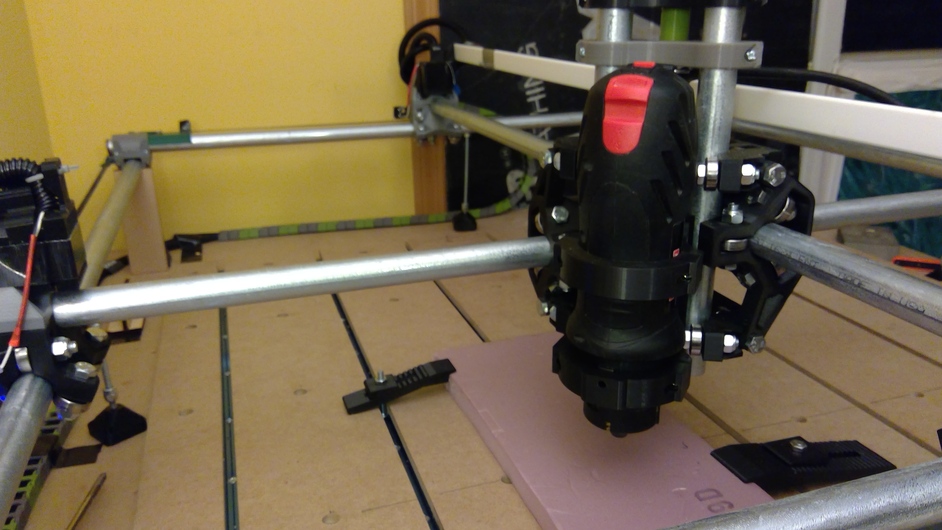
Early shot of the build after squaring everything up and installing motors. With the first large 450mm x 450 mm square, it is off by 3mm in the Y but seems spot on at that distance for X. There is something going on with the Y. It travels smoothly without power, but under power, there is a little rumble, slight grind or rub somewhere. As much as I have been reading about these and trying to understand how the boards and steppers work, it still is pretty steep learning curve. It does make me appreciate that I can just drop an SVG in the Glowforge and away it goes.

Right now the process is Inkscape to Estlcam to repetierhost. Getting that workflow figured out is taking a bit of time.

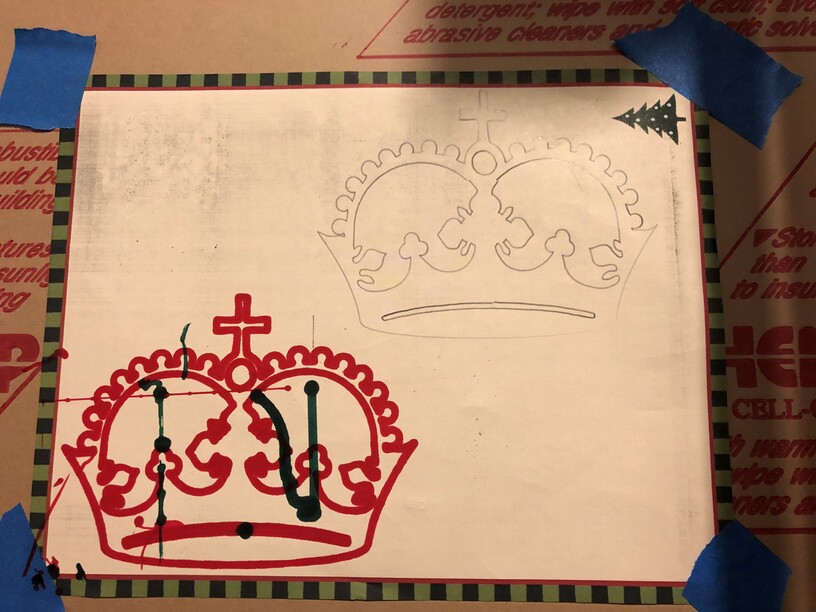
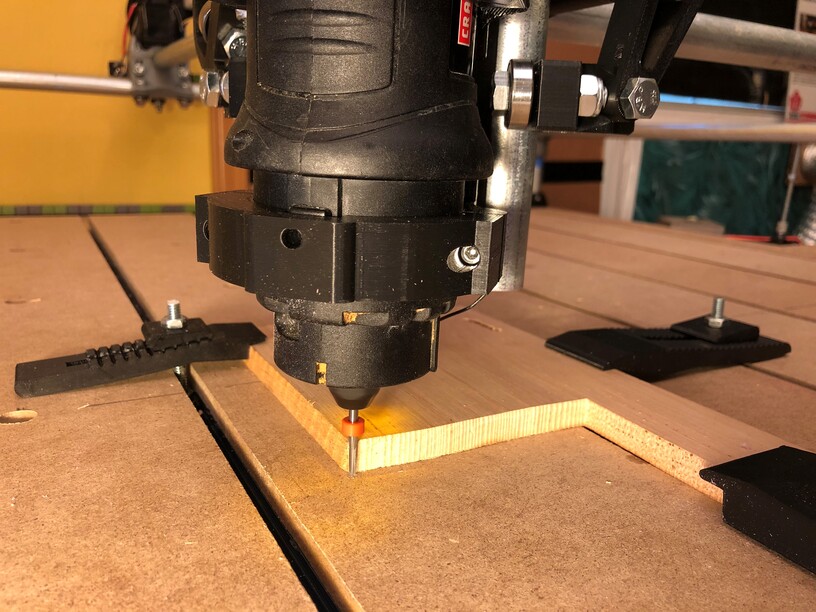
This is the hello world file for the MPCNC. I had to go back and readjust the heights of the risers after jamming the sharpie tip into the work. A little too much stickout from the marker and the pen and it shows from the change of direction wonkiness in the design. Printing an improved pen holder with a spring right now.

I am also having issues with homing in the X. When I tell it to home, only one stepper moves. I have lots to figure out for troubleshooting. I thought I had everything configured correctly. The Y homing command moves both steppers. Strange.

I am a long way from cutting some chips though. I need to wire in an E-stop, get the case done, and then switch to a setup of Octoprint on an RPi for control. So many things to check off that I’m not sure where to start. Can’t fix one thing without figuring out the other. I need to make the table it’s going to go on and then rig up an enclosure and get dust collection figured out before then too.

All in all, it’s going well. I was working on either building or buying a CNC router a few years ago. Bought some steppers and some v-bearings, and a tinyG and used Chilipeppr to begin trying to figure out how these things work. Ihad been ready to buy an X-Carve in 2015 when Glowforge debuted and then I went in a different direction.

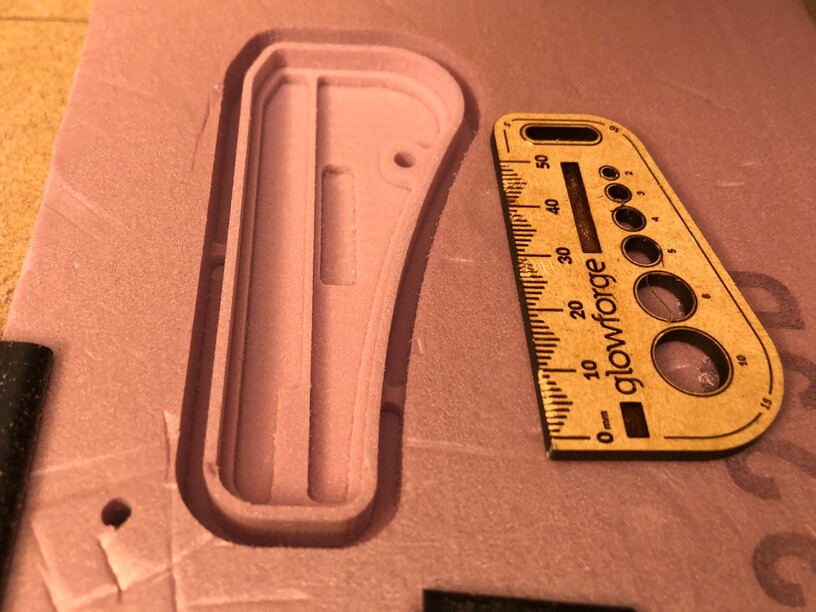
I am not quite sure what I am going to do with it. I have an idea of surfacing larger end grain cutting boards, but that is a pretty tall order. I have a Craftsman multi use rotary cutter that I got at a garage sale for $10 practically brand new. It will work ok for now. Spent a lot of time designing the custom tool holder for it.

16 Likes

That’s impressive! Hope you share whatever you end up making with it!

4 Likes

You don’t need an excuse. That is great.

5 Likes

Wow … you have been busy … and so much more to come. Glad you posted. Quite the undertaking.

2 Likes

You just amaze me, Marion…you are so thorough in your interests and in the knowledge you continue to seek. You must have a lot of fun with all this stuff!

2 Likes

Oh my, what a complex undertaking! Better you than me, but I know you enjoy the process. You may inspire me to dust off the Tooli and actually put it through its paces. I still haven’t done the custom decorated cupcakes I was planning.

1 Like

I am more interested in getting it to work and figuring out the electronics and software as much as anything. The great challenge now is to work on precision. I still need to get the travel a little more level and the end stops are not functioning correctly.

It’s also a good opportunity to work on 3D printing modeling as I am doing custom parts.

1 Like

These days whenever I see a maker carefully cutting out with a blade some type of material for a prototype, I immediately think, “They need a Glowforge.”

I can do some neat stuff with my FDM 3D printers, but having the Glowforge to add that extra something makes sucha difference.

In this case is was tweaking my CAD model after doing some tests in cardboard on the face plate before committing to a final print. Given the holes that I needed on the face, I didn’t want to spend a couple hours printing just to find out that I didn’t have the measurements quite exact. The chipboard sure makes it fast to check out a design.

This is the control board. Skinned it in veneer.

9 Likes

Got my table finished and the t-tracks and spoil board in place.

Got the router attached. Going through the motions without a bit at the moment.

11 Likes

Is it meant to be mounted at the top of four skinny legs? Will it hula when router meets material?

1 Like

Wow, that is a serious piece of kit! The table looks really solid—super job on that. I somehow missed your earlier photo of the control box; that came out so nice (don’t forget to weed the “P” though).

What’s the plan for dust collection? Or does this thing have that built in?

3 Likes

The table is top heavy with that mass. Still to come are struts to prevent racking. The posts go through another layer of plywood with holders underneath on the bottom It’s not too bad at the moment. Speeds and feeds are pretty low for this machine.

Nothing gets by you. Thanks for pointing that out. Hadn’t seen it at all.

2 Likes

Pink foam mills superb.

This is cypress. It is holds well in grain but is not very dense. Perfect for testing out. Now comes the post mortem to see what I need to tweak. I used gcode provided by the project developer and it worked well. Didn’t quite understand where he put his 0,0,0 but I let it finish the job.

Here is the router setup. It’s a Craftsman trim router and it works well. It has an 1/8" collet, a 3/16 collet and a 1/4" collet.

7 Likes

Gosh, I’m impressed! It does a lovely job on the cypress as well as the foam. Can it do metal as well?

1 Like

It can do some light work in aluminum. Not sure if this router has the capability. So much more to learn about speeds and feeds.

Camera alignment in the Glowforge and not having to worry about gcode is a definite plus.

Part of the issue is that depending on what control board you use, the flavor of the firmware changes what gcode is called for. Then you have to figure in the machine control interface. In my case, I have used a java server web app that works great but not all the commands on that are built into the interface make sense to the hardware. My head is spinning trying to figure it all out.

I may finally break down and switch to Fusion 360. The CAM package is part of the hobby license unlike Onshape which doesn’t include the CAM. Then someone wrote a post processor specifically for the MPCNC. It seems to be getting lots of support and use.

I am using Estlcam. A German developer is the creator. It is free to use, but adds an incremental delay each time you use it to create the gcode. It is the most common CAM processor for this project. It does just about everything I need for 2.5D work.

2 Likes

Sheetcam is also a nice toolpathing only app (but it does cost $150ish). Makes clean G-code but what’s really cool is you have a ton of control over what you want the path to do. You can add “code” snippets to tools and paths so you can slow it going into a corner for instance and speed it up for the straights or whatever.

Very simple to use because it just does one thing - paths & g-code generation.

1 Like

Of course, once you’re doing foam you can do what they call “lost foam” aluminum casting.

1 Like

This topic was automatically closed 32 days after the last reply. New replies are no longer allowed.