I’ve owned a GF for a couple years but am just now really starting to use it. I’ve purchased and cut designs but wanted to try my hand at replicating real world things.
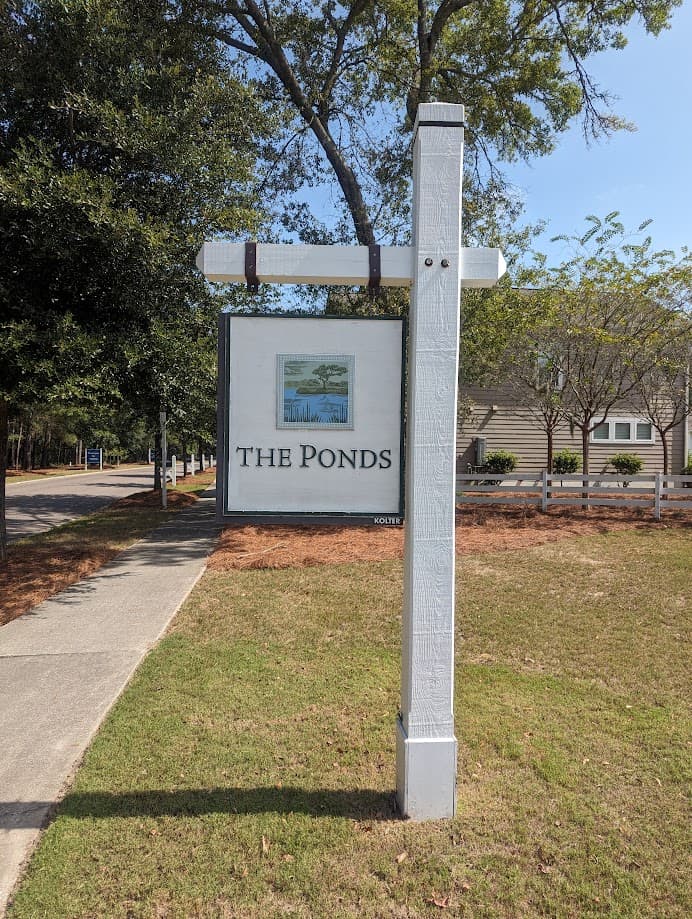
Our neighborhood “The Ponds” has its own logo/letterhead and people here are quite familiar and fond of it. I took a stab at vectorizing it (after desaturating to monochrome) using free tools online, then did the rest in Inkscape. It took a LOT of vector cleanup to remove details too tiny to matter, but I already see where I could have gone even simpler.
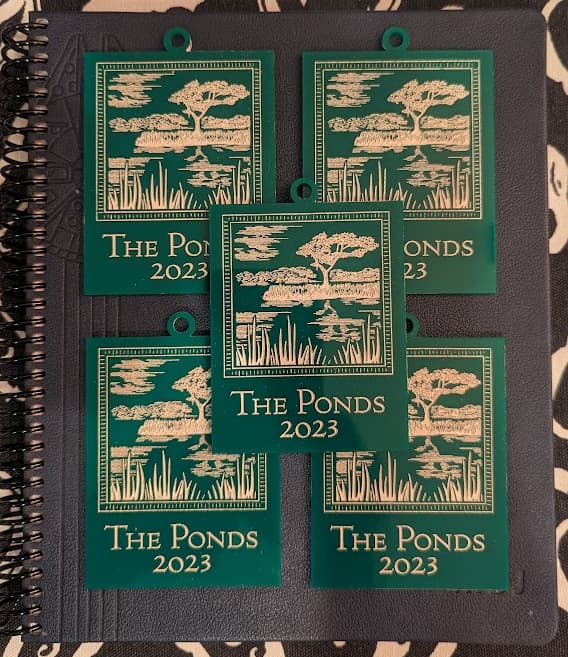
But, in the end I’m quite happy with these ornaments and they should make several residents happy.
Welcome to the forum.
Very nice result, and a nice addition to your neighborhood. Your neighbors are going to be knocking on your door with personal projects.
It’s a pretty logo to begin with, but you’ve done a lovely job of vectorizing it. I agree - you’ll probably start getting requests for all sorts of things now!
Welcome to the forum! Glad you hear you are starting to use your GF! And what a great start to share with us. Please continue to share your projects with us. We love seeing each others’ works!
Excellent job on that! The logo made a surprisingly nice monochrome design—not all full color designs will do that. Or maybe that’s your skill at work here!
Not sure if it’s skill or OCD / ADHD perfectionism
This was also my first time using Inkscape and there was a LOT of Googling and YouTube videos. I know I spent way more time than needed to get it where it is now, and will likely spend more simplifying it further because after the etching I can see there’s way too much detail for the 3" - 4" scale I’m cutting it for. More learning for me! (which I know everyone here can appreciate is a good thing)
@andreafblair yes, I painted the etched part using basic acrylic paint and sprayed a matte Polycrylic to seal it and give it a frosted look. Here’s my steps:
I started with a sheet of 1/8" masked acrylic (from CMS Acrylics)
Etched & cut
Painted the etched parts with the rest of the masking still on
Weeded (removed) the remaining masking on the front (left the back)*
Polycrylic matte spray the front
Removed the back masking and Polycrylic matte spray the back
I realized that I left WAY too much detail in the design and lots of the smaller spaces were impossible to weed using my hands, small tools, tweezers, etc. I read on another thread to use a clothespin to scrape the smaller bits off. I also used some Gorilla Tape to pull off smaller bits. I also had to make sure to thoroughly wipe the surface to clear out all the paint dust before spraying. I keep a stack of microfibre cloth in my shop which did a great job.