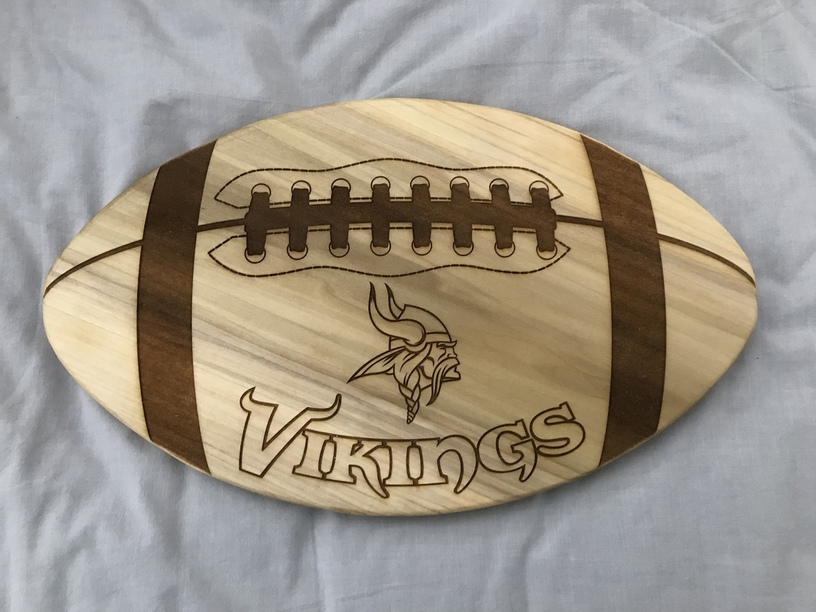
This is the 4th and final cheese board slash serving dish that I was able to make from scrap wood found at Home Depot. Wood is 3/4” thick, so I scored the outer perimeter and cut it by hand using my scroll saw. Then, sanded all the corners and oiled it.
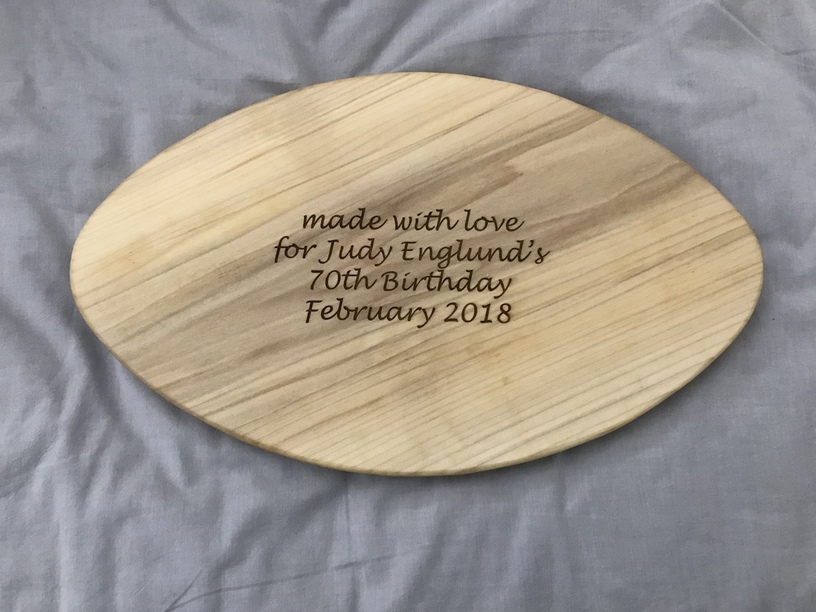
Note: aligning the text for the back side was a super big pain. To be fair, it was just as much of a pain as I would have expected from any laser that isn’t a Glowforge. Using the camera for alignment is a joke considering how off the optics are. I had to laser the text at the lowest power possible several times until I finally got it in the right position on the board. In the software, it was showed as being in a very different position. Once I found the correct alignment (completely through trial and error), I lasered at the correct power settings. Then, I used a random orbital sander to sand away all the markings that were in the wrong positions.
Glowforge hardware is excellent. Software still needs a lot of work. Thankfully, this will get improved over time without needing to send my Glowforge away. .
Looks fantastic (I’m sure she’ll love it !!). I usually put a cardboard sheet in, cut out the outline then start aligning the text using low scores until right. then I take out the card board shape, put my shaped “object” into the cardboard “jig” and score or engrave the text.
That’s what I would do if I were engraving on something thin, like Proofgrade plywood. Didn’t seem practical in this case because my part was 3/4” thick. I had to use my 3D printed risers just to get the top surface within the focus range. Thanks for trying though.
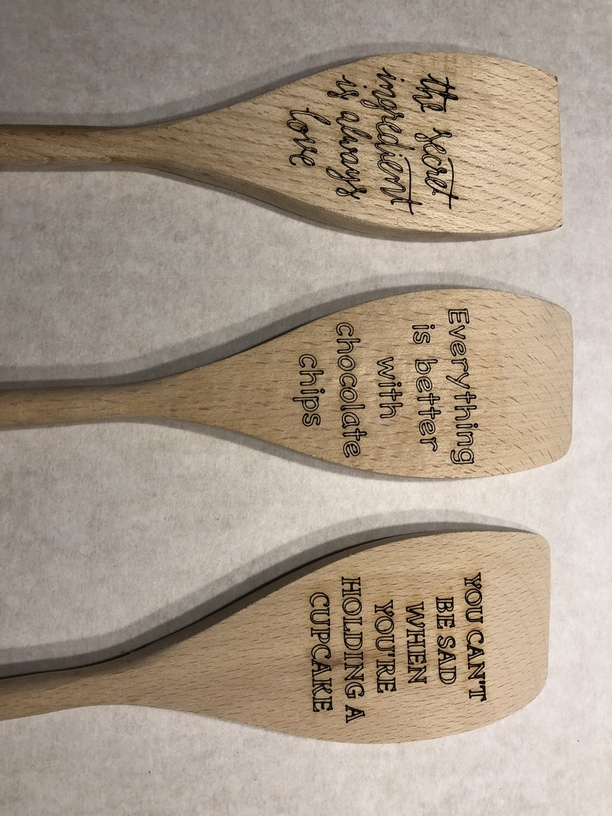
I had similar results with a wooden spoon. Then I traced the spoon with a pen, scanned the image and brought into the UI. Cut on low power on paper held by magnets, then set the spoon in the spot it cut, then added artwork for text within the UI (DO NOT GO BACK OUT TO HOME) positioned the text in the outline artwork ignoring where the spoon was, and perfectly located.
Sounds like a lot of steps, but once you do it a couple times it’s easy peazy.
Thank you for your input. I agree with you 100% for thin materials. In my case, I was lasering 3/4", which meant I needed to take the crumb tray out and use risers.
In your case, you could have used exactly the technique you did use, i.e., trail and error at super-low power, but done it with a sheet of paper clipped to the wood. Once you got the position correct, the paper would be removed and the final engrave run.
That at least would save you the effort of sanding off the test engravings.
Yes, riser-requiring materials add a bit of an extra challenge. My workflow for making thick cutting boards is to prop until the surface is within focus range, and add a sheet of medium-tack transfer paper (blue tape in a pinch, being careful not to overlap pieces) to the engrave area. Dialing down the power allows me to verify position without affecting the board surface. When everything is in place, I dial up the settings to the actual engraving values and go.
Likewise, I make and sell custom 1" dice – I have a wood jig that holds them in place, but for each production run, I likewise add transfer paper to the tops to verify all faces for the first engraving run. After the full-on engrave, I can swap/rotate each die until the batch is engraved on all 6 faces.
Just a couple of well-intentioned and hopefully-helpful suggestions – YMMV.
Does the GF have an “outline” feature for what it is about to lase? The Laserstar we use at work helps at locating the file… though it’s a fiber laser.
Conceptually, the onscreen alignment should eliminate the need for this function. That being said, it’s been requested a number of times and is “in the hopper” of potential functionality.
I had a question about this method. When you’re cutting the paper, do you change the focus height to the height of the paper, then adjust it to the height of the spoon once you lay the spoons on top of the paper? Or do you keep the focus at the spoon height the entire time (while cutting the paper as well)?