This is the first step towards making money with puzzles. Not a complete success, but not a failure either. After three false starts and 2:45 minutes it’s done.
Lessons learned that I knew about but had forgotten were not to engrave over the QR code. I stopped it 15 minutes into the first engrave. The other known thing that I had forgotten was not to engrave over the masking, or a lot of the light engraves come out only on the masking and the masking glue gets engraved and leaves a sticky residue. Another 15 minutes out the window.
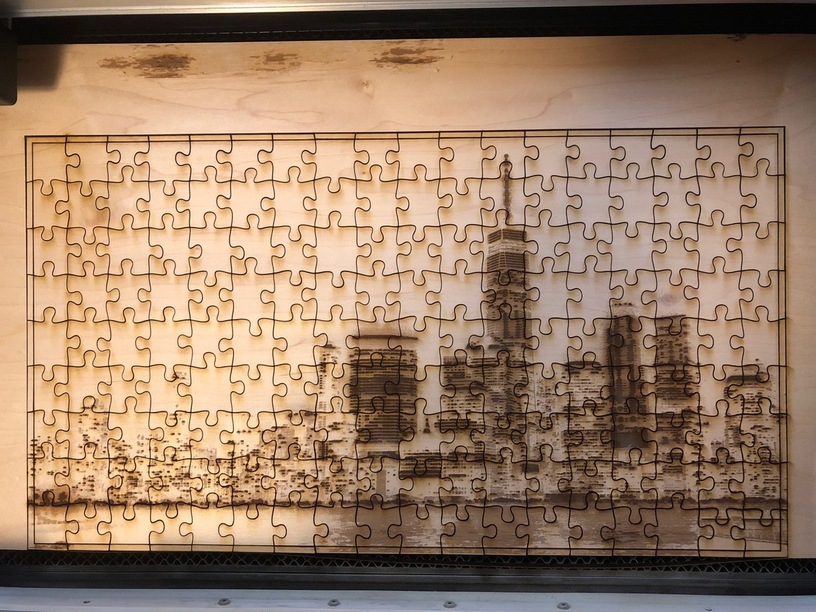
Third time was a charm, but I should have ignored the cuts and masked over the engrave before cutting, because now there’s smoke residue. I also mis-read the GFUI and didn’t realize that the inner boarder meant to be a score, was a cut, so now the puzzle is 0.3" smaller in width and height that I had intended. It’s 17.4" x 9.5".
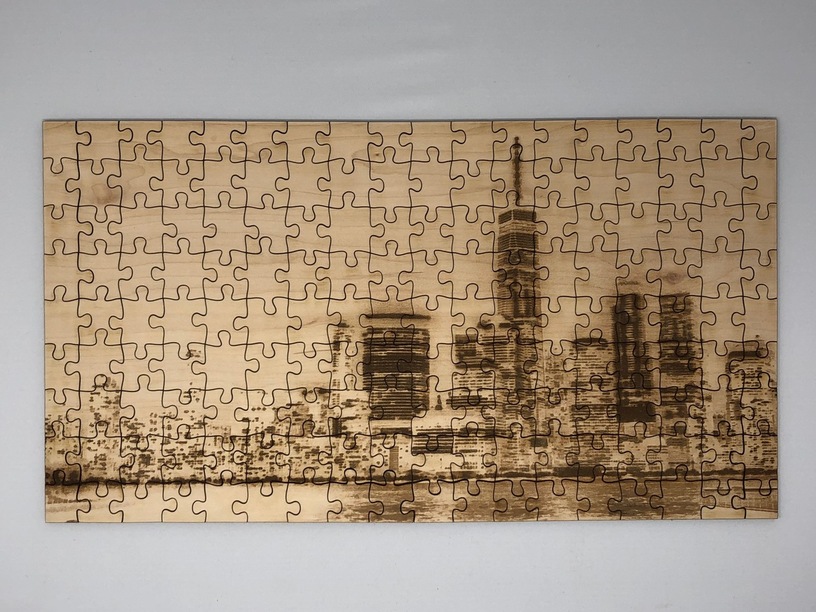
Pieces are kind of large. Almost 1" x 1". Now, I’m scratching my noggin trying to figure out what to use to get it out all together to take a better picture. Anyway, without further ado…
Since you’ve got some overhang on the material, and you have crumbtray rulers, maybe run your engrave and outside cut as the first operation, take the piece out, flip it and run your puzzle cuts with the backside up/image side down. I flip my SVGs to orient the shapes correctly, but a standard puzzle cut oughta work without flipping the SVG. That will also help it appear to have a smaller kerf if you get the “just through” settings.
I have been through this forgetting dilemma many times. I remember what I forgot the first time but forget what I remembered the time before, and now because I am in a rush I forget something new one the third try. Keep on truckin’ my friend.
I only partially spilled it once, but that taught me something. Make the back a different color or finish, or put a dot on each piece. Because the back REALLY looks like the sky! Unless one knows how to tell from the kerf which is the “other” side.
Didn’t think of that, but it should be easy to do if engrave the front first and flip it over to do the cut as suggested above. Then you could even number them as a guide…