After moving to a new home, I have been a bit out of commission because my office, where I keep my GlowForge had crank windows and I had now way to safely vent the GlowForge.
This totally caught me off guard since my previous window was a vertical sliding window and I had made this fun/simple/adjustable solution:
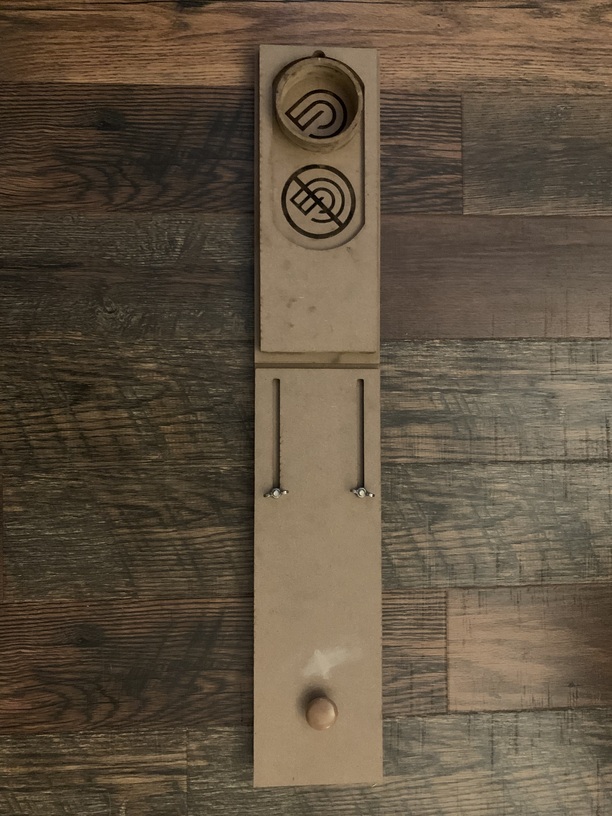
This solution allowed me to easily put the exhaust in the window and while it was there, I could even slide the vent open and closed.
However this design doesn’t work with crank windows. Now I had to go back to the drawing board. In addition, my wife asked me to minimize the impact and what was visible from the outside. So I after thinking about it quite a bit, I came up with this:
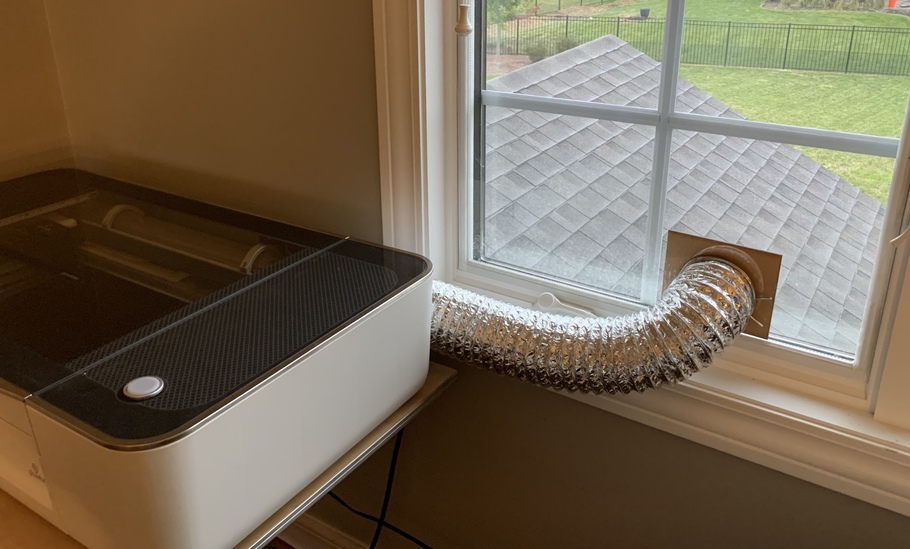
I was amazed at how little impact it has on the windows. In short, I put a piece of plexiglass on the screen. but before I mounted it, I cut a hole for the vent and using my GlowForge!I cut the mount and put it through the plexiglass. Now all I have to do to use the GlowForge is open the window. The plexiglass keeps it sealed, but I can keep the full view and the only thing you see from the outside is a very small square with a hole it it.
I mounted the plexiglass to the screen with white strapping tape so you barely see it and because it is on the screen, if I really want to, I can easily remove it. I don’t have to worry about cold air or water getting in because the plexiglass is inside the window when it is closed.
Now the only thing I have to do is make sure to open the window when I cut. I suppose if I forgot, it would be really apparent really quick as the fumes would collect between the window and the plexiglass. But lets hope I don’t do that.
If anyone would like them (and has vertical or horizontal sliding windows) I am sharing my designs for the old sash.


Here is the new one
