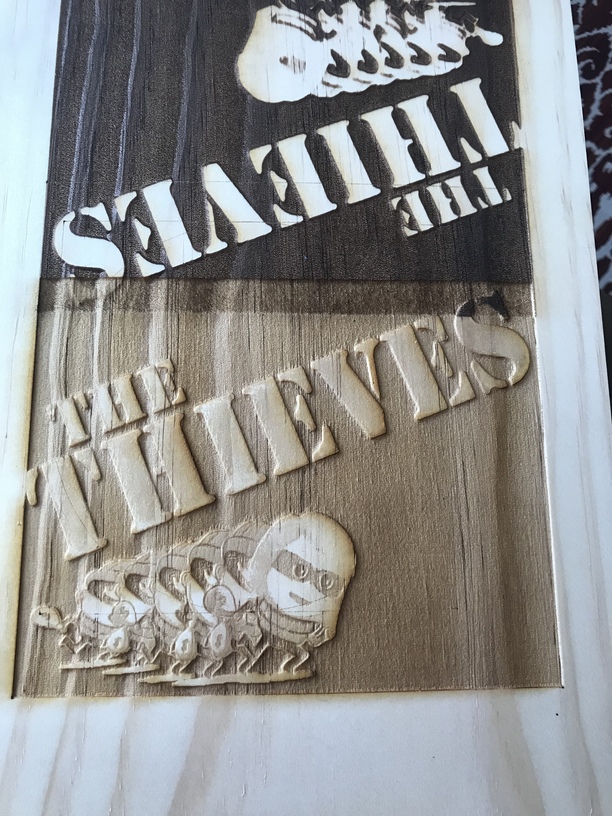
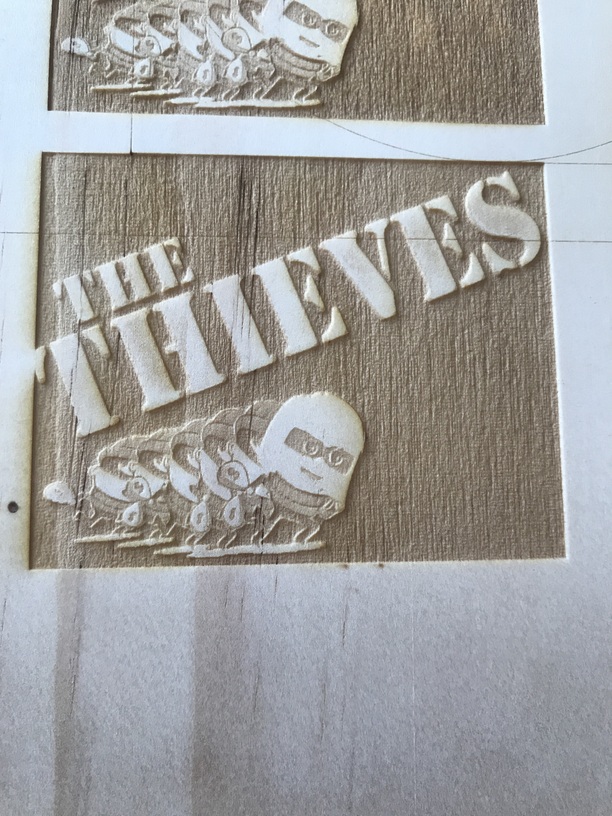
I want to achieve a darker burn but I’m having trouble. I am engraving a logo on a piece of pine .75 inches in thickness. I took out the crumb tray and placed the wood into the bed, put the material thickness to .1" and hit engrave. I got a very nice dark engrave on the background of logo but hardly any detail on the face.
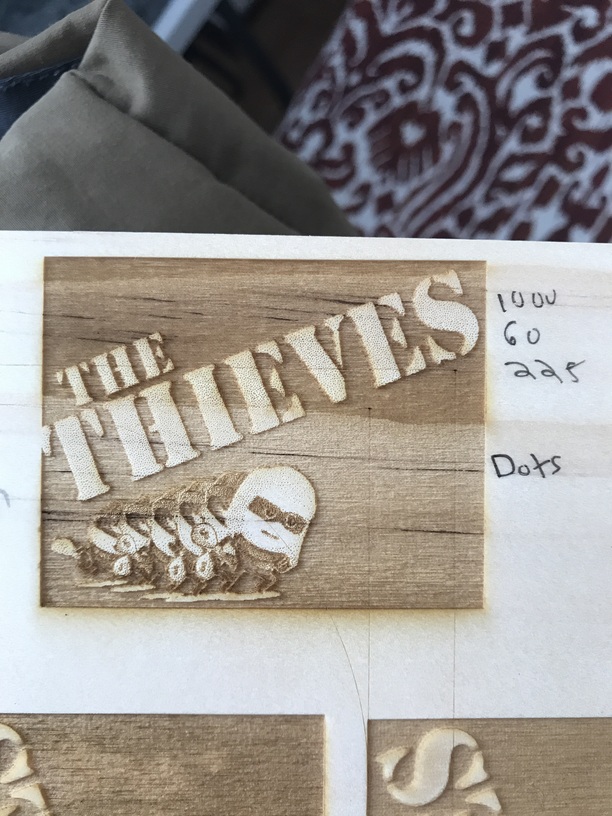
I quickly remembered that I forgot to put another piece of pine underneath the piece that I wanted to engrave. This definitely solved getting more detail but the burn is a much lighter look even though the burn is deeper. I tried a ton of settings (convert to dots, greyscale, increase/decrease speed and power) but I can’t get that great dark contrast that I achieved when I “messed” up on the first one. What’s strange is that the engraved depth is much shallower and darker on the original engrave (the one I messed up on). I would think shallower the depth the lighter the color?? I think the best detail is speed 1000, power 50, lpi 340 greyscale. The best contrast is converting to dots but I’d much rather “vary the power” look

5 Likes
I’m going to move this to “Beyond the Manual” since it involves non-PG settings…
This might be one of those cases where you could benefit from multiple passes. I’m betting if you drop the speed or increase the LPI (or both) you can get back to that nice dark background, then do another pass with the settings that give you the better detail for the foreground.
@Jules posted something recently about using multiple passes on engravings – she’s getting good results that way.
2 Likes
I’ve never tried anything on pine, it’s pretty resinous.
Maybe try leaving it at Convert to Dots but increase the LPI to darken it.
If that doesn’t do it, slow down the speed a little.
Yea I’ll have to really slow it down I guess. It’s weird though because I didn’t change anything as far as settings from the first engrave to the second. I only put a piece of wood underneath to raise the piece I was engraving. You can see where the two engravings overlapped. It actually got lighter after it passed over top of the “darker” engraving
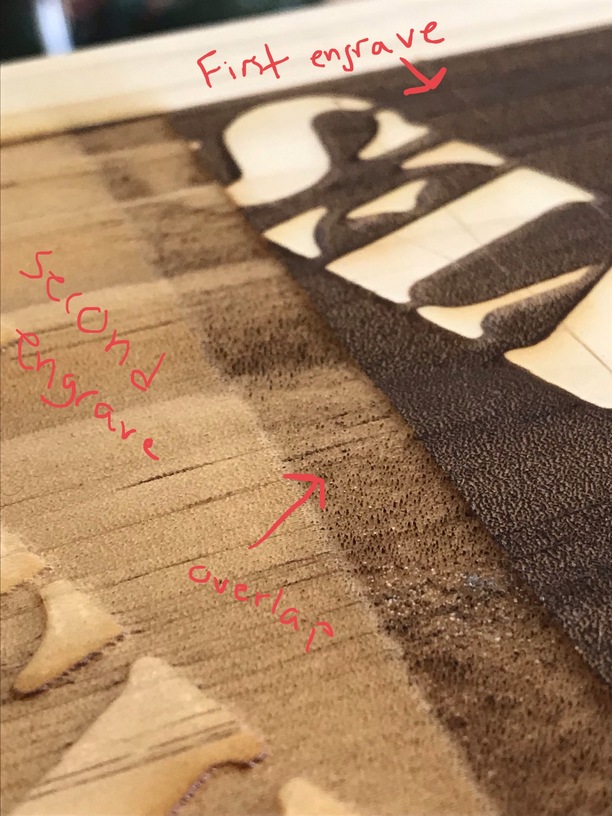
Here’s what I think happened:
When you burned it the first time, by sticking another piece of wood underneath it without changing the focal point, you created a defocused engrave. You were pointing the focal point of the beam down into the center of the material instead of at the surface. That’s going to darken the hole by focusing more power underneath the surface of the material and increasing char. When you overlapped that with another focused engrave you burned off the charred results of the first pass, lightening it. (I use something similar with a neutral final pass when depth engraving.)
You’re trying to duplicate that effect with a surface focused engrave now. I think you can do that with an increase in LPI, which burns over and over again in the same place, making it deeper and darker.
2 Likes
My alternate theory is that the defocusing increased the residence time of the beam on any one point, effectively the same as slowing the engrave down. I think char is much more about how long the beam sits on a particular spot.
It’s complicated but that’s my grand unification theory of char.
2 Likes
Someone’s bound to follow that with a “char coefficient” to calculate all of this.
1 Like
Do you have that 3 layer / pass method written up in the tips & tricks? I remember the article, but was moving so quickly at the time that I didn’t absorb the technique.
P=Power
M=Movement
C=Char
C=PM(Squared)
1 Like
More like C=P*LPI/M
1 Like
This topic was automatically closed 32 days after the last reply. New replies are no longer allowed.