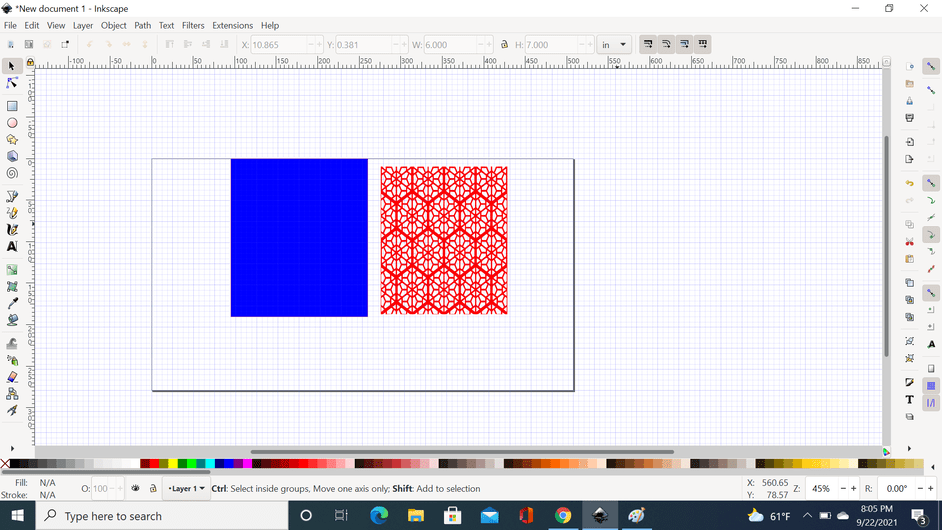
I am trying to figure out how to imprint the blue area with the design in red so that when I combine them it will cut out and leave me a solid area minus the red design (trying my hand at a lantern). I’ve tried different ways and it never works correctly. I would appreciate anyone’s help and advice! There is quite the learning curve between inkscape and the GF!!!
1 Like
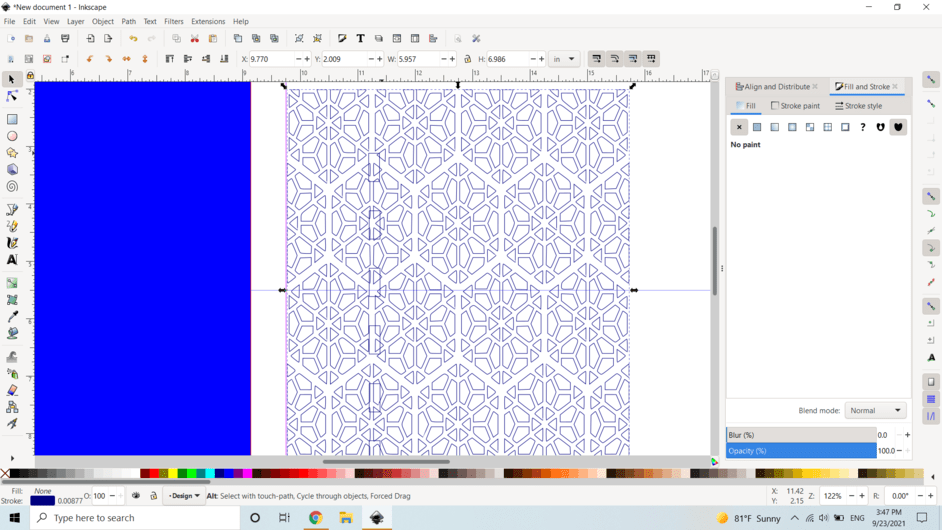
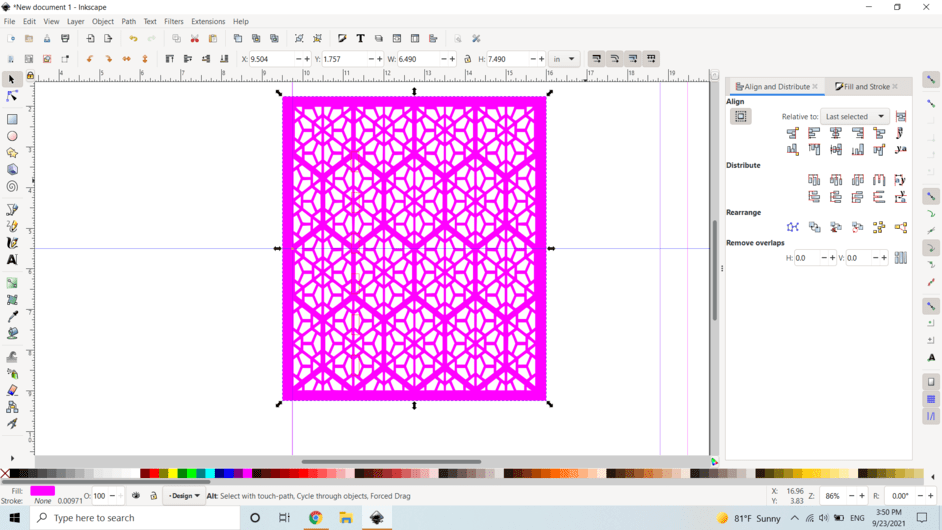
Quite an interesting design! You can set the blue to no fill and a bit of edge and then center them on each other and drop into the GFUI. ![]()
Where it could look sort of like this…
1 Like
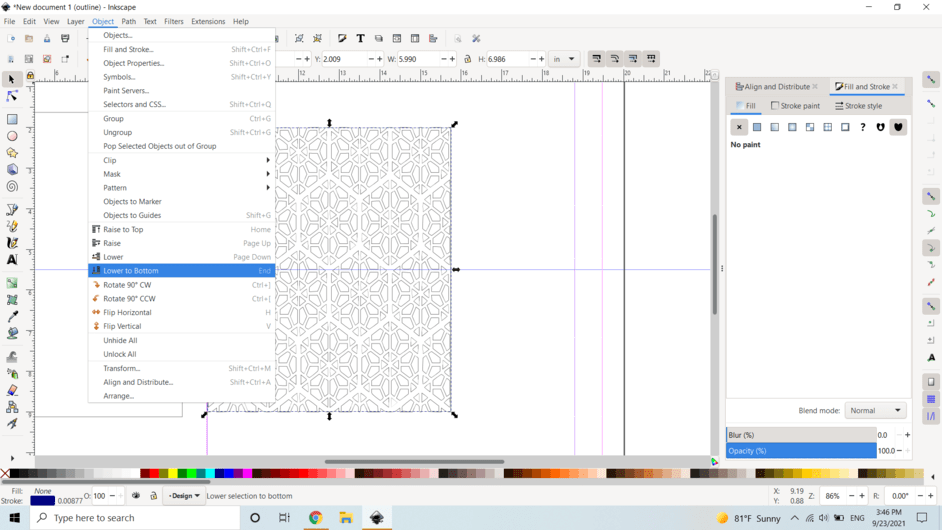
Make sure that the blue is moved to the bottom layer, I think it’s in objects, move to bottom. Then place the red on top, select both, and do path-> difference.
Make sure nothing is grouped.
2 Likes
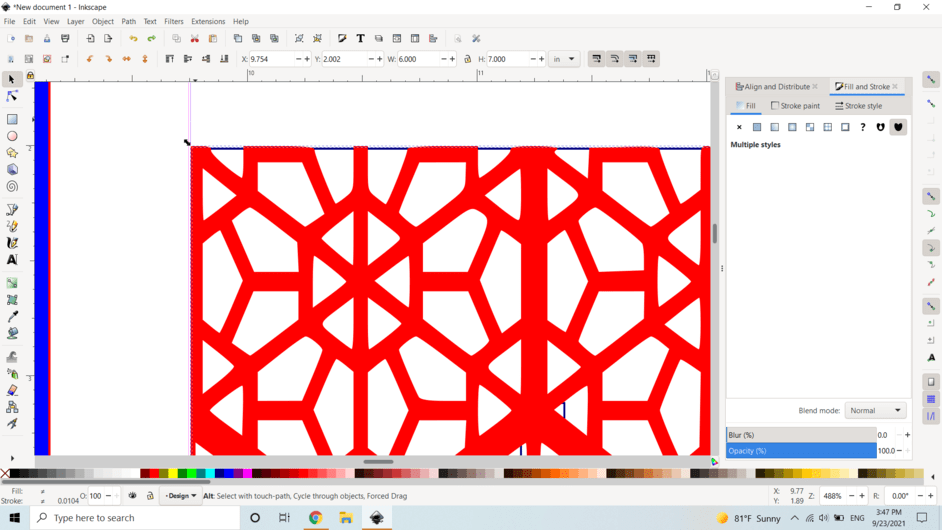
The problem that I think I’ll run into is where I ran trace bitmap on the raster the ends of all the lines are closed off which I think will cause it to just cut out a big rectangle essentially.
I’d like to help. I’m not at my computer, but if you’d be comfortable sharing the file, I’m sure someone will be able to help you. I’d be able to hop on in a bit and take a look at it too.
I’d be happy to. I’ll upload it whenever I get to my computer. Thank you all so much.
No problem. If I can help, I’ll try.

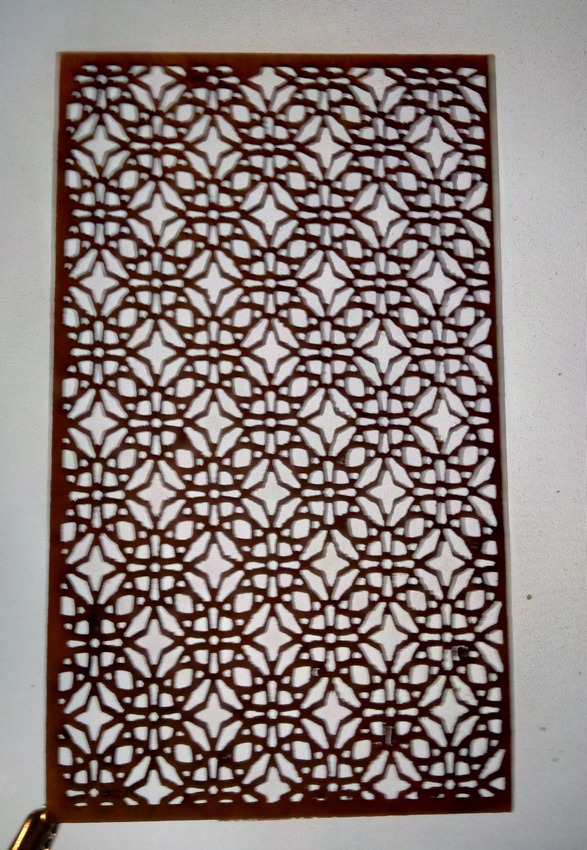
My advice on stuff like this also usually mentions that there are hundreds of excellent vector patterns for free over at sites like vecteezy. Starting with an SVG of the pattern will make your end result faster and more precise, bitmap tracing is good but not perfect.
You have a laser, start with the cleanest files you can find, it’ll pay you back in the end.
More patterns than you can ever need.
1 Like
Thank you!
1 Like
I just saw you uploaded the file, I’ll take a look.
Okay, here is what I did:
I ungrouped everything.
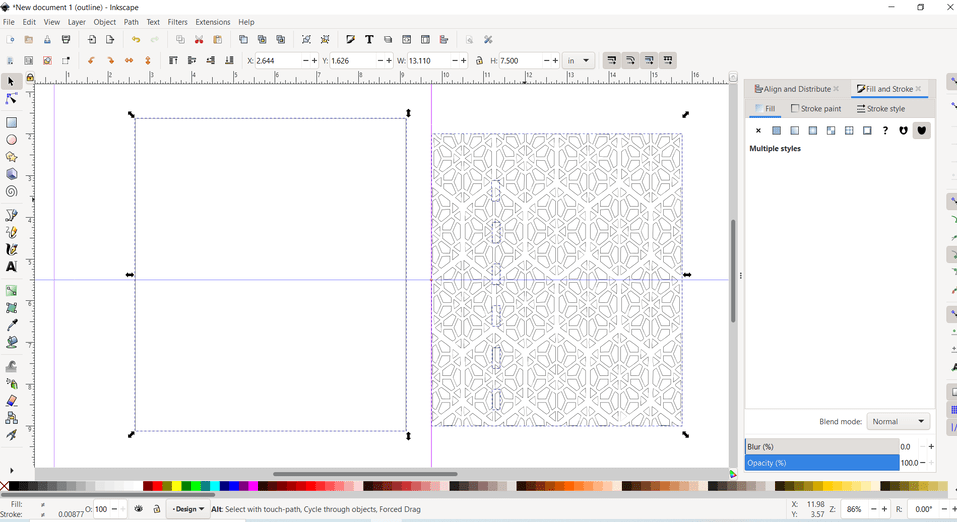
I lowered the rectangle on the left to the bottom.
I grouped that string of rectangles on top of the pattern, and then changed the color because I have no idea what you want to do with them, but it was easier for me to see.
I used the rectangle tool, with just a stroke, no fill, and I created a second rectangle on top of your pattern piece.
I adjusted the size to be slightly smaller (my goal was to cut off the straight edges you had, but barely, so the size didn’t really change)
I moved that rectangle to the bottom (select it-object-lower to bottom)
Then I selected that, and the pattern and hit Path-difference
I took that and grouped it with your rectangle string so they don’t move, since I didn’t know if you needed them.
I centered that group on top of the rectangle on the left.
I ungrouped the pattern piece, then selected the pattern, and the large rectangle, then went to Path-Difference
I broke everything apart (control+shift+K) and then only deselected the outside rectangle (shift + click)
then I combined everything else (control+K) and made it a different color so that the inside can be cut first for better alignment.
If this is what you needed, then those are the steps I followed in Inkscape. I hope this helps.

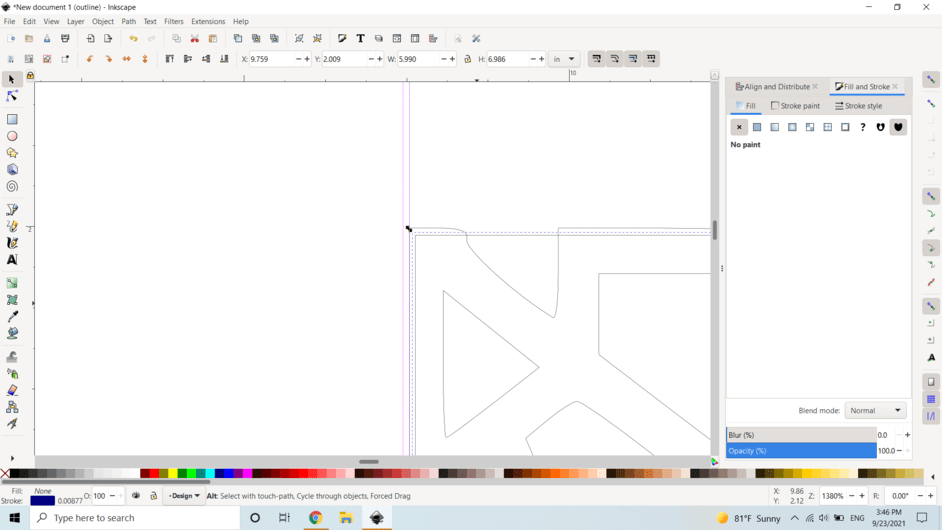
I just realized that taking the difference on the main rectangle is a little redundant. When I was going this I hadn’t removed the fill from the big one yet. But if you just remove the fill, you can just move your edited pattern over and it will be the same thing as the breaking it apart and combining, etc.
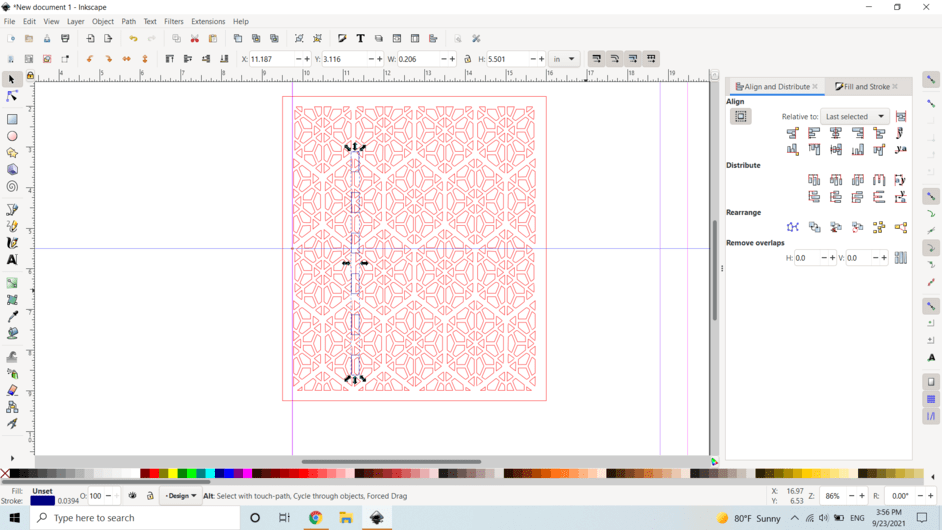
The taking the difference from the main rectangle will be useful if you only wanted to engrave certain areas. Like this:
3 Likes
You might want to delete the six rectangles running along the left side.
Select one, “Select same/stroke color”, deselect the outer border, then hit delete.
I wasn’t sure what the rectangles were for, so I just grouped them and left them in there.
This topic was automatically closed 32 days after the last reply. New replies are no longer allowed.