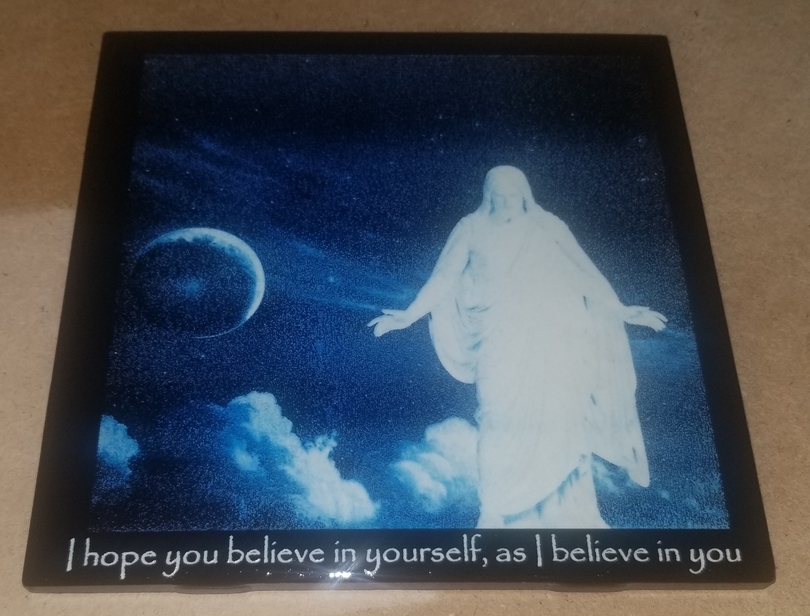
I am brand new to laser cutting and have only had my machine just under a month. My step mom asked me if I could make something for a dear friend of hers who just lost her mom to cancer (my step mom is a breast cancer survivor). She shared this photo with me and it was suggested in a FB group to try tile. I got that last night and know I’m doing something wrong because its basically a blob lol. I know it’s all about the color settings but is there also a specific file type to save it as? I know I can cut tile with great results using an svg graphic file.
The photo is already black and white so I don’t know if that’s thrown off already? Would love any guidance. I want to make this possible and a learning experience…I have the Pro if that makes any difference…
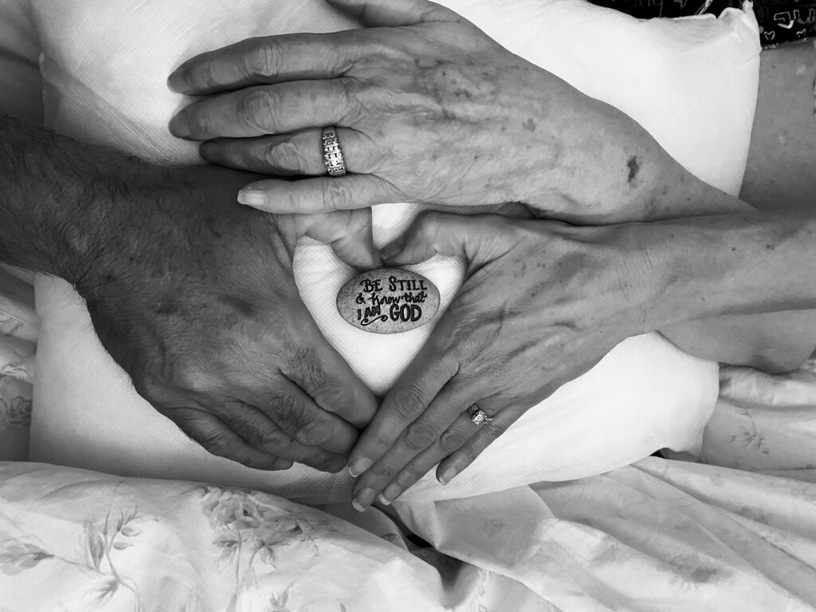
I truly appreciate any help or guidance possible! I think this is a surprise so I can check but don’t believe she has access to any other photos imagejpeg_0(1)|666x500
OK so first of all, nice picture, and that’s great news about your step mom.
The basic gist is that you need to try to get better contrast on the image, and that greys are really hard to convey on tile since your’e generally either engraving the surface away or not.
What settings are you using?
Here’s some info about how to prepare photos for engraving:
https://community.glowforge.com/search?q=prepare%20photo%20engrave
It’s a deep topic. I’ll drop a version of how I’d do it in a second.
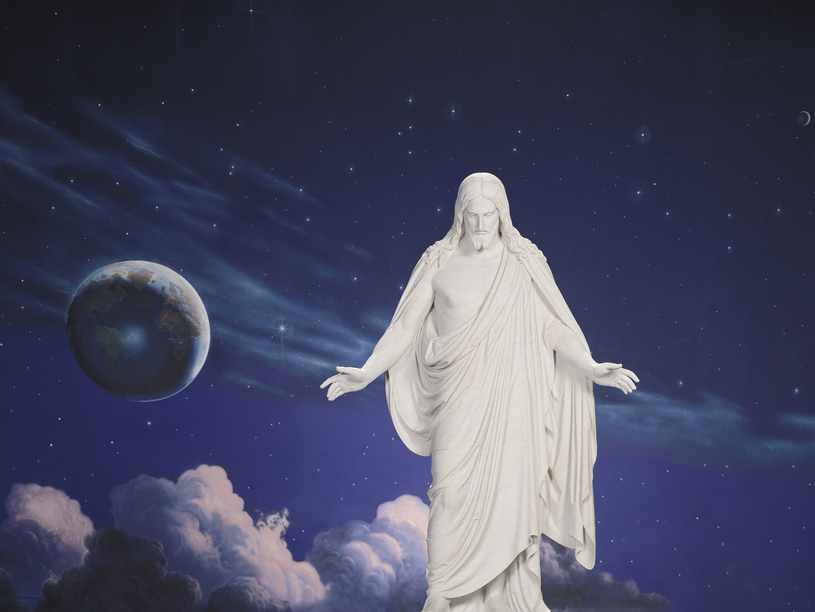
OK so this is the original:
and this is the end result:
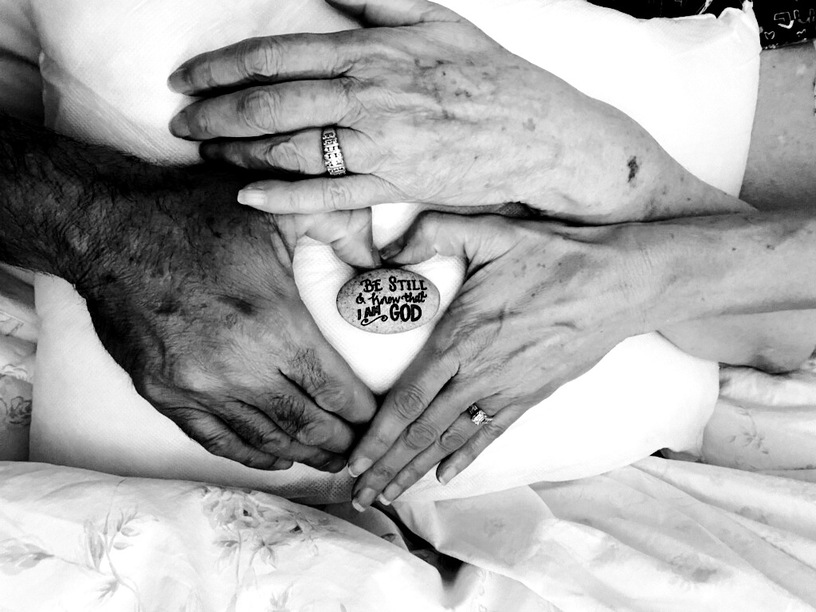
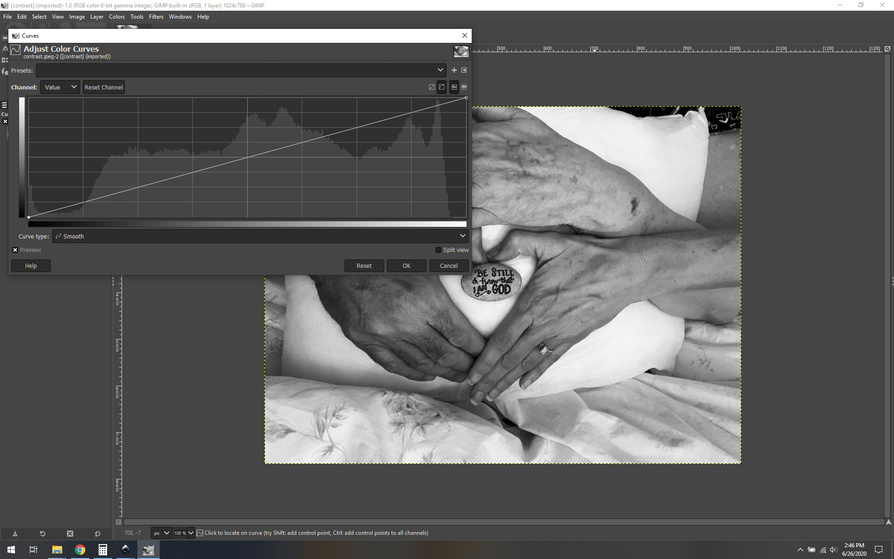
What I did was to make the contrast much more extreme and shift the black and white points to make sure we go from full black to full white. It’s a quick process, I go into GIMP and edit the value curve:
This is how it was at first. You can see the histogram kind of tanks partway in, there’s a serious dropoff in the amount of pixels in the very dark range (the left side of the histogram). Similarly, the dropoff on the right indicates white range that isn’t being used.
I adjust for this by moving the curve into a (sort of) S shape like this:
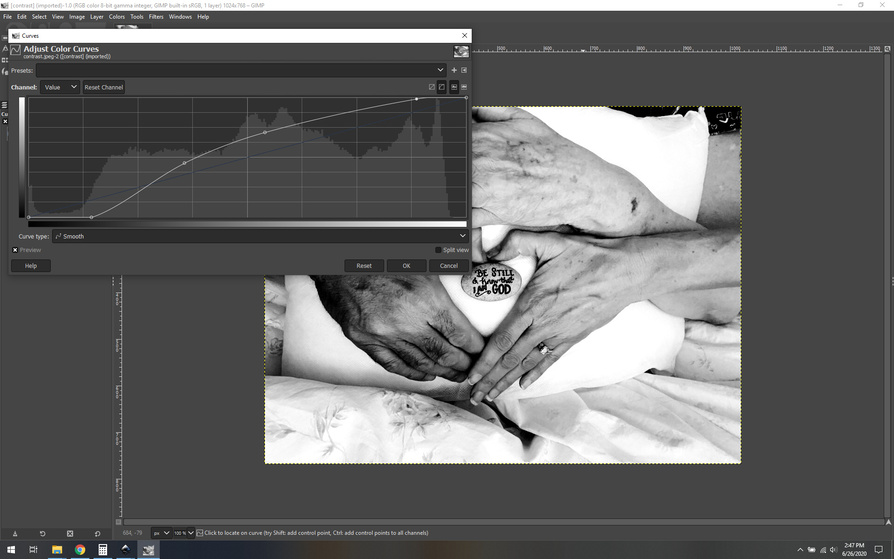
I drag the black point further to the right, and the white point further to the left, and then just messed with the shape until I got to a result that I thought looked pretty good.
Yes you lose a little detail doing this, but the end result is much more engravable.
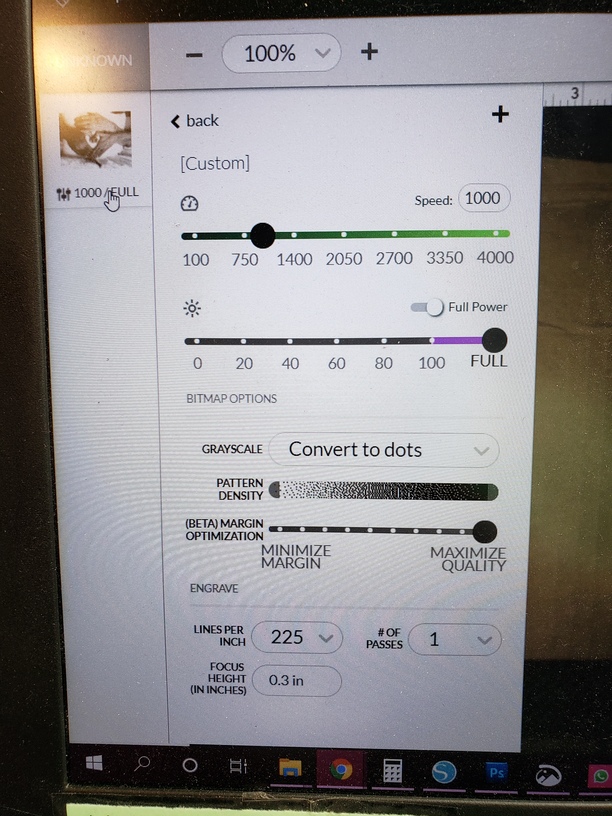
As for settings, I don’t often say this, but dots are going to be key here. I’d go with 1000/full convert to dots, focusing at the tile height (typically about .3", measure yours).
Vary power is not appropriate for tile generally, because, again, it’s either engraved or not, greys don’t really translate.
Feel free to download the modified version I put up if you like it, or go mess with your own curves. I feel like this should be a pretty good engrave at this point though.
Just to put this in context, the adjustment process using curves like this takes literally 2 minutes tops once you have the hang of it, and gets pretty good results.
nice of you to do this for them. I hope we get to see what the result is when engraved on the tile they’re using.
Thank you sooo much! I appreciate the help and the explanation! I’m going to get it set up and see what I get. I’ll be sure to share it.
What is the best ink to use? I used an oil based paint pen on this. The brothers hand gets lost in this some and I don’t know if it’s my ink or setting. You say full convert to dot. I’m attaching the settings I used.
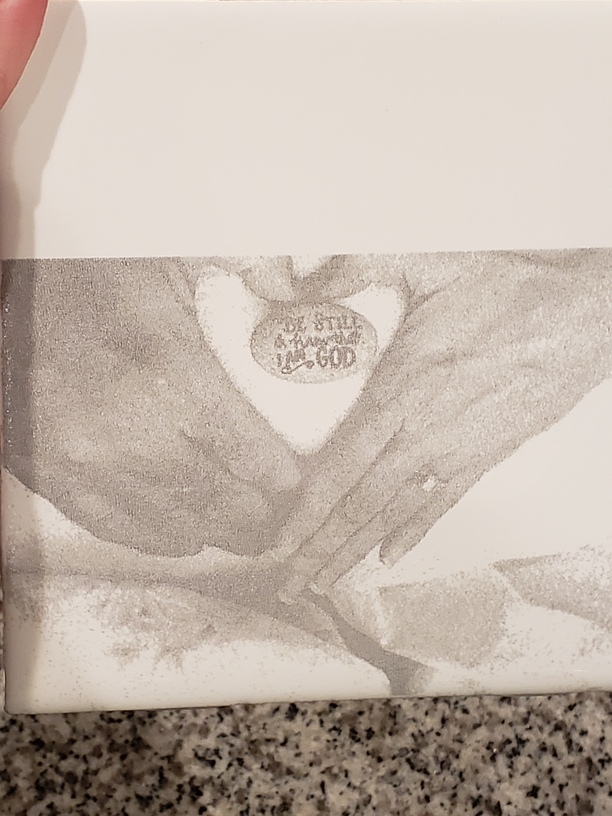
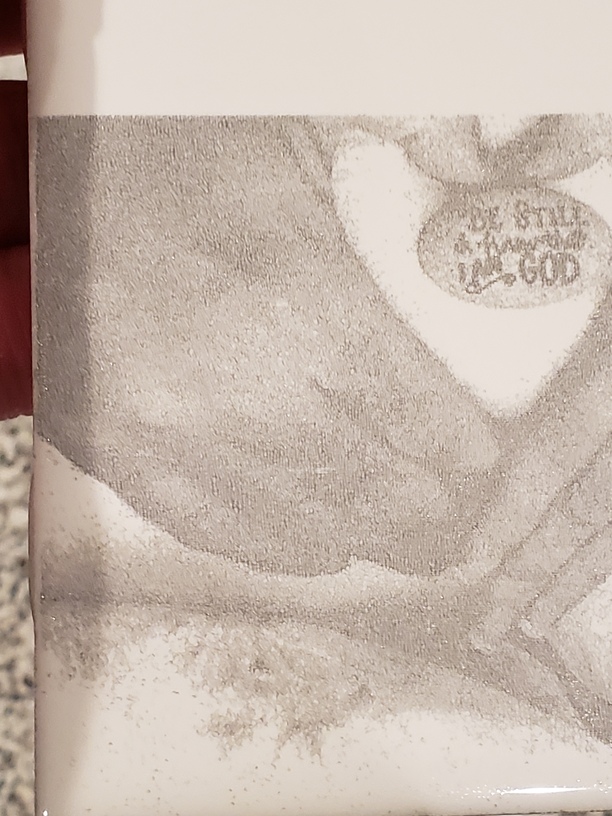
I did scrub a lot of the ink off trying to get it off the other parts which is why I probably lost color there
I did a photo engrave on white tile and then used fine charcoal powder and a cheap makeup brush afterwards use a “slightly” (very slightly) damp paper towel to clean glazed surface. After it was dry I sprayed a clear coat over it. This works with dark tiles (that have a non-white clay) and stone too, using talc.
Just a suggestion
I’ve gotten a LOT of success with paint on white tile.
Original photo
Finished project right out of the ![]()
it involves 2 layers of paint but it comes out beautiful.
I’m not sure I understand what you mean. Finished right out of the GF has coloring…is that after you added paint?
That looks awesome!
I’d probably up the lpi to 400+, but the rest looks good.
To expand on that, I mean at this point it’s about the image. You could selectively lighten your brothers hand if it’s rendering too dark, it all comes down to what you’re going for.
With painted tiles, the paint is first always, you’re taking/burning off the paint from the tile rather than putting sharpie into the cracked glaze. On this one I put blue paint first let dry for about an hour to 1.5 hours then black paint on top of that. With the image, invert the color palette then engrave. You still have to play with the image. But with paint it’s a bit more forgiving.