Hello Everyone,
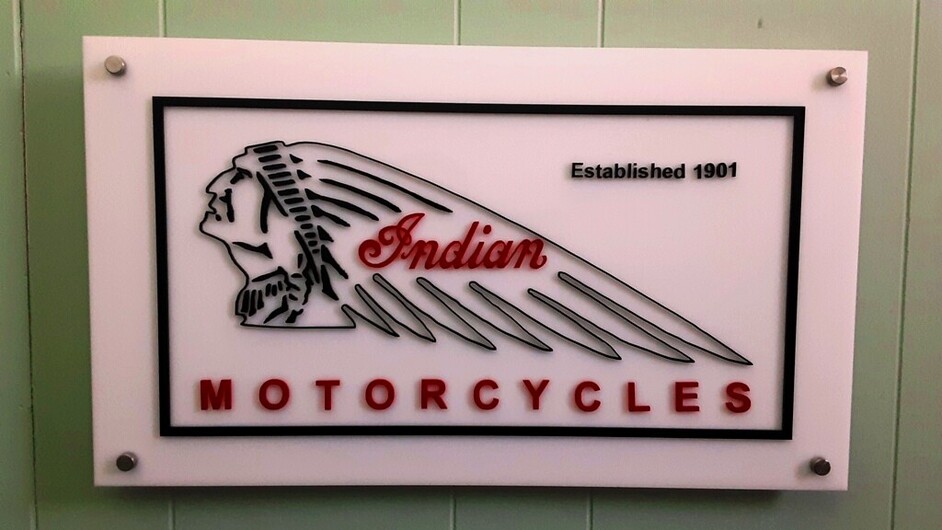
I have been a Glowforge user for some time now and finally am getting around to letting you see some of the artwork that I have made with my machine. Fun stuff to be sure. The Indian motor cycle sign was not hard to create but took me quite some time to assemble. I engraved the white background and then took pretty much a jeweler’s eye piece to attach all of the little fiddley bits. Some of these parts were so tiny I think and ant would have been bigger.
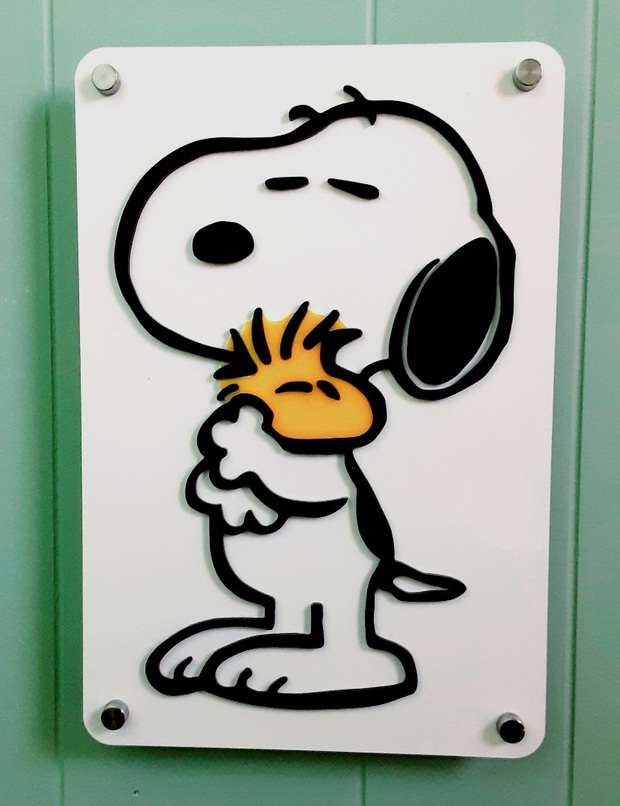
The Snoopy and Woodstock display was much simpler to put together. Nice sized pieces so it was much easier to assemble.
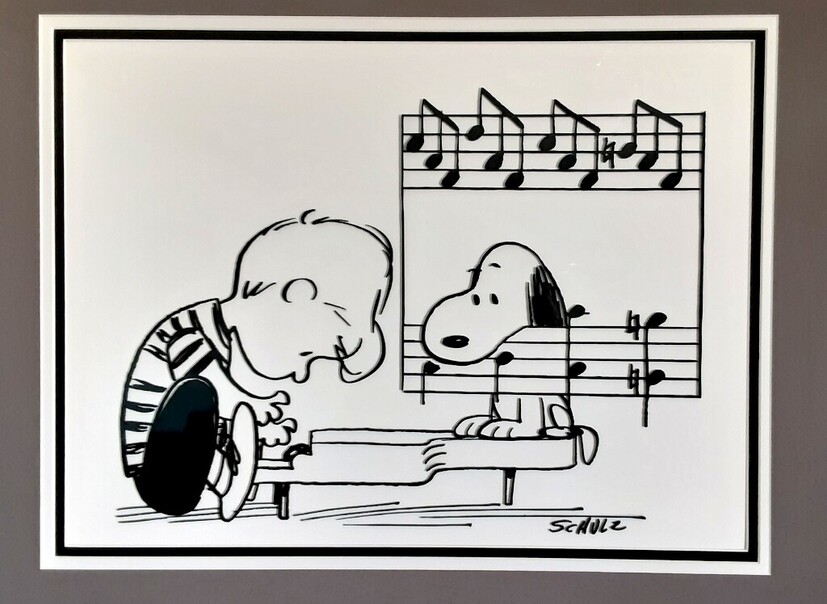
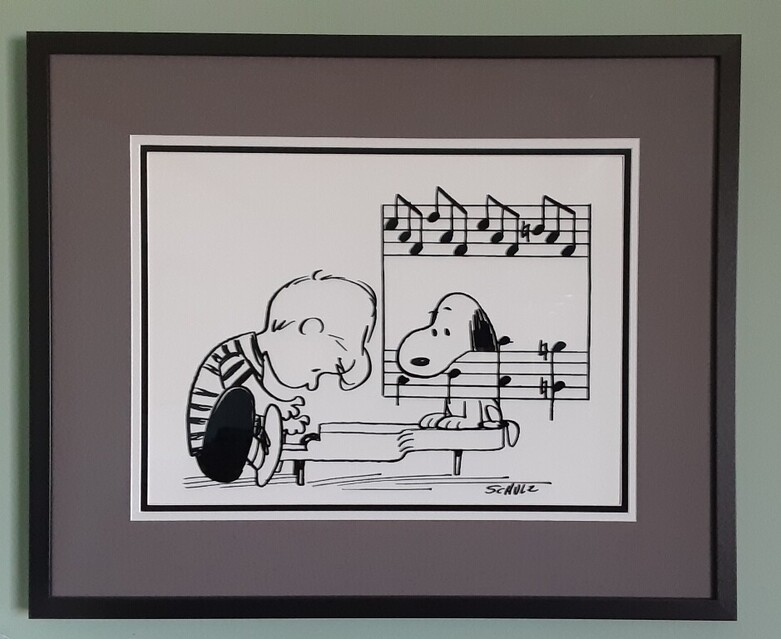
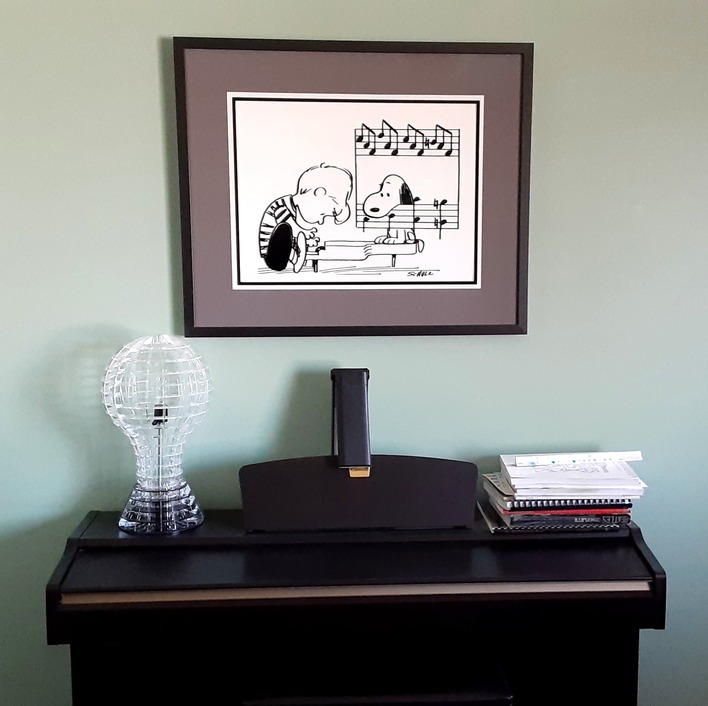
The Schroeder and Snoopy picture above my piano I originally had done using a plotter but I knew that I wanted to redo it simply because it was not near as good as I wanted it to be. So with the Glowforge I cut the image apart using black acrylic with a white acrylic back plate. The black image was laser cut in sections and then recombined when I assembled the final display you see here. I used Weldon 4 acrylic solution to assemble the projects you see here. Easy to use without any left over residue that you might have using regular glue.
@raymondking32 had a process where he applied 3M double-sided tape to the back of the acrylic that you would be cutting out/gluing down, then cut out the entire piece with the backing. From there you could put transfer paper onto the top of the entire sheet, lift up the whole unit, flip it over, weed the tape backing off just the sections you would like to adhere, then align the back plate / peel off transfer paper.
Something I have done is to engrave the back piece and fit the cut pieces in the “holes” left by the engraving, sometimes making a 8th inch engrave in quarter inch wood and the connected area cut of 8th inch wood and press them together.
@Aloha using my name in the forum to summon me from the dark - at least I’ve not gone completely forgotten!
I also would engrave the back and then inlay into that, but I figured it was unnecessary wear and tear on the laser, especially with the added work time in comparison to just cutting out premade 3M backed material. I did like that the art/words were set in more when using the engraving approach, but being done with a project more quickly was satisfying.
As for this post, lovely artwork. I’ve always found that black on white signs, with their minimilast color palette, was a classy way to go. I especially like the stand offs and rounded corners of the Snoopy and Woodstock one.
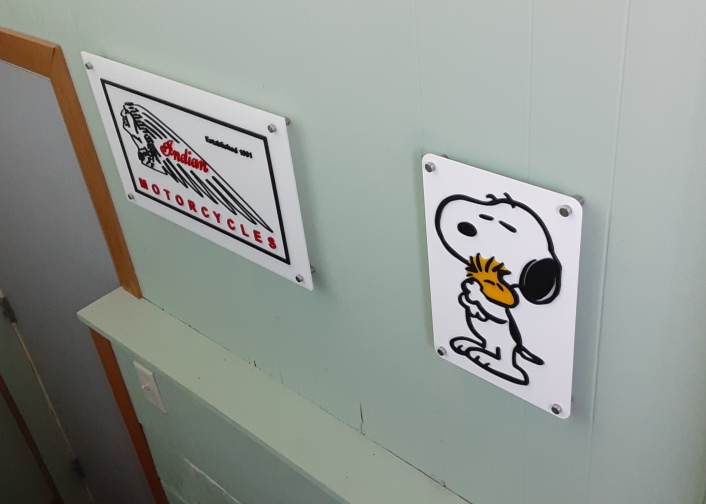
Edit: I went and found the post talking about the signs I’ve made. Figured I’d link to it; makes me really miss seeing these! And the walls of signs grows
I can’t wrap my brain around how this is done. (I haven’t really worked with acrylic yet.) are they painted?
If someone could direct me to a good tutorial, I’d be really grateful. This would be a perfect gift for an upcoming birthday!
Thank you!
I love it all. Im trying to figure out how people are cutting out individual pieces of a picture. If i cut out an image, i feel as if i’m pigeon holed into only being able to cut out an outline of the image. Is there anyway you can help me out with figure out how to cut out pieces of that image so I can then cut out and glue them like you. <3
Hello Robin,
Thanks for the kind words about my projects. None of these projects are painted. I started with finding the images that I wanted to create online. From there I brought the images into Corel Draw so I could trace out each part of the image for whatever I wanted to make. Any good drawing program will work for this task so that you can create the SVG files for the Glow forge. Once you get your parts cut out with the colors you want then it’s just a matter of attaching the parts to the acrylic base piece. I use a solution called Weldon 4 for acrylics. This solution fuses the parts together and leaves no residue. Here’s a link I learned this process from done by Adam Savage from Mythbusters.
In the video he makes a project using Weldon 3 for styrene. But for acrylics you will need Weldon 4 which can be bought on Amazon for as little as $12 a can. The can is not large but does go a long way for making the projects that I have made. Also in the video Adam cuts the bottom off of a pop can to use as a dispenser for the solution. I then taped this to a small piece of foam core. This will make more sense once you see the video. Anyway this is how I learned to create the project that I posted here. Just follow the video and you will understand how to attach your parts for you next project. Good Luck!
Hello Rnieders,
What I do to make the individual pieces for my projects is to bring the image that I want to create as a project into a drawing program to trace out each individual piece. I use Corel Draw but any other good drawing program will have this feature so that you can create the SVG files for the Glowforge.
I actually lurk here from time to time, but since my lasers are approximately 8k miles away, it’s mostly just to vicariously live through the wonderful people who post great projects like this one