Hi guys! I’m a newbie to the Glowforge community and happy to be a part of it! 
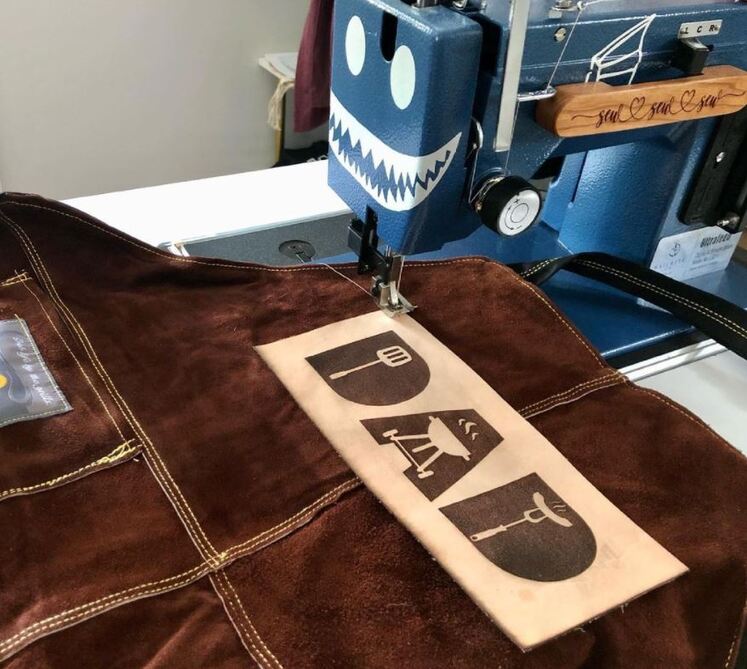
I have looked for the answer on the forum so I apologize if I overlooked it. I am trying to engrave font onto leather and cannot seem to get good crisp lines. I have tried multiple different settings but I don’t understand what needs to be changed to have this look right. Any help would be GREATLY appreciate!! I attached a photo of what it is coming out looking like.
Thank you!!
CURRENT SETTINGS:
SD graphic
Speed:1000
Power:71
Grascale: Vary Power
Maximum quality
270 lines per inch
5 Likes
Are you using masking? If so I’d recommend trying it without. Fine details can get lost.
Also is this vector or raster (like a png/gif/jpeg)?
If it’s raster it might be in the art.
1 Like
Thank you for your response! I do not have any masking on it but it is a png file.
1 Like
Could it be that the original is not of a high enough quality or that the leather is not uniformly flat against the honeycomb tray? Parts of the engrave look good, and that makes me think that the settings are close and something else is the issue.
1 Like
Yeah if you can upload the original art we will probably have better suggestions.
1 Like
Unless you know your original artwork is black and white (no actual grayscale), enabling grayscale will cause power to vary as a function of darkness and that may explain the lighter areas in your engrave.
Your speed is way too high. Slow it down by half, reduce power by 2/3rds. Turn off Grayscale/vary power. Increase LPI.
Alternately, there is a proofgrade leather setting. Even if you’re not using proofgrade leather, those settings will be a strong starting point. Use that instead of your own settings, and choose HD not SD.
You’ll see that HD runs much slower at lower power and higher LPI than SD. HD produces better results, at the cost of increased print time.
4 Likes
This is all solid advice but since you’re a newbie I’ll provide a little context:
Your speed is way too high. Slow it down by half
When engraving art with thin vertical lines you’ll get better coverage if you slow down a bit. Half is definitely a safe bet for most materials.
reduce power by 2/3rds
Since you’ve slowed down, you should drop the laser power so that you don’t torch your material. 2/3rds is a solid bet because speed isn’t linear but power mostly is. So by dropping the speed number by half you’ve probably reduced the actual speed by more like 2/3rds. Someone charted this out once, if you dig in the forum you might find it… but just getting a sense of the rule of thumb is enough here.
Turn off Grayscale/vary power.
Only turn this off if your image is truly black and white. If you do turn it off you’re going to get a dithered dot pattern which is probably not what you want. My suggestion would be to ensure that your picture is pure black and white first and reupload it and leave it on vary power.
Increase LPI.
In general higher lpi means you’ll get a darker engrave. The tradeoff is that your engrave time will scale pretty much linearly with LPI. Double the LPI, double the time. You’ll probably want to consider that as you plan larger engraves.
—
So. All that is to say that dialing in engraving settings is a bit of an art, and you’ll definitely get a feel for it as you do more.
Good luck!
3 Likes
I’ll echo this - leather is my most used material and I use the PG setting for probably 90% of it. For cutting I’ll do a 2nd faster cut to catch strings, but for engraving the PG setting has always worked beautifully.
2 Likes
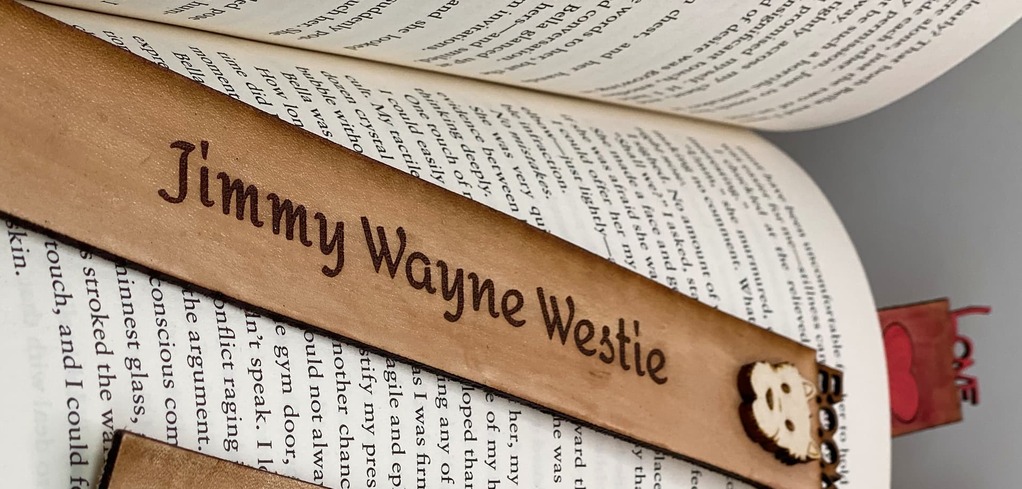
Some leather projects I did with cutting and engraving:
For these projects this was the leather I used:
https://www.amazon.com/gp/product/B01DFJMJF6/ref=ppx_yo_dt_b_search_asin_title?ie=UTF8&psc=1
And these were my settings:
Cut - 190 speed, 100 power, 2 passes
Engrave: 1000 speed, 58 power, 1 pass
8 Likes
You may want to download a free program called Inkscape and attempt to learn some basic of that program. Turning text like this into an SVG file for use on the glowforge will get you consistent results every time vs the issues that varring does present. It’s not a be all end all for every single project but it will help with 90% of the work for sure. Let me know if you have any questions!
2 Likes
I have great success with these settings.
Speed 1000
Precision power 52 — Full Power turned off
Lines per inch 170
Focus Height —-auto
Little tip I learned from YouTube and it is awesome. Evenly wet your leather using a sponge. This is called casing. Please something heavy on your leather for 30 minutes. Most important do not mask your leather.
3 Likes