What settings did you use? At first I thought it might have been too light of an engrave, but it looks like it has actually taken the glaze off of the tile so too many pews/area imo. I usually coat mine twice before i engrave, I warm the tiles in my oven, take them out and then paint again and back into the oven. Only slightly warm in the oven like 30-40 degrees celsius, I turn it on for about 5 mins then leave it off for the rest of the process.
3 Likes
I did take off the glaze, since the first engrave of 700 speed and 50% power did not appear to make a mark. I went ahead and re-ran at a higher power in place so I could use the sharpie method.
1 Like
Seems like too much power to me, like you are blowing away the paint residue before the glaze has a chance to melt. If you re ran that previous test at the 250 speed, 25 power, 450lpi, CTD settings are like @kanati did it would give you a better place to start at.
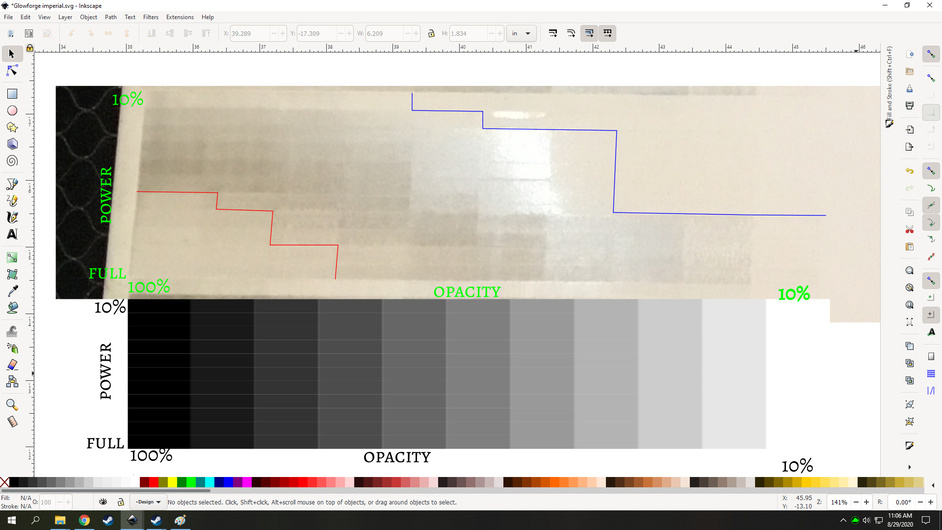
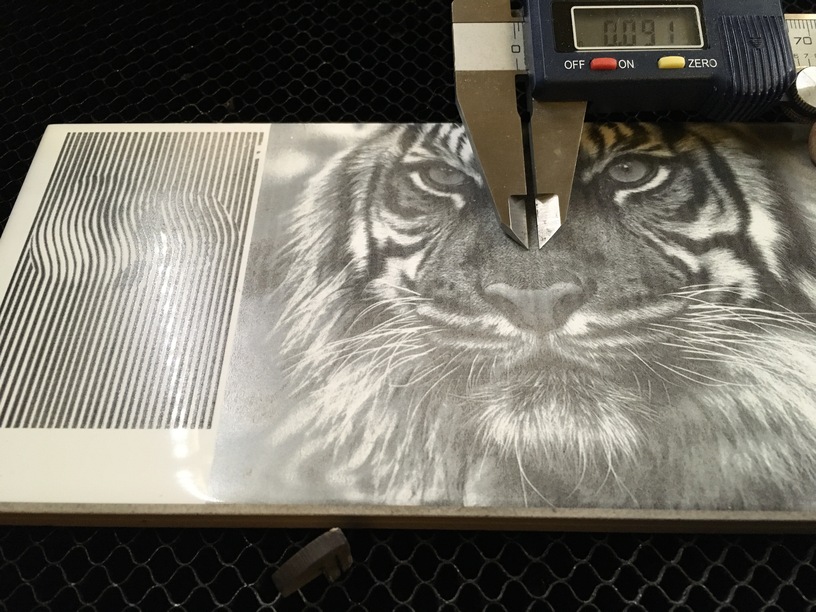
Where I started was by doing this test. Started at 450lpi, CTD, 989 speed. In the image anything to the left of the red line was just exploding the glaze off of the tile and anything to the right of the blue line didn’t change the finish of the tile after it was cleaned.
2 Likes
Yeah I think that’s way too fast. Try half the speed and half the power.
1 Like
I’m with @primal_healer here. As much as I want to put down a lot of pews and faster speed, I just don’t think it works. I think the reason this started on a diode laser is because it’s a lot lower power than we normally deal with. They figured out a way to get the results we were getting with blowing away the glaze and then putting down sharpies. But they stumbled on a (in my mind at least) superior method. And unfortunately it seems to rely on lower power and slower speed. I would not go over 250 speed or 25 power. Though primal does seem to have been able to get good results from as high as 600 speed and 35 power.
I think some of the streaks people are seeing might even be too much power for the speed, but it’s probably going to take a lot more testing than I’m personally willing to put in to really dial it it. And even then it’s probably going to be variable based on the tiles themselves.
My best advice is… Low and slow… make sure it’s as clean as you can get it before applying paint. 2 medium sprays at most and try to make sure it’s evenly coated. Variations in the paint layer may well cause streaking as well. Oh… and I’d also go no lower than 340lpi and probably 430 or higher being better.
4 Likes
Even tho I have been able to get comparable results at higher lpi and other settings they all still take the same time it seems. around 4-6 hrs for a full 4" tile engrave. I want to try and develop a method so that i can do my test tile then adjust the images so the blackest black falls on the right side of red line and the whitest white runs on the edge of the blue line. Not sure if that makes any sense, I am kinda terrible at interpreting my thoughts to human lol. But I am stumped on how to do it repeatably and dont know enough about the terms used to get me where i need to go in google and image editing programs.
2 Likes
Sorry, just seeing this.
For tile, stone, glass, metal, yes I would if I had a reason to leave. In my glowforge early days I had the left hand side jump the belt and the head was just going back and forth dumping its energy into the same area over and over. I wouldn’t leave wood or acrylic, but something I believed could take six hours of the laser’s energy and not catch fire, yes.
That said, I wouldn’t leave my dog at home if I left, but I wouldn’t leave him at home if I had to get something with a braise in the oven.
1 Like
I’m not entirely sure what you mean by this but I suspect adjusting levels and curves will get you to where you want to go.
1 Like
Yeah in my mind it all makes perfect sense hehe. Went a different way with it for now. Ended up running some tests around 250 speed. and low power.
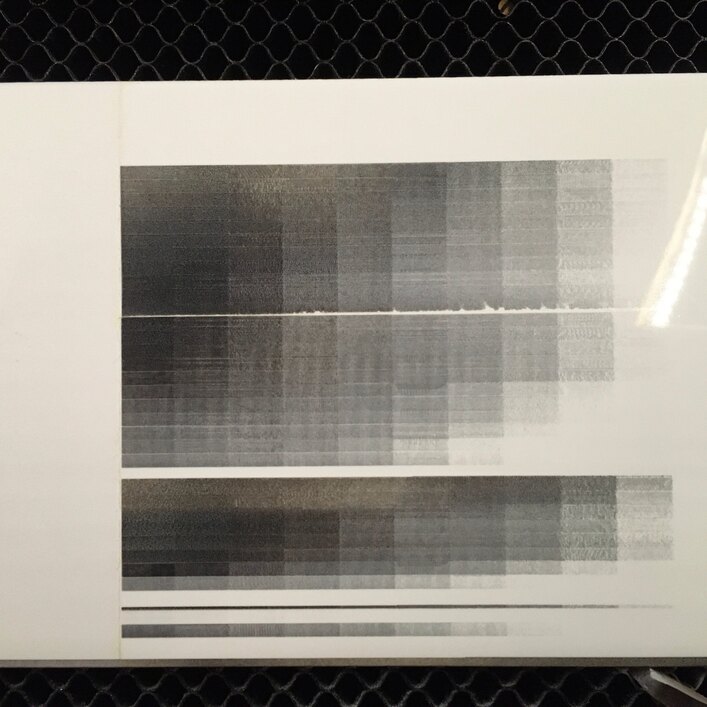
10 Likes
There’s that banding… 
1 Like
I think its dirty belt. or possibly the white ribbon catching and releasing as it moves right to left. Maybe belt tenson?
1 Like
how was that oriented? Trying to figure out if the banding is following the head or if it’s vertical (90 degrees from the head)
1 Like
as shown in the photo on the bed, laser head moving left and right across its face
1 Like
ok. So it’s 90 degrees offset from the direction the laser head moves. Interesting.
2 Likes
It is my observation that the glaze is never going to melt. Even at a very hot blast the glaze spalls off the surface. If it melted you would see a lot more melting then. What you want to do is just burn the paint, but not enough to oxidize it away.
1 Like
Don’t mean to derail this thread…
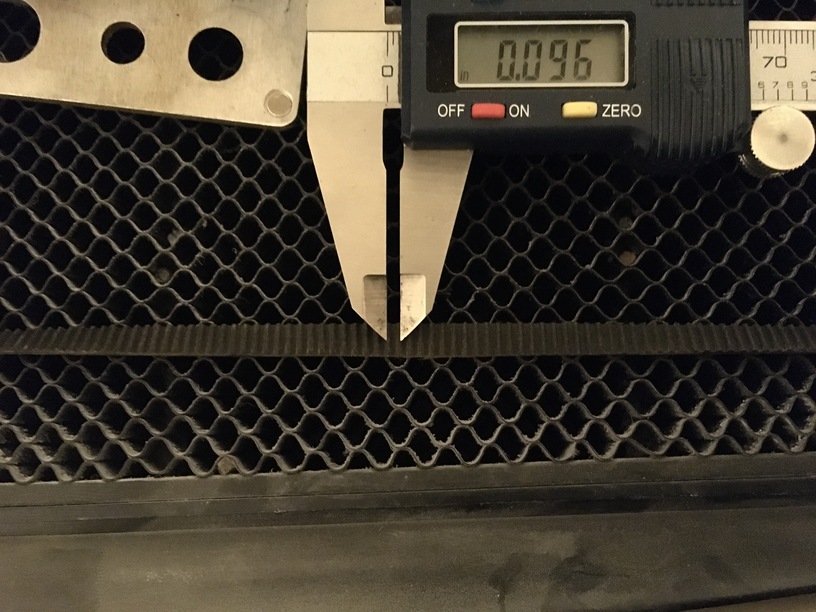
If that is a 4" tile, it looks like the bands are ~6/inch. The belts are 12tpi. Coincidence?
The thing is, the bands don’t look to be perpendicular to the head movement. Close, but not exactly - and I assume your tile was square on the bed…
2 Likes
pretty close to square, might be off slightly. aligning the tile using bed pins and not a jig. From watching my prints start the right hand side tended to be higher than the left. The pattern is not quite in sync with the belt but that may be due to it having to roll over the drive gear?
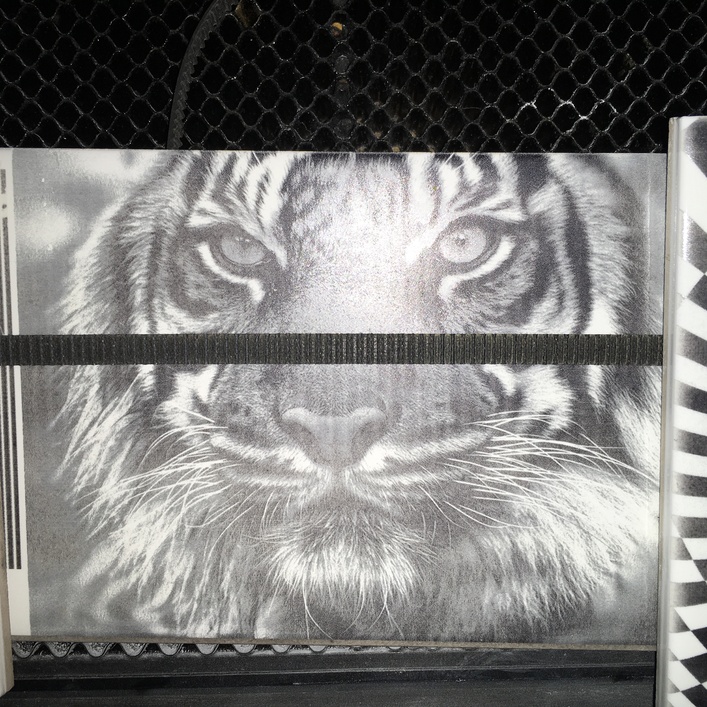
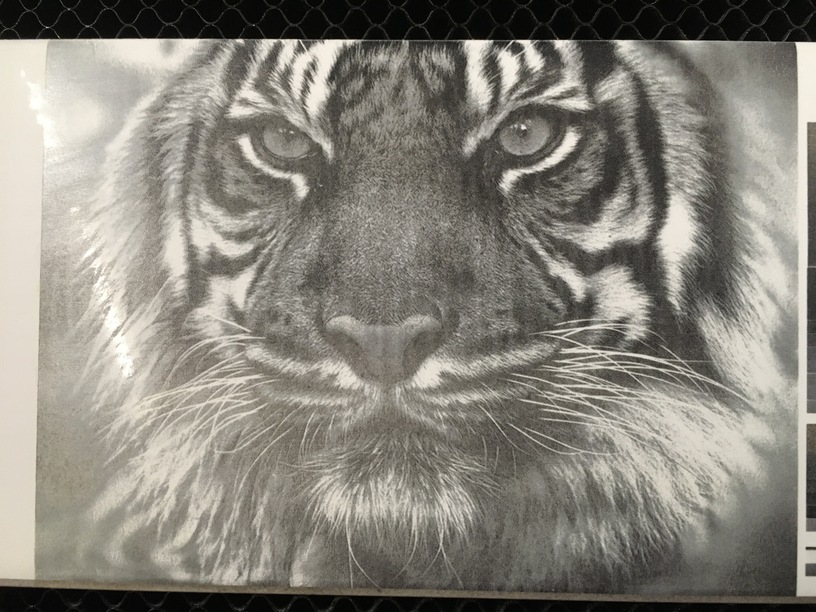
I need to tension my belts, but I did a quick cleaning of a few things and was able to make some of it go away. This tile is ~6"x6"
6 Likes
I’ll have to disagree that the glaze is not melting, but it could be more than one thing going on at the same time as well.
If you watch this and set it to 0.25 speed you can see after the laser has turned off and moved to the right there is still a glowing dot there on the tile.
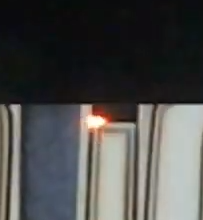
4 Likes
The glaze probably melts near 1000C and we know there is a phase shift much lower than that which causes spalling. Visible red heat is about half that so it would be very bright for at least a while after the laser passed in nearly every case and burn your hand to come near. In any case in an oxygen environment any carbon would be long gone by then.
2 Likes
Yeah I don’t think it is the carbon that is causing the color change, imo it is the talc or some other element in the paint being fused with the glaze in the tile.
In my score line defocused test you can see black glass in the track left by the laser showing it is being melted.

But either way like i said before more than one thing probably going on. Will need to run more tests but I was going to do that anyway. Have you done anymore tests beyond your glue and turmeric ones?
When talc is heated it decomposes into 2 main minerals.
“At 800 to 8400 C the talc decomposed to enstatite, amorphous silica, and water’ vapor. The enstatite gradually changed to clinoenstatite around 1,200° C, and the amorphous silica changed to cristobalite around 1,300° C, giving clinoen- statite and cristobalite as final products.”
https://nvlpubs.nist.gov/nistpubs/jres/15/jresv15n5p551_A1b.pdf
When I tried paint that contained no talc there was no visible effect on the tile. It looked like any normal tile engrave. But anyway agree to disagree, that is my best guess so far with the tests i’ve ran. I’m going to buy some talc and find a way to put it on the tile without the air assist fan blowing it all away lol.
4 Likes