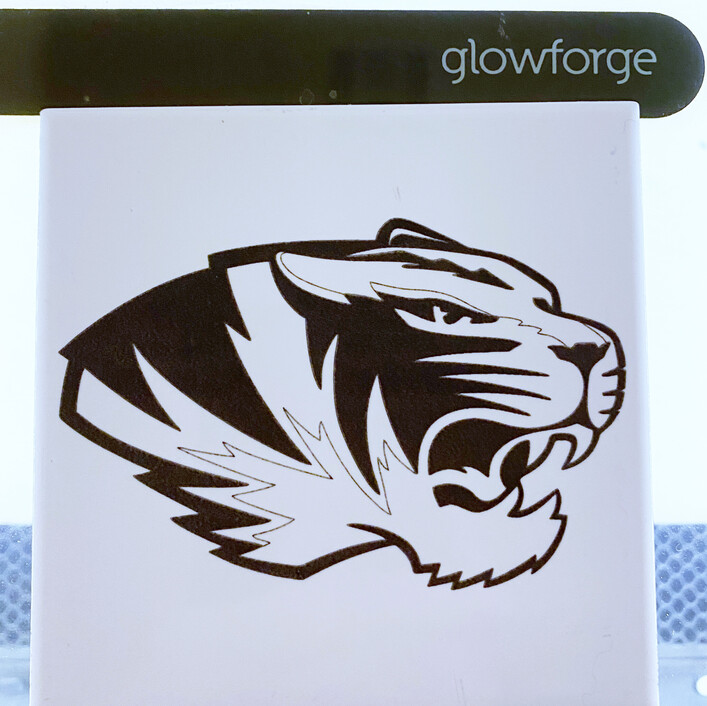
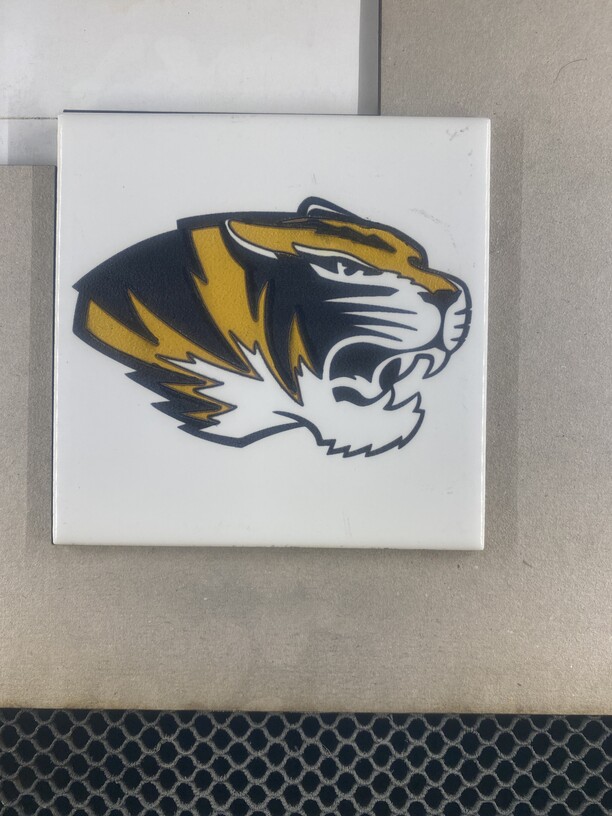
The vey first thing I did was make a jig so I could get the best alignment possible. Both of these tiles were painted, engraved and then repainted and engraved for a second time. My blacks are much darker. I then returned it to the GF without paint to “etch” off the glaze before adding color.
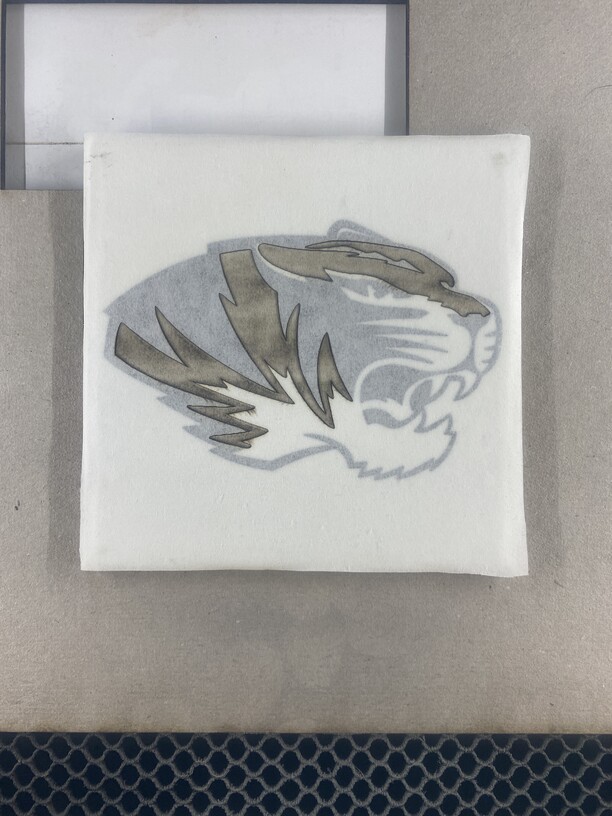
Yellow pain applied and then back to the GF for a score around the yellow to get some smoke marks for shadowing (it didn’t work like I thought, oh well it’s a test)
.
What a fabulous idea!
I know that if you run the same design over and over the placement stays the same inside the Glowforge. If you forge something else while waiting for the paint to dry, then load up the original design, is it still aligned to the same spot?
Thank you. I make my jigs with straight edges to butt up flush to the edges of the crumb tray. After I figure out the placement of my cutout and before cutting, I register a mark on the jig that aligns with one of the permanent marks I have on the crumb tray edge. That way I can remove the jig any time needed and return to the exact (we know nothing is exact) spot.
Thank you. You can get 4x4 squares 15¢ each at Lowe’s and a sheet of the 2x3 that I ran the tests (When curious, run tests) on is $2.99 (15 tiles on a mesh mat)
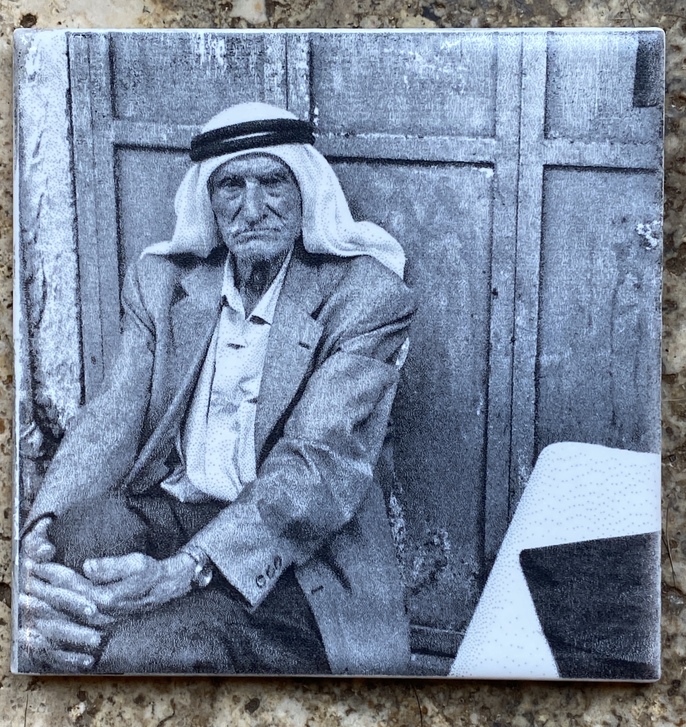
What do you have to do differently to get the photo effect, like the Audrey Hepburn tile? Or is that a different method. I see how it comes out all one color with the slow speed low power medium line count, but for photos, do you just do vary power?