NO, not the shuttle model in the design store, although that is amazing! I’m talking about the Countour Shuttle Xpress (the classic V1), for those who do video editing, you probably bought one years ago to scrub through videos. Now interestingly despite being a 10 year old device it has found a new life as the jog controller (pendant) for many CNC machines. My Tormach comes with a rebranded one to jog the machine around (works remarkably well and supports stepped jogging and continuous modes with the 2 rings.
Anyway CNCJS which is the web based controller I run for my x-carve supports using an x-controller as a jog controller. But clearly I needed some sort of platform to hold it. My Tormach has a steel monitor/keyboard arm that holds it next to the machine, but the x-carve has none of that. So I quickly went into OnShape CAD and made a tray that fit it, and initially figured I would just pocket and profile it out of plywood on the x-carve, but realized the laser would be faster and not like I need super strength here, so I made it out of ![]() maple ply (yeah essentially fancy MDF), and I realized I had to have some mechanism to bolt it sideways onto a support Artin. The arm I figured could be plywood. While the laser can do all sorts of fancy cuts, it is only 2.5D an dis not large enough to cut the sides for a tapped hole. So I did the classic t-slot designs like on MakerCase. I did 2 layers of proofgrade and CA glued them together. Now I just need to maker the arm (which requires me figuring out where I want to attach this thing to be out of the way but handy). One reason I did this on the laser vs the x-carve is the t-slots are squared up on a laser, whereas on the x-carve they would have to have the tool-radius in the inside corners (yes they are still rounded to the beam diameter of the laser, but even with my new progressives Rx I can’t see that small a radius.
maple ply (yeah essentially fancy MDF), and I realized I had to have some mechanism to bolt it sideways onto a support Artin. The arm I figured could be plywood. While the laser can do all sorts of fancy cuts, it is only 2.5D an dis not large enough to cut the sides for a tapped hole. So I did the classic t-slot designs like on MakerCase. I did 2 layers of proofgrade and CA glued them together. Now I just need to maker the arm (which requires me figuring out where I want to attach this thing to be out of the way but handy). One reason I did this on the laser vs the x-carve is the t-slots are squared up on a laser, whereas on the x-carve they would have to have the tool-radius in the inside corners (yes they are still rounded to the beam diameter of the laser, but even with my new progressives Rx I can’t see that small a radius.
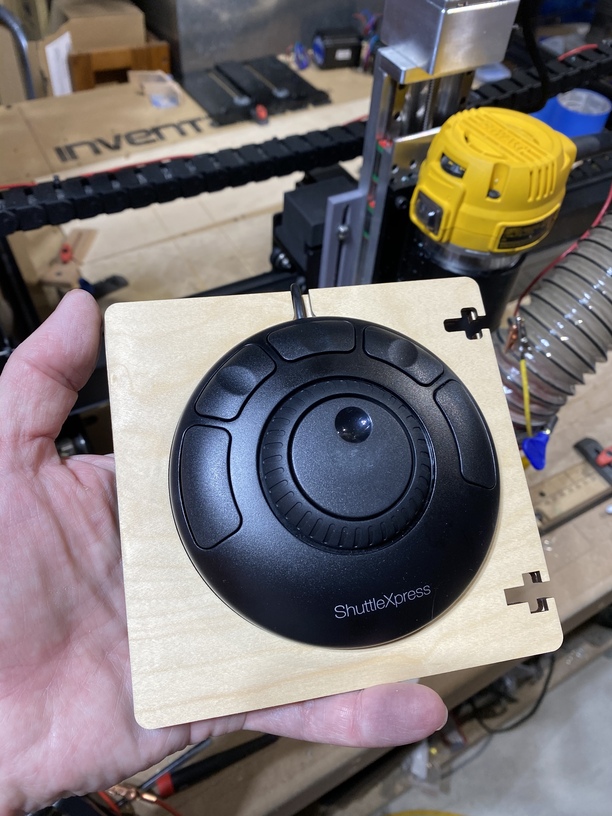
It’s hard to see as I made the cutout a little too snug but it is inset about .125” (3mm). Probably should add another .5mm or so to the diameter (I mean just a temperature change might make this fail) it is an optical illusion that makes the top t-slot look like the layers are unaligned.
For those unfamiliar, you typically make the buttons on top the axis-selector a9on my Tormach they are A,X,Y, and Z and the 2 big buttons do some pre-programmed rapids. I will keep that concept with the small buttons being x,y,z with the 2 large buttons being go to x0y0 and maybe probe Z.
I do like the look of the black plastic on the maple.