Here is the ultmate solution: The Glowforge is located in a well sealed box wih a transparent lid so you can do fire watch. Outside air is cooled and dried (air conditioner) and enters the box & inlets of the 'Forge. Then a powerful external fan exhausts to the outdoors. Shoot, you could even use an inert gas to elimimate all risk of fire. It will not over heat on the hottest summer days.
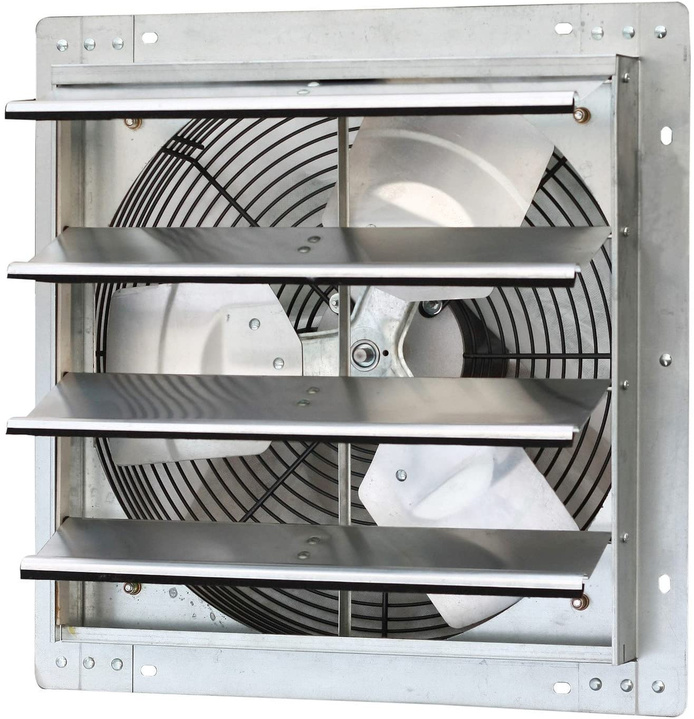
Not sure if this meets your definition of “outside”, but I mounted one of these on the garage of the home I was living in 22 years ago, and it’s still running strong today:
An enclosure on the inside wall would allow you to duct the draw wherever needed.
In my case, the garage doors were south-facing and the garage was below the master bedroom. The sun would cook the doors (even insulated) and heat up the garage, which then heated the bedroom. I hooked the fan to a thermostat that triggered automatically, like an attic fan. It wasn’t quiet, but certainly quieter than the GF exhaust fan.
2 Likes
For anyone going the distance, and have a 3D printer: found this.
Edit: didn’t read all I’d found. 6-4”
6 Likes
Here’s another good write-up on it:
It also addresses a Texas A&M study that very much pertains to the way a lot of these are set up with flex dryer vent hoses:
“ Texas A&M did a study on the effect of flex duct not pulled tight and the results are astounding. In my article on this research, I showed from their results that a 6" duct moving 110 cfm when pulled tight will move only about 70 cfm with 4% linear (longitudinal) compression and about 40 cfm or less at 15% compression.”
1 Like
Yup. Flexible duct should be a last resort, not the first choice.
Ok, I’m seriously planning on getting an external fan and I want to pull out the internal fan. First is there any reason I wouldn’t want to do this? It would be easy to reinstall and it would make air flow much better. And second as I was surveying the situation I noticed that there are posts molded right on the base in front of the fan mounting screws. I’m thinking they are to mount the additional cooling parts that a basic does not have. Should they be able to be cut out without consequence? Maybe I wouldn’t even have to cut them out but they look like they would impede the removal of the bottom fan screws.
The posts are for a huge heatsink that the pro has, which makes removing the fan a royal PIA.
You really don’t have to remove them but there’s no harm in doing so on a non-Pro.
As to reasons why not to remove the fan, really there are none if you’re out of warranty. At some point, GF could have the machine check for the presence of the fan and throw an error if not found.
2 Likes
is it concrete?
if so you could put a plug in there to guide a nice rented hammer drill with a 6" hole cutter.
the plug being a piece of wood with a pilot hold drilled in it. you could conceivably use tapcon screws to mount the guide board.
2 Likes
Thank you for the info! I was going to tag you because I knew you pulled your fan but I forgot. I’m glad you saw it and chimed in.
I have the Pro w/ the Glowforge air-filter… what should I get to make it less LOUD?
@Cora Do you HAVE to use the air-filter? Can you not vent out a window?
I don’t think my neighbors and landlord would be happy.  Plus I just bought this filter and no way I’m not going to use it.
Well the reason I’m asking is if you don’t use the filter then you can install the external fan mentioned above (will include amazon link below) and the Glowforge will be MUCH, MUCH quieter inside your home and you really won’t hear it at all outside your house. There will still be some smell outside but that will just depend on how close you are to neighbors.
I recently moved but I was in a guesthouse that was right up to the main house and it wasn’t a problem for my landlords in the main house at all. Obviously YMMW.
(not an affiliate link)
3 Likes
Additionally, many find the air filter becomes pretty pricey to operate as the replacement filters are $250 each and depending on what you cut can fill up quickly.
4 Likes
oh well i guess
The parts finally finished trickling in yesterday. I used some Project Day time today to get it set up. Seems to be about 12-14db quieter, according to the shady iOS app. I could not talk on the phone, watch a YT vid or listen to a podcast with the laser running with stock config. I can with this.
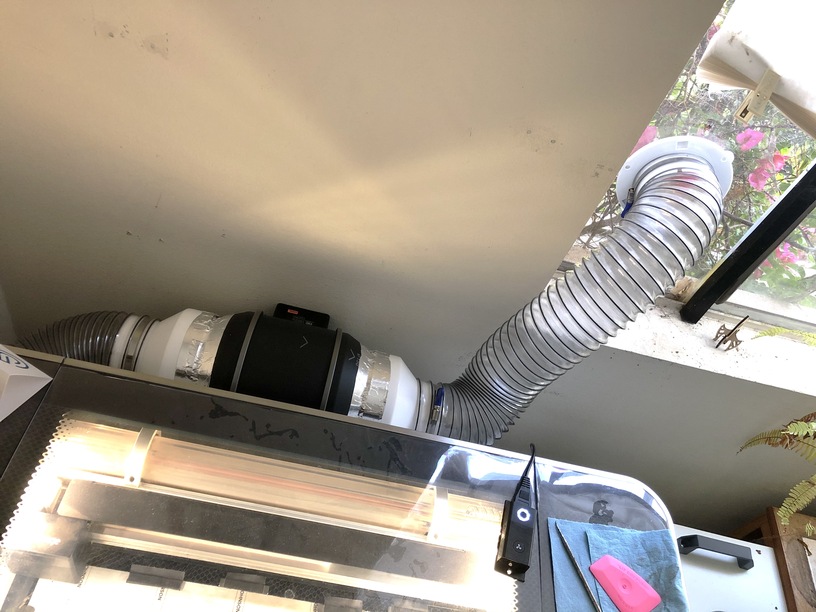
(Cloudline 6" 402CFM variable-speed inline fan.)
10 Likes
I just moved so I need to make another insert for my window. Just verifying, you used clear acrylic? And how did you attach the hose opening? Just glue?
I need to make something nicer looking like you did for the home I am in now. Thanks!
1 Like
Yes, I used clear acrylic. My main concern was not reducing the light coming in through that window. The acrylic panel is long enough to go into the track for the sliding window panel. It bends just enough to slip in and out with some effort but, stays in place when the window panel is closed against it.
That’s a two-part quick-release connector so I can disconnect the hose and pull the panel out fairly easily. I seem to mostly just leave it in, though. I cut the hole with the Glowforge and, glued one piece of the quick-release in with silicon glue/caulk. I figured the little bit of flex that had would make it more resilient and, would help reduce leaks.
I put some heavy foam weather stripping along the edge where the normal window panel slides against it to improve the seal.
It’s all a little Rube Goldberg but, it has been working for a couple years. The walls are all block and brick and, I didn’t really want to put a hole through that to vent.
4 Likes
Thanks! I’m pretty sure I understand all of that. I have a blast gate in my set up so I really don’t need the quick connect. My plan is to place it in the window semi permanently, but I like the clear acrylic over the white panel I had previously. I have a couple of more days until the rest of my things arrive so can think a few more hours on it.
2 Likes
Aaand finally the ac infinity 6” is here.
Install will happen tonight or tomorrow morning. Put my two reducers on already (silicon tape inside, foil tape outside). Need to do some hose cutting. And may have to ditch my nice alone joint because of space restrictions. The the airflow is way better.

9 Likes