@Tony’s been working on a feature that, combined with Proofgrade materials, would dramatically simplify this. (Proofgrade materials ensure that we know the necessary power settings to engrave down a certain depth).
Note that Joshforge has a firmware bug that’s causing crashes during engraves, so he’s doing this with vector only!
If I’m not mistaken, he’s weakening the area around the hole so that the screw acts like a wedge and pushes the wood aside. That would make it pack in nicely and let you screw it flush if you do it just right. Which Josh did.
The “right” way to do this is with a 3D engrave, but this was a very clever solution. I don’t think this hack would work with acrylic, but 3D engraving will.
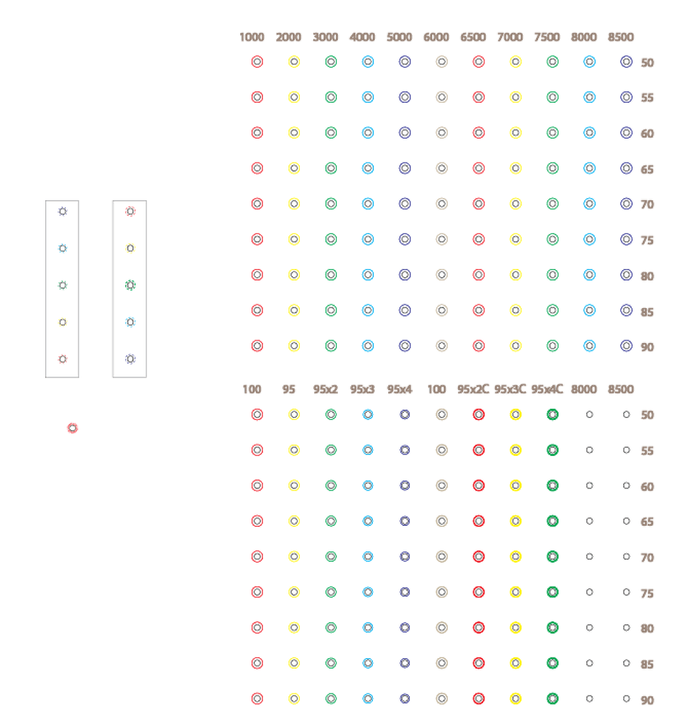
Bear with me, I’m squinting at this image trying to make sense of it. So are we seeing a grid of power vs speed settings, some with multiple passes, and then some choice settings applied on the left to different radial patterns?
You are seeing the very neat grid I started experimenting with, and then (on the left) the eventual chaos that resulted as it got later and later and my disciple broke down.
I’m not sure if you are there yet, but I have a question on how the 3D engraving will work for things like countersinks, chamfers, and fillets.
Will we need to come up with the grey scale ourselves? Or can we assign it a color and the software will know that is a 45deg cut or a fillet?
That’s actually a very cool idea. Grayscale depth maps are definitely ideal in some cases (i.e. if you have a 3D model to generate it from in the first place) but for common/simple cases such as “fillet this edge” a solid fill of a specific color would be much easier to design with.