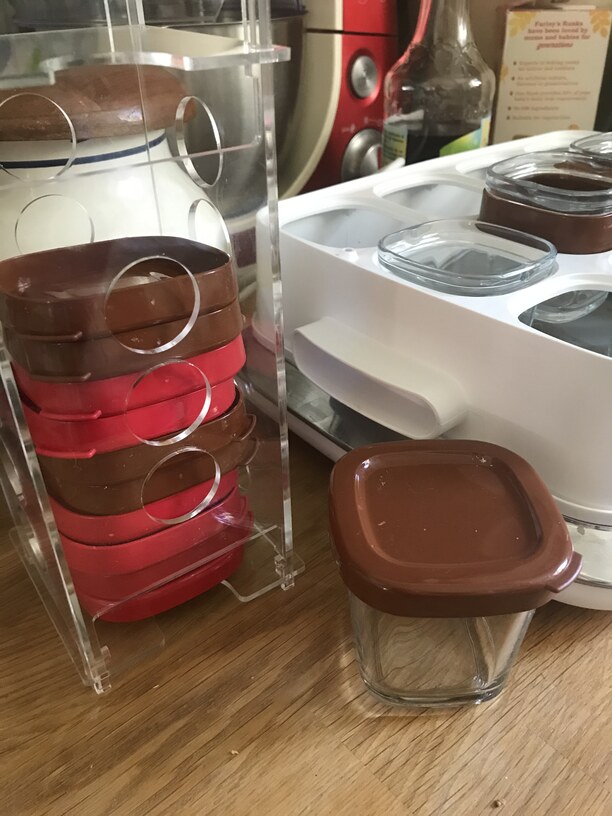
A while ago my husband got a yoghurt maker and started making home made yoghurts and desserts, which, like all his cooking, are delicious (don’t even get me started on his chocolate pots!). The first aim, aside from fun, was to reduce the plastic waste, and as yoghurt pots are not recycled here and we have two small kids, it has already been really effective for that! We have 24 pots for a 12 pot machine, so as the pots are emptied and cleaned they are replaced in the machine, and as soon as there are 12 ready, he loads up another batch.
The only thing is, the plastic lids are a nuisance, there’s nowhere easy to store them, and if you put them back on the empty pots, you just have to take them all off again when filling up. He had them stored in a plastic bag, which was far from ideal, and asked me to come up with a solution that would work well and look good on the counter top.
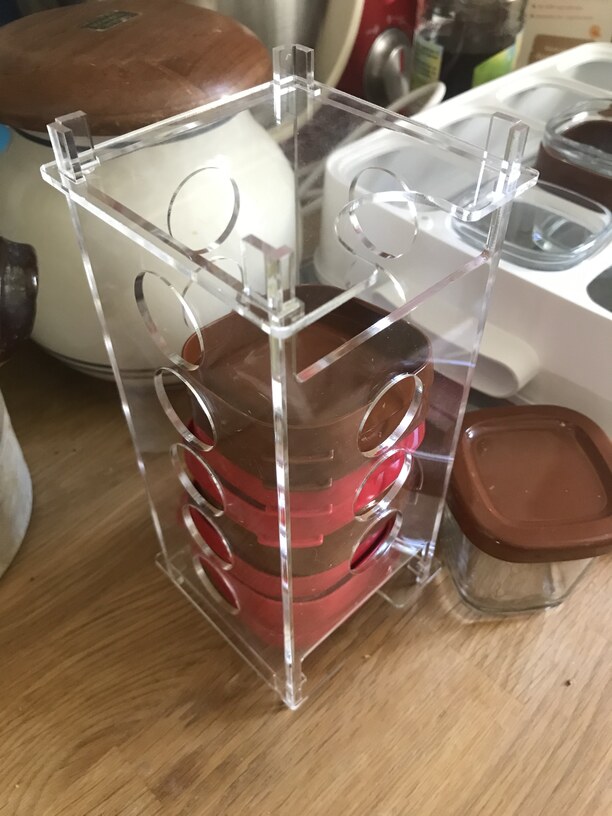
After a bit of sketching, pondering and some calibration for sizes and thicknesses, this is what I came up with.
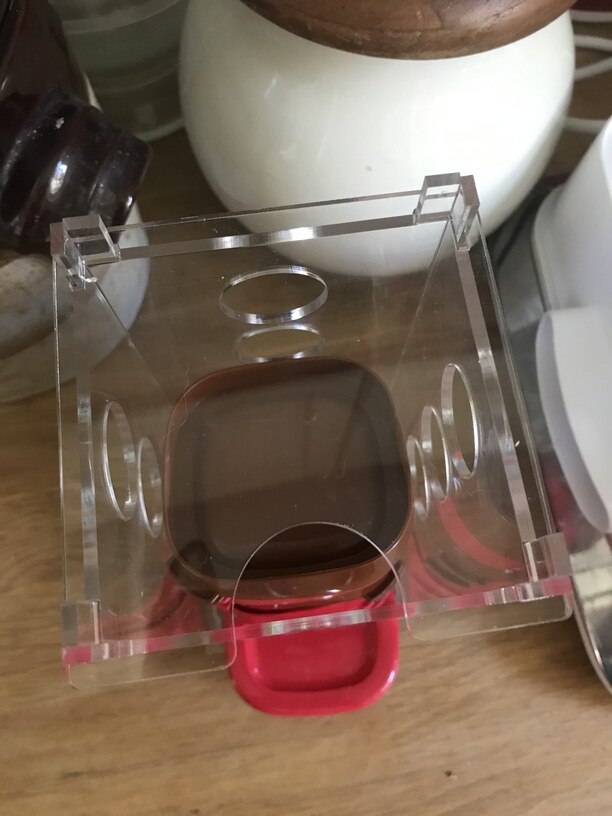
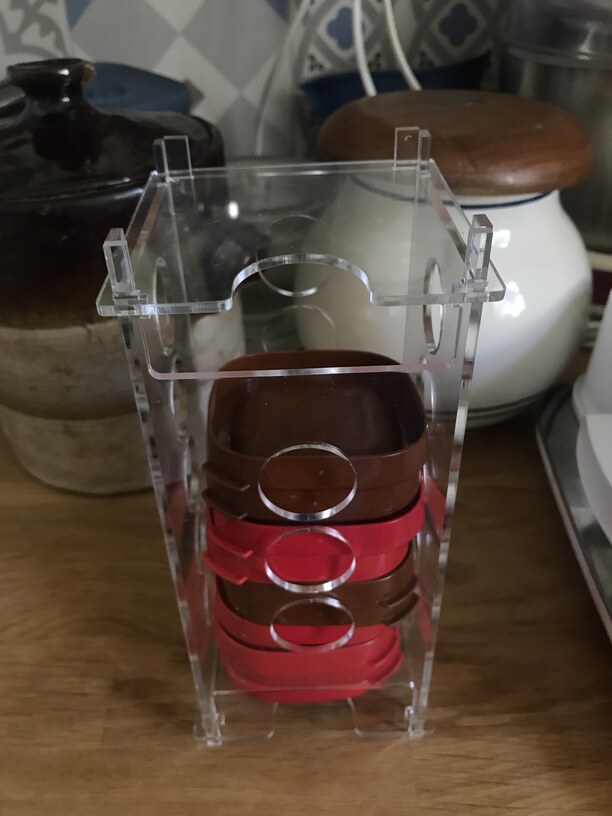
It’s medium clear acrylic, holds together just with pressure and can therefore be taken apart for cleaning. It can be used either way up and has holes down all sides, which can be handy if you want to access a specific lid or if one gets stuck half way down. There is a tab cut into in the front side of the top and bottom so you can grab hold of the bottom lid, or slide in the top one. A fairly simple solution, and there are certainly plenty of things to tweak, but it was very satisfying to get back to some basic engineering and problem solving for a change!
One of the things I really love about GF is that a laser, combined with a material like acrylic means you can make something that looks professional, neat, tidy, elegant and does the job as you want it.
Well, the quantities are in metric, so my apologies to y’all strange folk still using Imperial measurements and cups and the like
Preheat oven to 150°C (300F*/422K**)
3 eggs
200g sweet condensed milk
1 l milk (we use whole but semi skimmed works too)
20 cl single cream (can be doubled depending on personal taste)
200g dark chocolate (please not Hersheys, that is NOT chocolate by any definition of the word )
Melt the chocolate and add the milk, mix the beaten eggs with the sweet condensed milk and then mix all together.
Pour into glass/ceramic pots or ramekins in a bain marie/water bath for 45 mins. They should jiggle slightly when you nudge the pan.
Remove the pan from the oven and allow the pots to cool in the water bath for 30 minutes or so. Then remove the ramekins, place them on a flat sheet pan or tray, cover with plastic and chill for at least 4 hours, up to overnight.