Haven’t posted here in forever, but I got the itch today to make a nice card for my wife whose birthday is coming up this week.
The goal is to have a card which opens to reveal this mechanical paper iris, which she can then open to reveal this years’ gift. I used the PDF here: Paper Mechanical Iris Diaphragm - Iris Calculator
Here’s all the parts I thought I needed, and some spares in case I had issues.
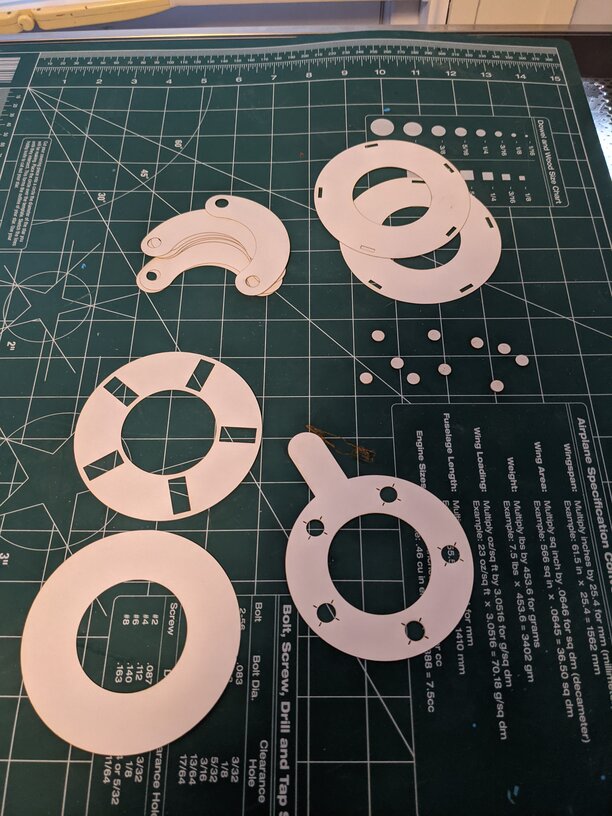
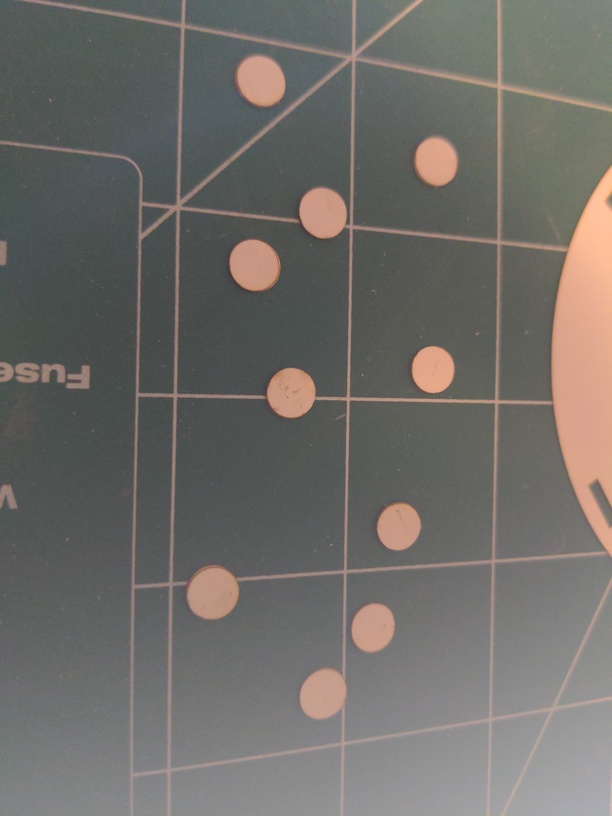
I knew I wasn’t going to assemble it precisely as in the reference, and cut many tiny circles to stack as “posts” or “pins” for the mechanism. You can see them here - they look like hole punchings.
Assembling, but realizing I hadn’t really thought this through. The “pins” need to anchor the mechanism together, but also need to be able to turn freely… First attempt with blue tape.
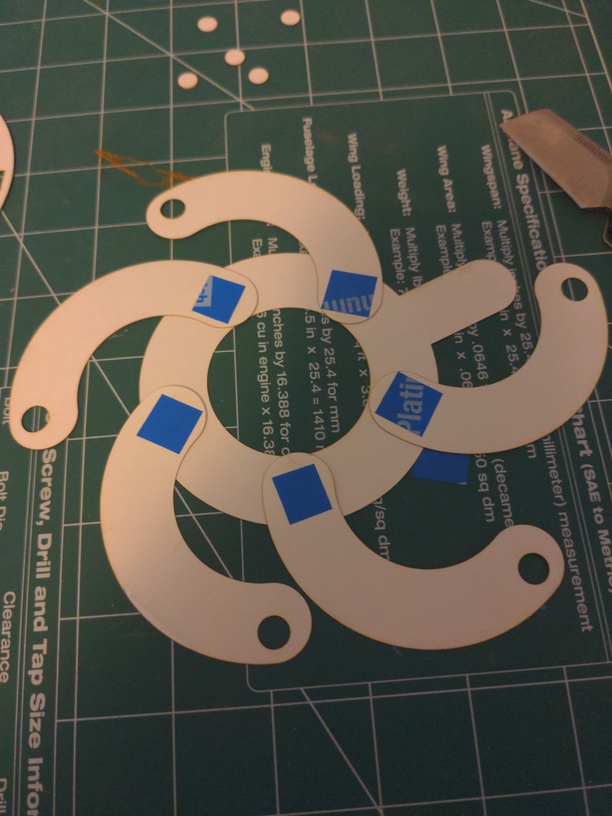
The blue tape was really a nonstarter. Which is good, really, as I wanted the entire mechanism to be of card stock and glue, without other materials involved or visible. I hit on the idea of turning the “pins” into “rivets” and simply made some larger circles to use as “rivet heads” and voila!
https://twitter.com/i/status/1330615509407178754

