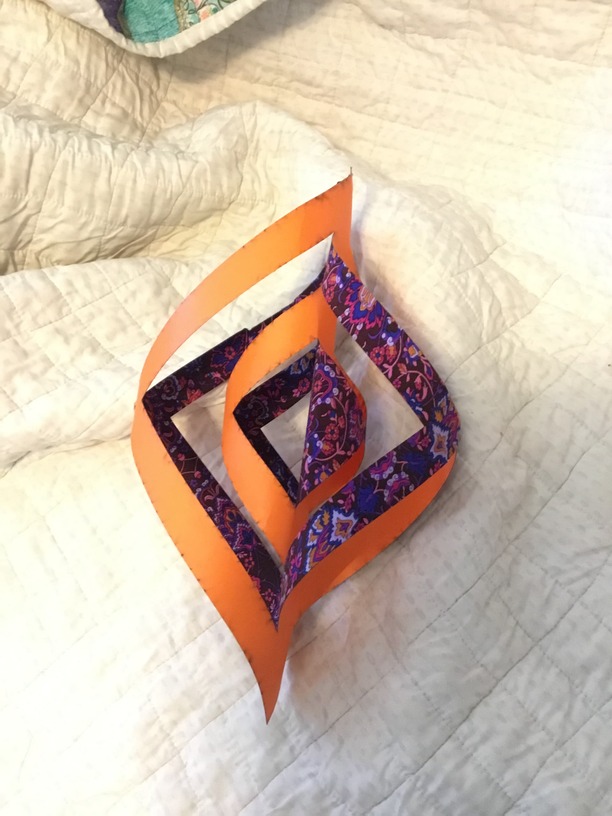
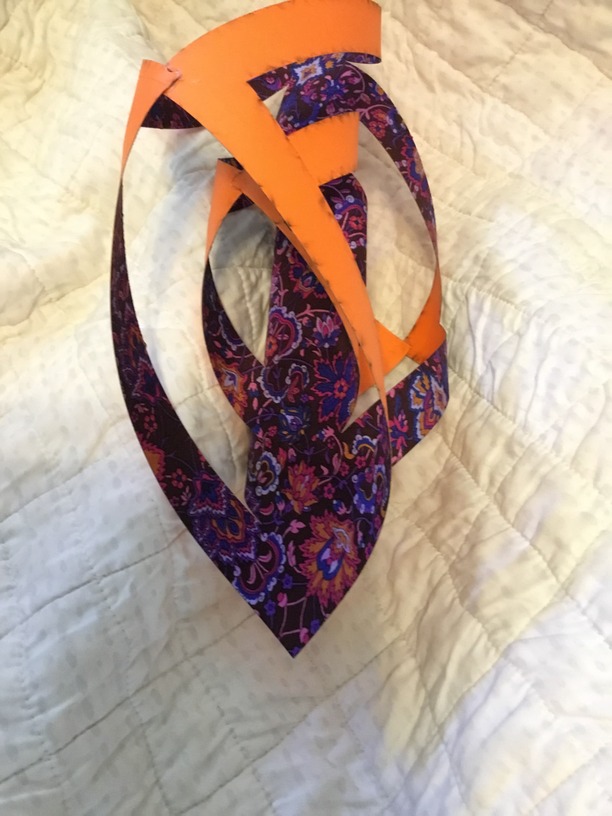
I saw a video of a woodworker making a “snowflake” with wood veneer. Given all the cool cloth projects @MyDogsThinkImCrazy has done, I decided to make a paper/cloth element (file folder and silk, spray adhesive before cutting). I just need 5 more of these and then attach them in a circle for the full snowflake.
I recommend cutting the inner lines first, then the outer. Also, rotate the design 90 degrees so an uncut corner is at the top right. My GF read the design starting at the lower right, so when it zoomed around the last corner, the head snagged the newly released edge and skewed the cut.
Great idea on the snowflake! I used to make those with paper as a sapling!
As far as the flashback goes, you can actually use something like fusible interfacing to put fabric on both sides of the paper, then cover both sides with adhesive paper masking. Then cut through the whole stack and remove the masking from both sides. Excellent effect no matter which side shows.