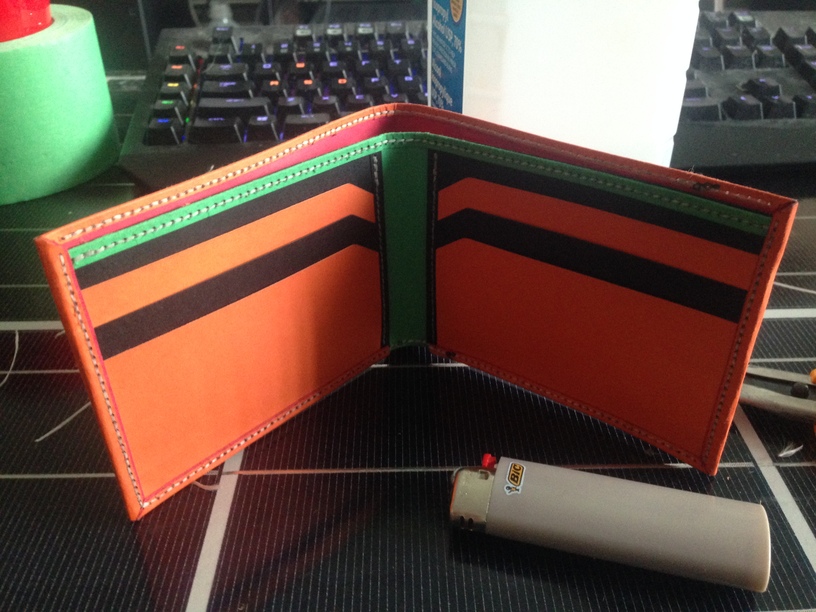
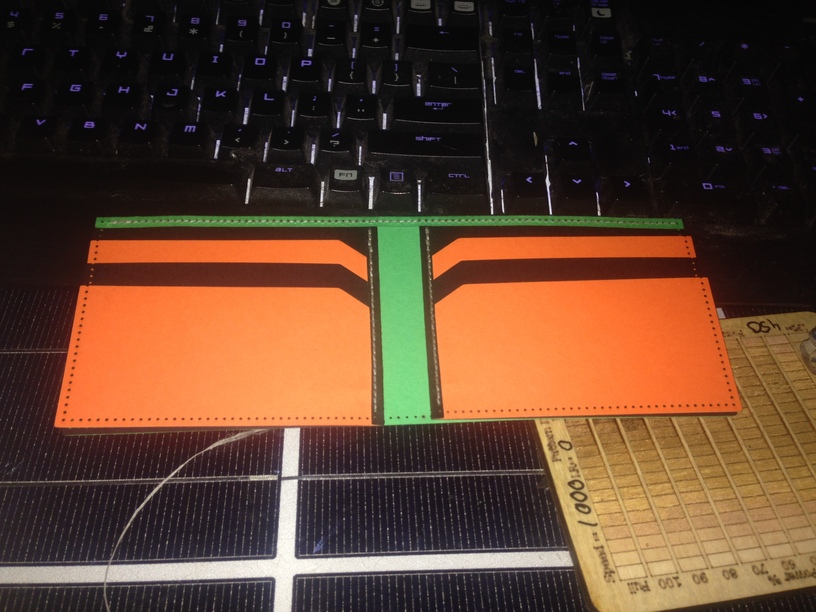
Well my next project will be making a wallet. I decided to make one out of paper and dental floss first to discover my pitfalls and learn to sew.
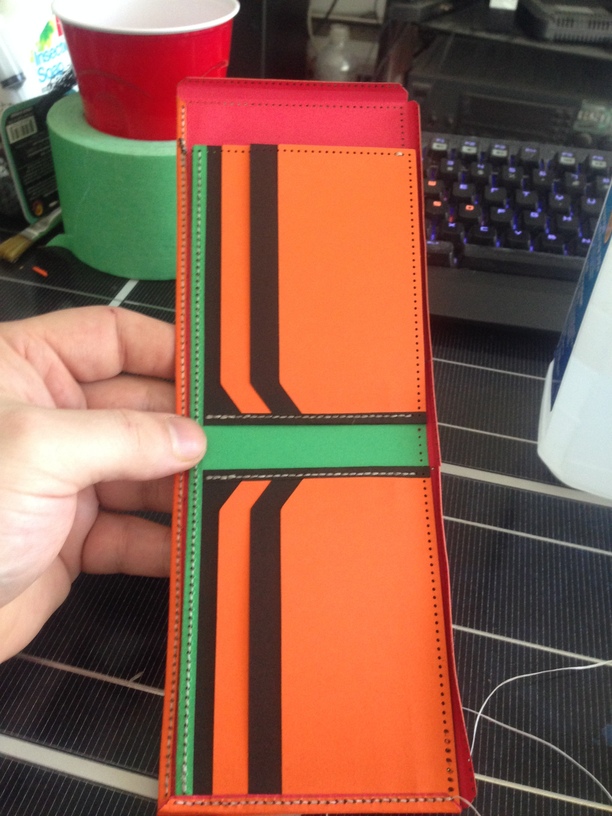
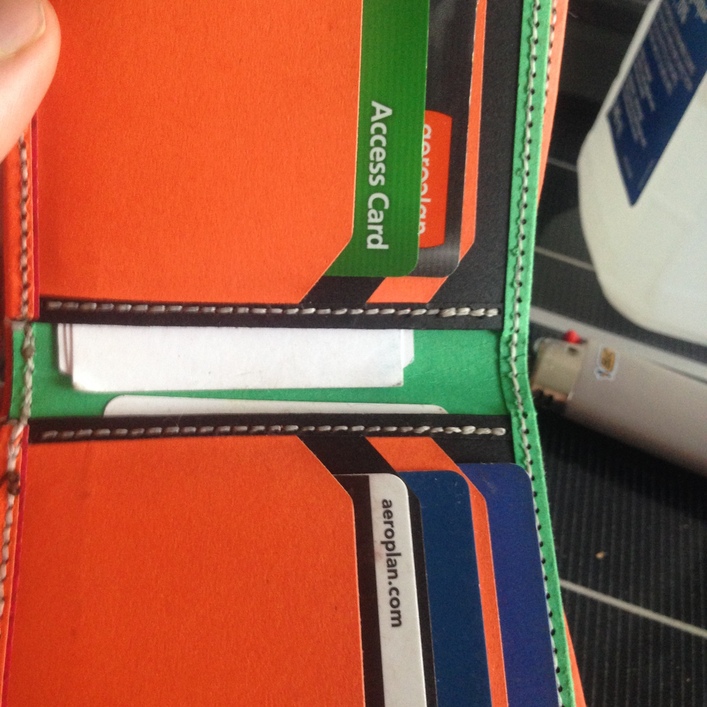
Created a template by measuring my current wallet . I guess this would be called a 10 pocket wallet? 6 card slots 2 money slots and 2 slots under the card slots in the front. I used 10 stitches per inch but think i will scale this back for the leather but haven’t decided yet.
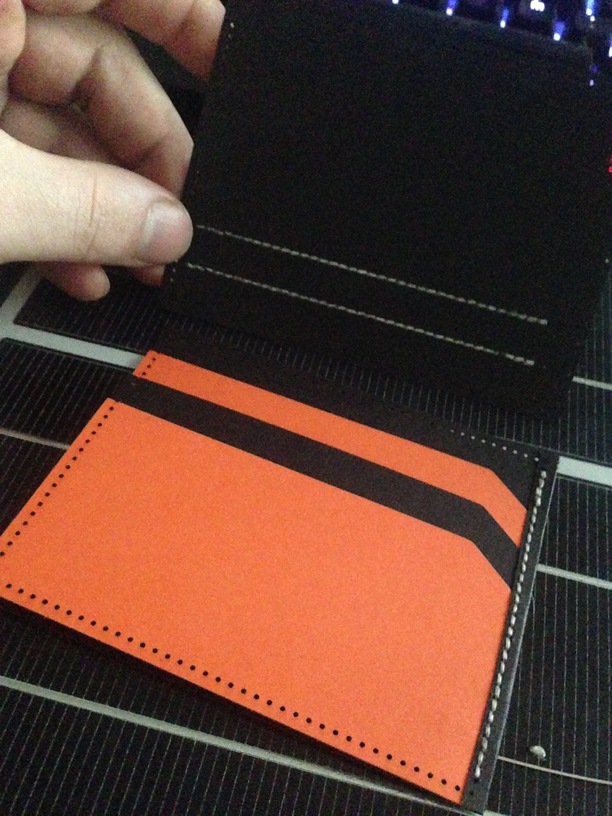


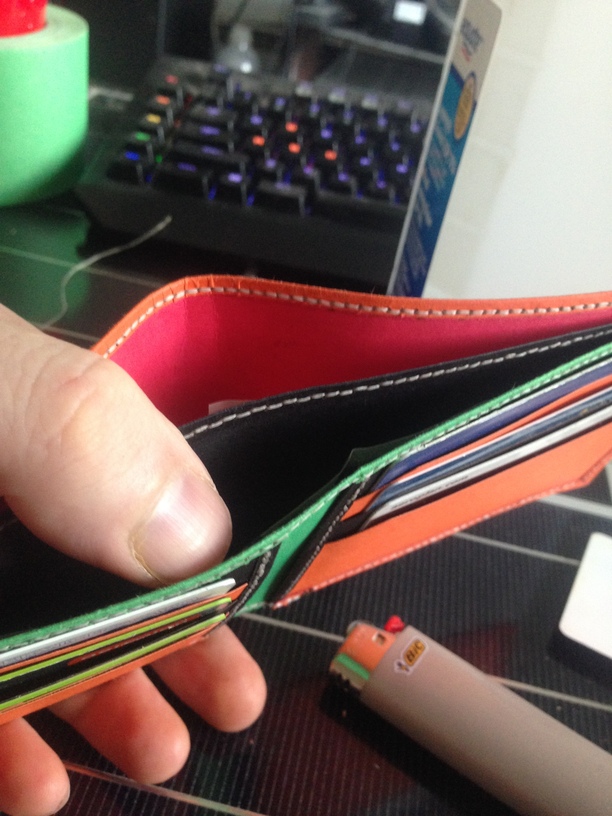
There were not many problems other than keeping holes aligned but half way though i decided to put in some temporary stitches to keep things where i needed them. Clamps or a small vice help and also a set of pliers and a thimble. I also went back and double stitched the corners and flex points.
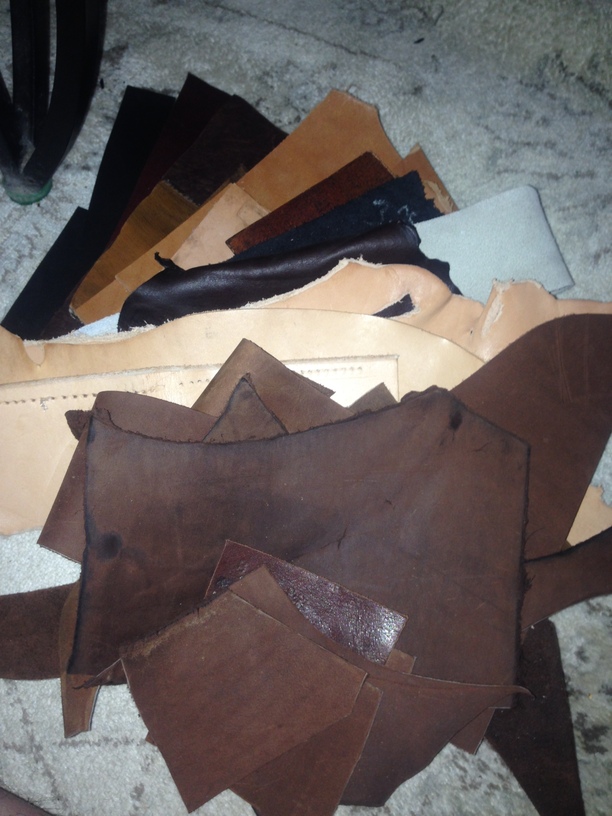
Next step will be to modify this design and learn to cut leather on the GF. Picked up some scrap pieces from a tack shop in town super cheap to practice with as well as some proper thread and needles.
Was a fun project and learned a lot about wallet design and a few other things.
46 Likes
My wallet I bought over 40 years ago at a Marine Supply shop is made of a thinish canvas material called Trigger with the selling point being that leather would not do as well at sea, I added a length of parachute chord tied into a Chinese button knot that would easily tie to a belt loop and is partially responsible for its endurance.
In any case I think that while paper might not work well as a ideal material, such canvas might be.
2 Likes
I will look that material up, one thing i dont really like about leather is how quickly it stacks up when making pockets. A thin strong material would be ideal.
It is similar to Dacron and often used for making tents but more substantial than the usual and comes in colors but cutting it with a laser has the added advantage of melting the edges a bit so it does not unravel. The one I have has a cotton trim that hides and protects all the edges. and is international orange so is easy to spot.
1 Like
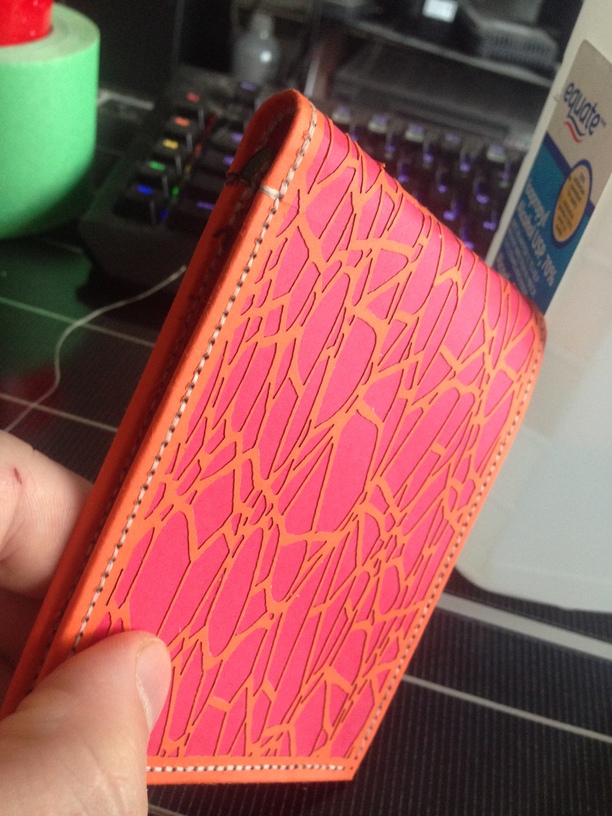
Wow, that’s dedication and very smart to do a test version in paper first! I love the web-like design on the outer. And impressive to try the folded over edge–really nice finish! I’m sure the one you do put together with leather will be really nice!
I etch a lot of different leathers, but rarely get consistent results cutting–I don’t do enough of the same thing at any given time to have the patience to adjust settings, test, adjust, test, repeat… But I do like scoring and then finishing a cut by hand (rotary blade or sharp exacto is great).
Glue and a hammer are your best friends when working with leather. Nearly all seams should be glued before sewing for best results, too. I like Fiebling’s white leather cement–it’s not as big a risk to health as toulene based cements, though they work really well–be sure you have good ventilation! And toulene-free “rubber” cement versions are getting have gotten better.
3 Likes
Thankyou for the kind words and information  i will need to check out what the tack shop has for rubber cement, i had no idea there were different types
  . If i could go back in time i dont think i would have done the folded over design, it sure was a pain keeping all those holes lined up and in a few spots i just had to make my own new holes in the end. Fingers sure are sore got about half way through before i clued in and made a thimble out of the leather scraps i had a few feet from me.
2 Likes
When you etch leather how do you finish the material afterwards? Like do you stain the etched parts adterwards and cover them in some sort of polish?
Gosh, you did a great job on that! Your stitching is especially nice. I’ll bet your fingers were sore afterward—dental floss is not very forgiving.
2 Likes
Most of my leathers are already dyed or otherwise finished, and sometimes I’ll put mink oil over the etched area, but usually I do nothing after I’ve washed the soot out with soap water & soap with toothbrush for light scrub. (Also depends what the product will be used for…).
Many do as you mentioned–staining and then using a leather oil or polish.
I do some hair accessories with undyed “sole bend” veg tanned (8-10oz), and often will use acrylic leather paint, edge paint, or some times ink stamp to add color to the unetched areas–mainly because that’s what I already have on hand & don’t do enough to warrant getting more dyes/stains. I also take advantage of how this leather soaks up the water to form it a but as it dries–haven’t done full-one molding yet, but that’s something I want to try someday…
Sometimes will use a small brush & acrylic leather paint in the etched regions–but even with the leather masked, since it’s porous, most paints will bleed. The edge paint is pretty thick, so it’s less likely to bleed (I like Seiwa brand I find on goodsjapan.com–small bottles & lots of colors–I also use it for filling in letters on acrylic or wood signs. The punches and edge bevelers are great quality, too).
And hand sewing is something I’ve not really done, as I got an industrial machine when I knew I wanted to work with leather (>10 years ago now). But the trick is use an awl to punch a hole thru the leather so the needle doesn’t have to do the hard work–but a thimble is still helpful then! But if doing a lot of it, or for precision, most hand sewing is done after punching holes with a pronged punch (1, 2, up to even 8 prongs that create evenly spaced holes–if you don’t want to buy the fancy tool, a nail will work, too). There are great videos on youtube, Corter Leather & Cloth has some of the nicest to watch (make hand cutting & sewing process look really good, but can learn from them, too). This is why you see slots or little holes in all the laser cutting patterns for wallets–but since I machine sew, I have to delete/ignore those if I try laser cutting the leather…
4 Likes
That is really beautiful. Thanks for the detailed write up.
3 Likes
Oh you bet lol. Pre cutting the holes helped greatly but a thimble is kinda needed to retain function on the digits.
Thx again your experience is greatly appreciated given me knowledge and confidence to move on to the nest step in making a wallet. just need to commit to a design now . i bought some thing veg tan leather today and after a few more wallet making videos on youtube i think i will be ready to go. practiced some engraves on the oddly shaped edges of the leather today and cuts nice using the standard gf settings so i at least have somewhere to start. I will need to do a few small tests as well when it come to stitches per inch as well as fancy stitch techniques, if its worth doing its worth over doing right hehe
It’s so colorful, I’d almost keep that one and forego the leather. 
7 Likes
Why I was suggesting Trigger, all the color. more durability lower cost.
1 Like
That is some nice stitching!! Impressed with your test run!
1 Like
Thanks
1 Like
Nice wallet but, are you using a solar panel as a desk?
2 Likes
lol yeah we get a lot of dead ones in my industry, so i made a coffee table out of one. It still works as well just need to repair the corroded contacts on the back. Its a nice work surface durable and super flat
2 Likes