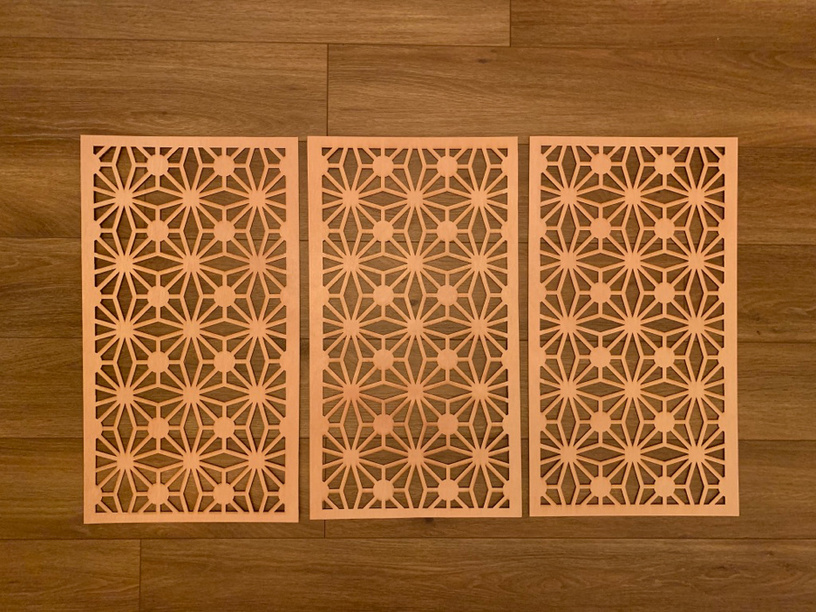
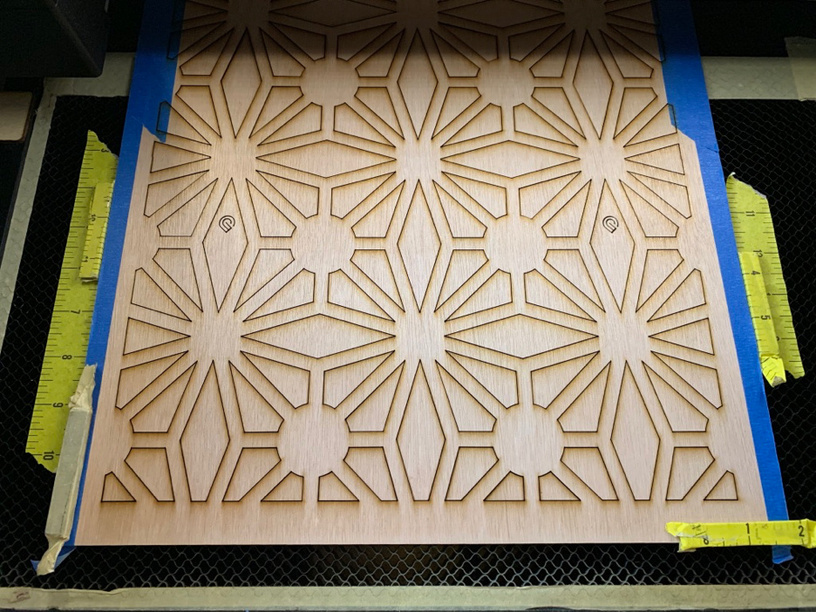
Completed a set of custom Bar Front Inserts for a local Seattle décor company. These are large enough I needed to use the passthrough and broke the design into 3 pieces each panel. Ran the same design over for 3 panels. That’s nine snap mark tests and only one barely noticeable area of misalignment that was minimal. Most of the cuts were right on.
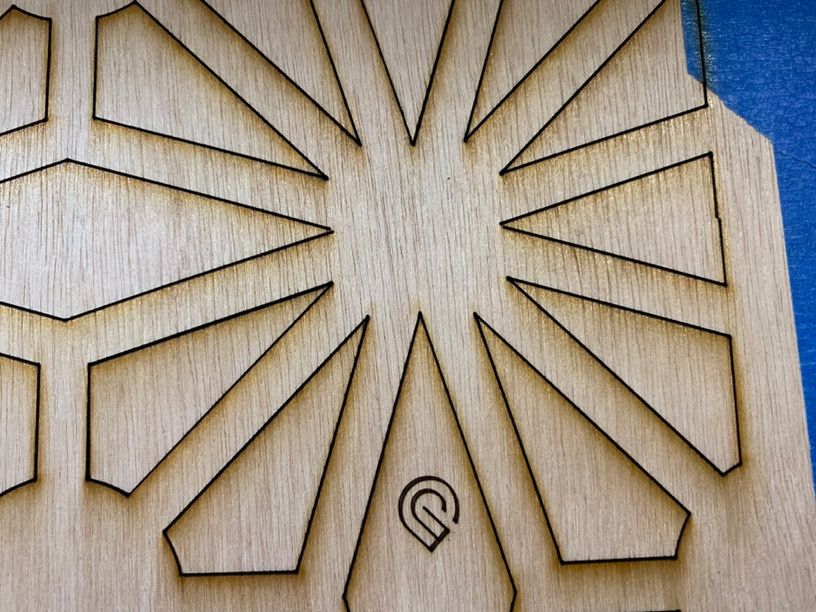
I used the snap marks planned carefully to fall in the cutout portions, though I realized later having the engrave on the backside would not be a huge issue for future projects.
These are cut out of 1/8” birch ply. This was sort of a door skin and I would choose something else in the future, but it was available locally at Dunn Lumber and I needed it for a quick turn around.
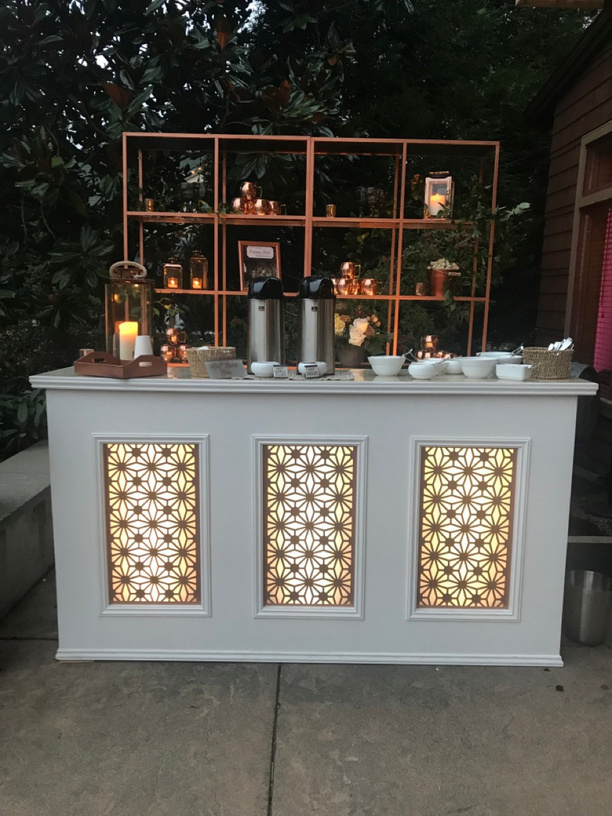
These panels were sprayed a beautiful copper and fronted frosted acrylic and lit from behind.
I used the passthrough process I detailed before so I won’t go into great detail here. But wanted to mention what I see as a huge issue. I have now done this twice accidently and once on this project so I am sure others will accidently make this mistake as well.
***WARNING!!! Read this if using Snap Marks!!!
I have been using the Cmd + A to select all art and then the up arrows to move it up on the bed as I move to the next cut. But whatever you do when using the passthrough, do not accidently hit Cmd+ A + shift !!! It will sort of clear everything and it resized my art and basically kicked out any use of the snapmarks for that cut. I had to close out the file re upload and start all over on that piece as realigning it using the original engraved snapmarks after that point would not work. This cost me about 1.5 hrs of trouble shooting to try to fix it and finally a complete restart on that panel and another 1hr of uploading the file again and recut the portions to that point as it was the last cut of the panel that the issue happened on. So $ in materials and time/labor. This was an expensive mistake.
Cmd + shift is something I use in Illustrator a lot so an easy accidental mistake- but DO NOT hit that shift when trying to select all art or your cut is ruined. There was no way to undo that at all.
Glowforge Staff
I wanted to make you aware of this. I would seriously consider trying to solve that bug before full release. I have been pretty happy with snapmarks, but that was a BIG issue for me. I know snap marks aren’t the ultimate solution, but it is currently making the passthrough usable. This bug can destroy hours of work and expensive materials with one wrong click!!! Right now I am not 100% confident in the snapmark solution, It’s a little clunky, though I am so far achieving great results using it. I am confident a more elegant and automated solution in in the works.
Overall these three panels with 3 cuts each worked well, and I was happy with the end result.
These were sprayed a pretty copper and got fabulous reviews at Weddings in Woodinville, an upscale bridal showcase at 6 local wineries.
Shows the one spot where the snap marks were a little off on the cut, but still within tolerance promised and easily fixed with an exacto knife clean up.