Pass through test runs, and snapmark beta- The long version- hopefully this trial and error helps someone.
Like many I purchased the Glowforge Pro specifically for the pass through as most projects I planned to make for Event Decor needed large sizing. So I have been a bit bummed to wait 2 years then not have that functionality working without some very time consuming jig creation. So I have waited. But as a Christmas present I just got my beta snapmark magic button and having only tried the sample tutorial and a business card test I was ready to give the pass through a shot.
The tutorials and jigs posted by others seemed overly complicated to me and I wanted to see if I could simplify and not rely on any external line up or jig. I did snug the wood to the left of the crumb tray bed, but that was it. I used Illustrator- I use it daily for work so I am most comfortable in that program. Here are the steps I used and call this experiment a success!
The design: Thinking about how the laser will read the file is the most important step of the design from the beginning. I wanted to test a simple sign- For this test I will ignore any engrave I might do in a future run. And only cut the outline.
See the red version my original file.
I created a template with guides running horizontally every 8” for the “page break” of my art- then I created a line 1” below that page break. (this takes advantage of the bed size to place an additional set of snapmarks as an score on the bottom before you slide the medium through for the next cut.)
Then I created some vertical guides: one vertical center line, and a vertical line 1” in from either end as a snap mark registration line up for the full file. The other lines are in case in the future I wanted to make my snap marks closer. I saved the blank document as a pass through template to use in the future.
***You must be meticulous on spacing your guides and snaps or this will not work!!! Do not move the snapmarks in relation to the art once in the glowforge app or this will not work!
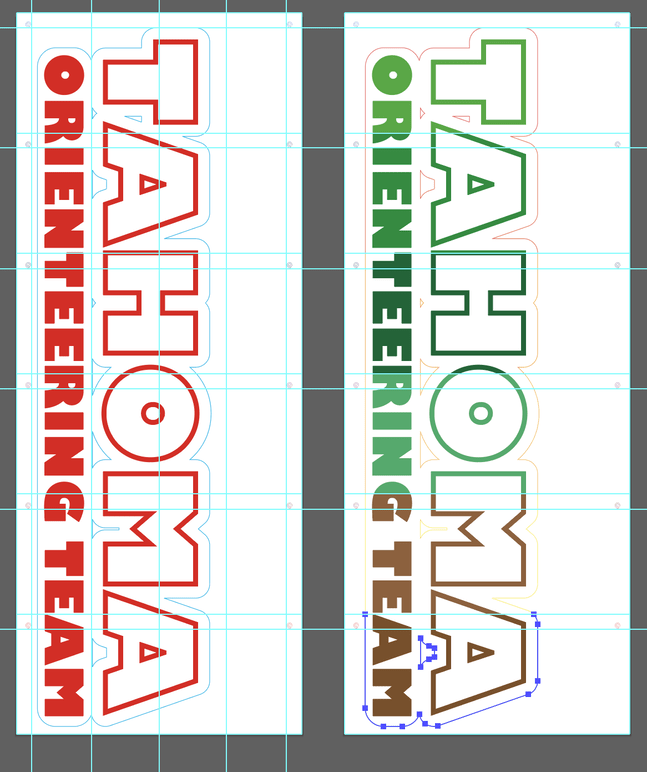
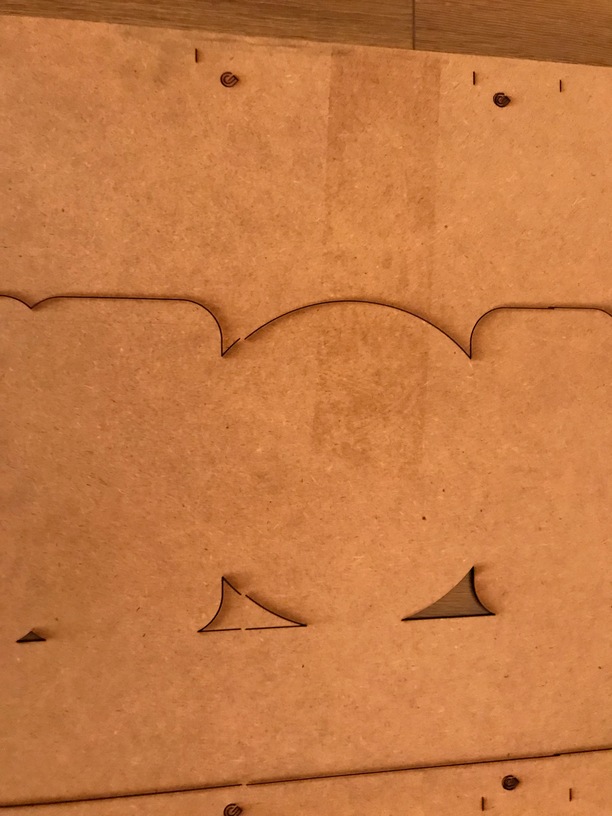
Then you have to slice up your file-There are many ways to do this. I did this manually, but I am hoping to find an App or quick method for this. Basically looking at the right image you can see how the file is sliced up and the selected outline at the bottom is only on that page break not the full outline. I assigned different colors to each section.
I did not stack all elements at the top of the art board though I can see pros and cons to doing that, I wanted to try moving up the art as I moved the wood through. Knowing that what is not on the bed fully won’t cut as long as the pieces are sliced at the breaks I knew elements hanging off wouldn’t matter. The biggest disadvantage to my method I found you could not zoom out far enough in the glowforge app to select the whole art so I had to individually select items before moving them up and inadvertently missed a set of snap marks one time.
Once I loaded the svg file into the glowforge app I chose ignore on most “layers”
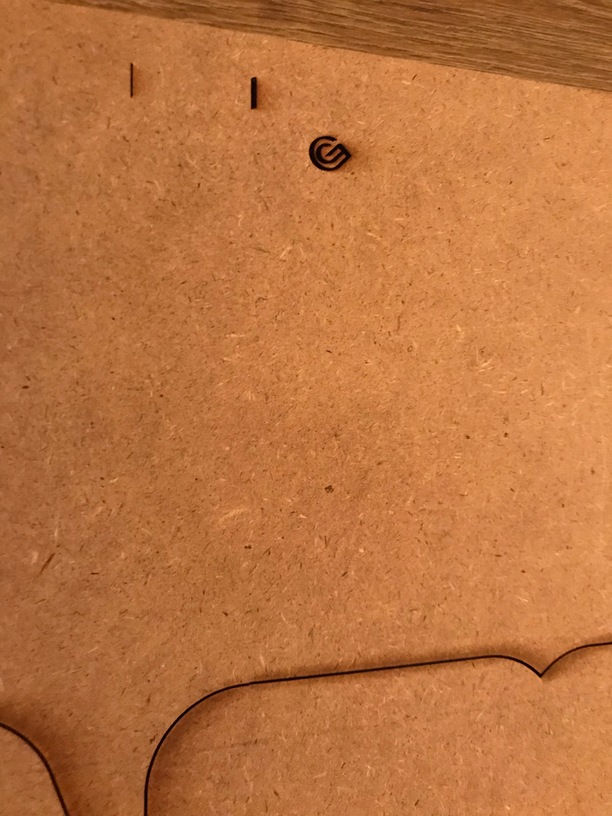
I set all of the snap marks to score- only the ones on the bed will cut so this saved a step.
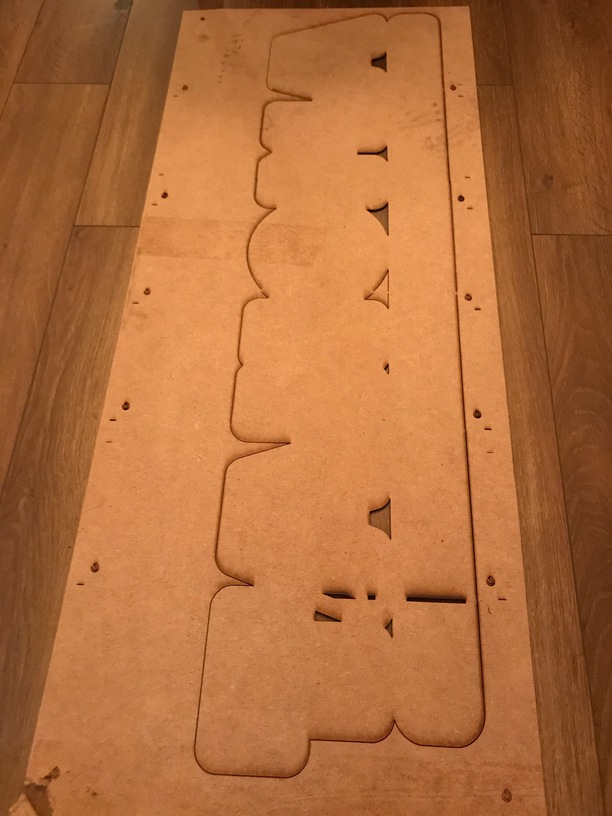
For the art I ignored the engrave text and only cut the outlines.- I used something similar to draftboard that came as packing material for one of my event signs. It was cut 20” x 48” before I started.
After my first cut I slid the draftboad in further and got close to my bed cutting markings I have made on my crumb tray with the tape and the max bed cut template from another user. Then in the glowforge app I slide up the art by ONLY USING THE UP ARROWS NO DRAGGING!!!
Once it was close I hit the magic SNAPMARK button the machine registered for a bit and did not look like it shifted the art perfectly- but after my first few test run tutorials I had learned to just trust it and hit print.
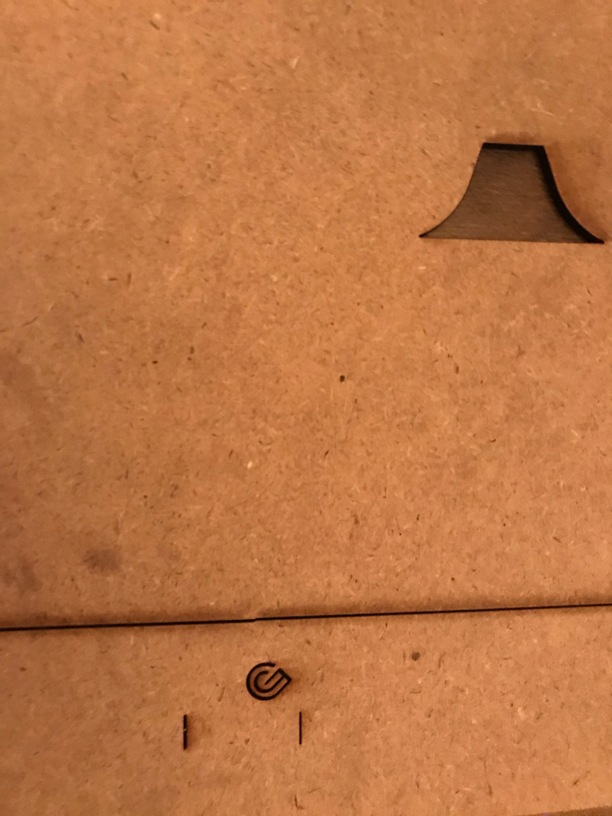
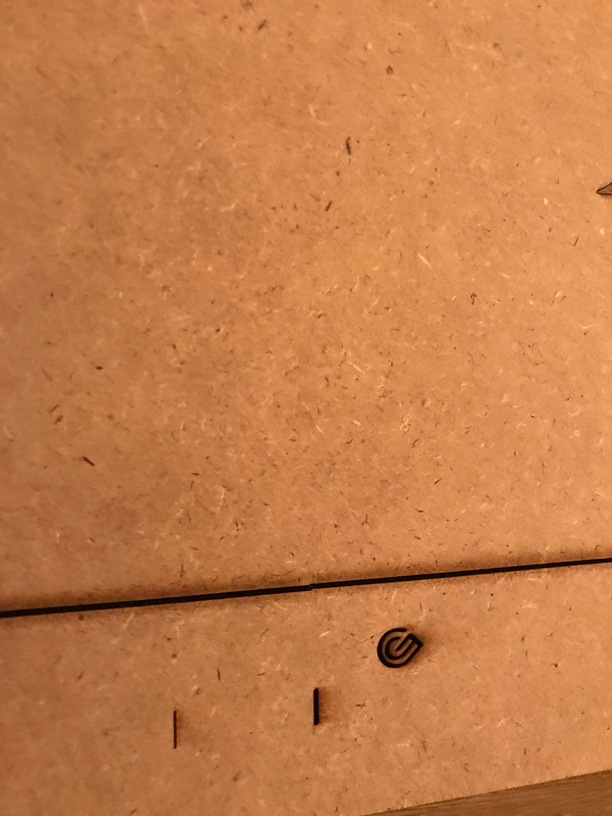
First it rescores the top snapmark and was right on, then scores the new bottom snapmark and then matched up within a millimeter to the first cut line.
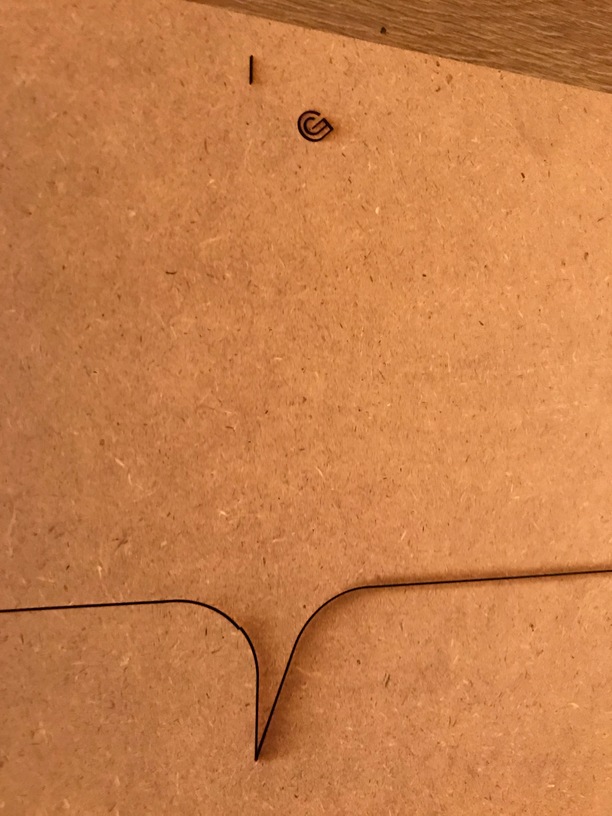

I repeated this 4 more times. With a really good success rate. For the last cut I purposely lined my art up about an 1” below and slight ly over from my first art and let the snap marks go thinking this doesn’t look like its event going to be close. It was a tiny bit off but I had tried to make it so purposely and I was pretty impressed with the internal correction.
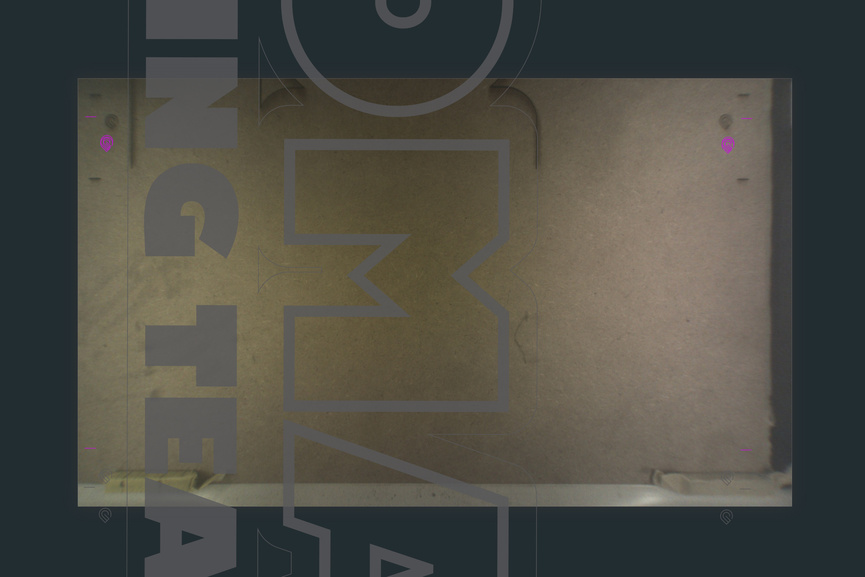
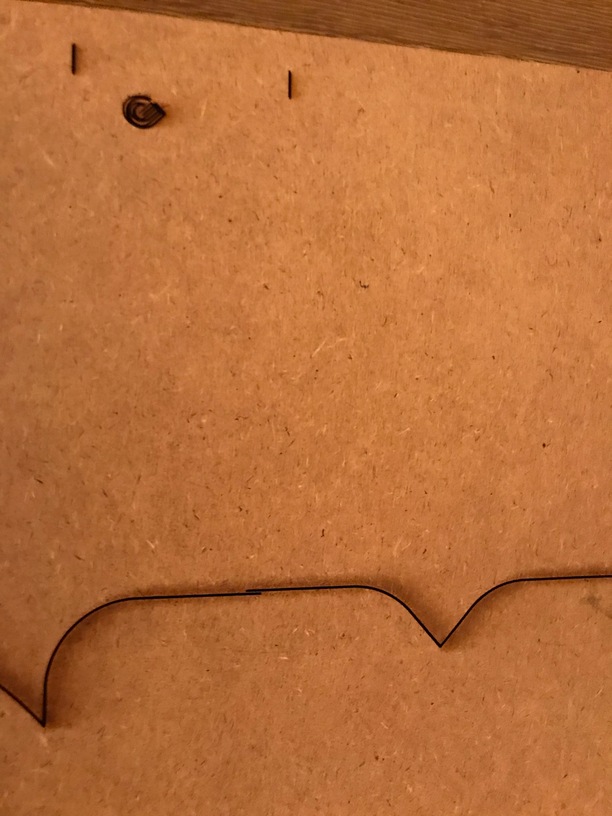
Before alignment with the snapmark button.
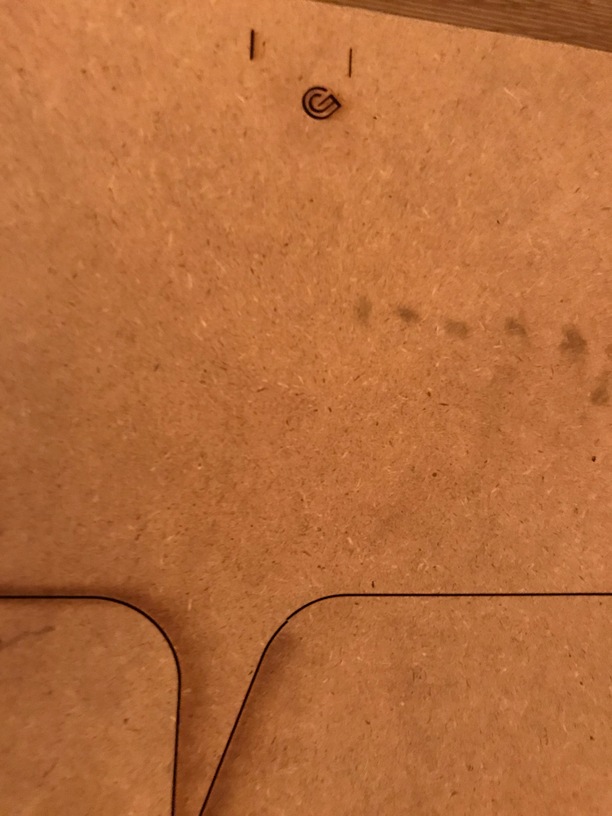
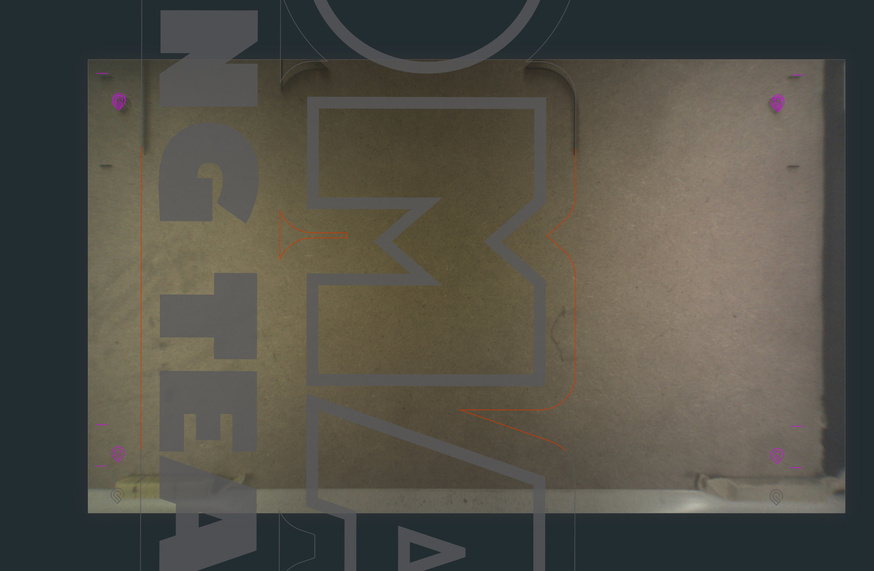
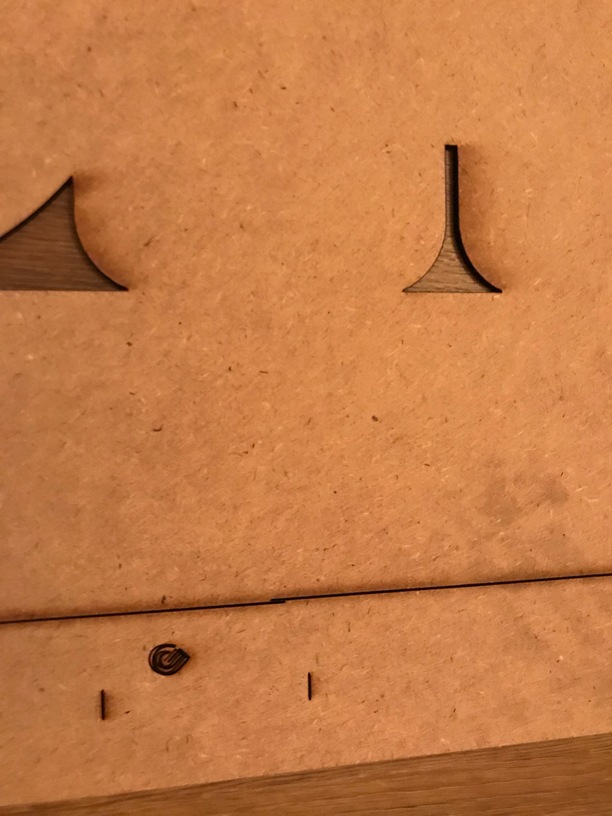
after alignment with snapmark button- still looks off but it worked.
My biggest problem was once when moving art up I had missed selecting the snapmarks and a bottom set did not get scored. I had already moved the wood when I noticed. I moved the wood back down, got my snap marks in place and rescored those then slid everything back up. That was the only cut that was marginally off but not nearly as bad as I expected so I was happy to see how it did- it should have failed miserably there.
All in all I feel the snapmarks are superbly useful. I have tried several runs where I purposely turn the medium from the time the snap marks are scored to running a second cut that needs to match up and I am happy with the registration ability. In the end I am happy with this as a work around for pass through and multi run use.
However when I ordered my machine I was expecting more of a solution where you input the svg, and the glowforge slices it internally to fit cuts on the bed then as you slide through takes care of the registration and slicing. This is a lot more hands on then they made it seem and I am hopeful that a more elegant solution will arrive, but in the meanttime and for mass production items I think the snap marks could be very valuable to many!