I want to cut a pretty intricate cut using the Passthrough. The first time I attempted this, the small bits from the first part of the cut got caught in the crumb tray as I tried to move the piece forward to complete the print. I literally had to go in and remove every small piece from the top to free it enough to move it which was very difficult and tedious to do while not moving the print out of alignment. Does anyone have any great tips or tricks for this? Thanks.
I once heard a suggest to use a vacuum to get the small parts out of the cuts. I have not tried it yet, but I think that would certainly make intricate cuts easier to deal with.
2 Likes
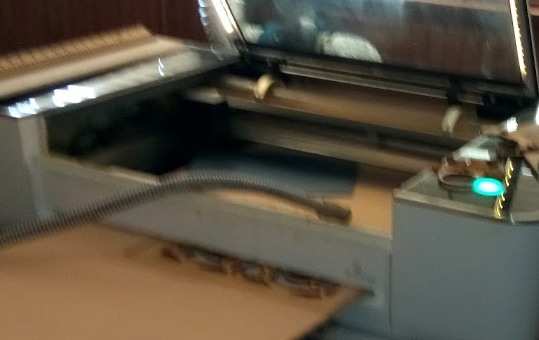
Yeah I use a vacuum. It’s also good practice to tape the gap between the tray and the front passthrough slot so nothing gets caught on the lip.
I’ll also use tape to hold things in place that are almost cut but that need to stay in place.
In general, though, my one piece of advice is to rethink your designs a bit when using passthrough. I avoid certain types of cuts because I know they’ll be hard to pull off in passthrough… it’s the kind of thing that you learn by doing. My rationale is that surr I could spend the time and materials on trying it but if I know I can tweak my design and have a much more likely success rate, then that’s a good compromise.
5 Likes
I use a mini shop vac for exactly that ![]()
1 Like
This - use liberal amounts of tape. Sometimes, if using 1/8" material, I’ll also put the whole thing on top of a waste sheet of wood or poster board so that I can tape the top pieces and slide the whole project without catching the crumb tray. (with settings dialed in to just cut the good material and not through the waste sheet)
2 Likes
fixed typo.

1 Like
I try to find a place where all the lines are vertical (front to back) that way if you are a millimeter off it won’t matter much. Sometimes in order to cut only vertical lines, they have to be in several places. This will not work with the passthrough as it wants them all on the same line (y-axis) so I break the design into separate layers and extend the vertical line breaks a millimeter or so.
Then by lining the material hard on the righthand rail, it sets both the rotation and location on the x-axis so you can keep that as you move the material. So if you then move the design with only the up/down arrow it will also stay fixed and correct on the x-axis. so then if the designs overlap that millimeter after set focus the y-axis can still be a millimeter off and work perfectly not even bothering with the specialty passthrough trick. ![]()
Congratulations? On which thread?
1 Like
yes.
1 Like
I use aluminum foil. Not for the whole bed, just along the edge thru the slot.
I also shared a design here for how I filled the gap between the tray and the front slot, to fill in that gap. That’s a semi-perminent addition to my tray that prevents anything from dropping and causing an issue.
If my design had intricate features that would cause it to get stuck/hung up thru the slot, I put a piece of foil over the gap. I have a box of 1000 sheets, I think, from Costco, but I’ve never needed a second one.
2 Likes
I keep a flexible kitchen mat like one of these handy, and push it through the passthrough slot to hold up the flexible piece and lay it over the cut bits. It really helps for pulling the board forward through the slot.
Not my tip, I saw this on the forum years ago but it really works.
2 Likes