I do a lot of painting and remasking between steps on my GF and I have found a way to engrave/cut/score a project, completely remove from the tray, then reinsert all while being spot on for more lasering.
First cut and install the tray boots designed by @timjedwards Give that wiggly GF tray the boot! This is a “must do” for anyone wanting a stable crumb tray.
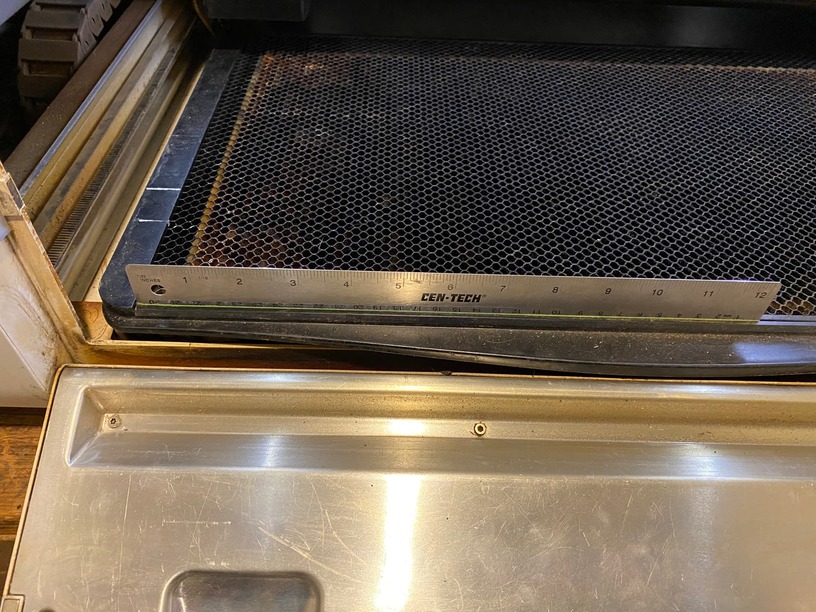
Once you have the tray secured in place we move to the new fence that make it all possible, a Harbor Freight 12" metal ruler https://www.harborfreight.com/12-inch-stainless-steel-ruler-66199.html This ruler fits right into the gap at the bottom of the tray.
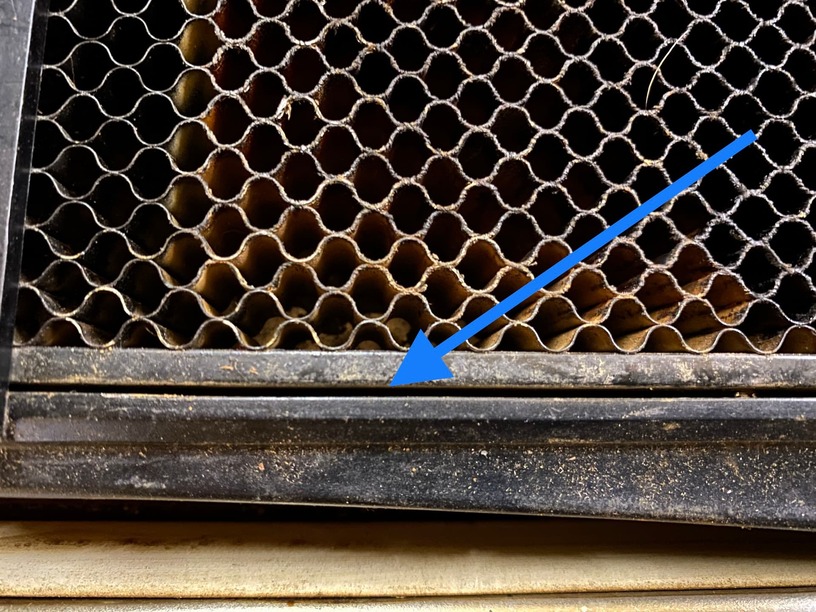
I removed the cork backing and then put some masking tape on edge of the ruler that goes into the gap to hold it snug and slid in to place on the tray. It fits nice and tight
Now load your material on the tray. You will most likely not be able to fit it square to the corner, but that’s ok. The key is to keep the material straight with which ever edge you prefer. I use the horizontal edge flush to the ruler and slide until the material makes contact with the vertical edge of the tray

Now load your file and ready it for print.

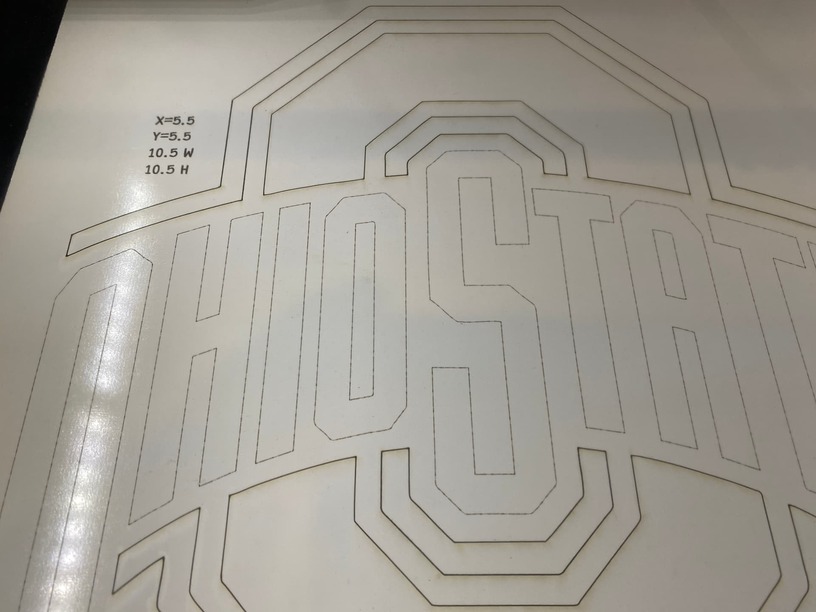
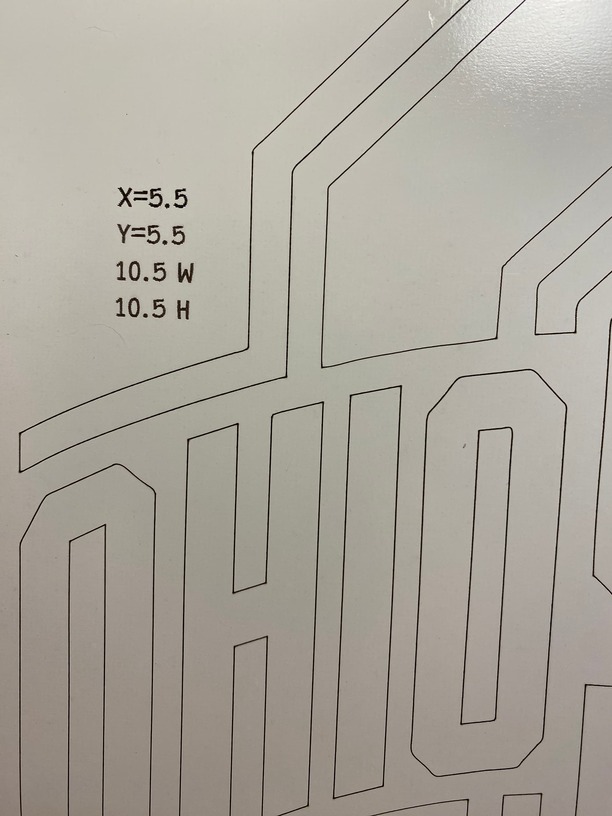
If you will notice, in a scrap area I engrave the dimensions and coordinates of the graphic. By doing this I can remove everything from the tray and come back at a later time and date and know where to place my graphic and at what size.
Here is a test print I made to demonstrate. I lightly scored the text so that I could show how it realigns perfectly.
This photo is to prove I removed it from the GF before continuing. I didn’t screen shot a blank screen when I exited and rebooted, I figure if you don’t trust me by now ??? ![]()
![]()
![]()
![]()
Taken while scoring the second time.
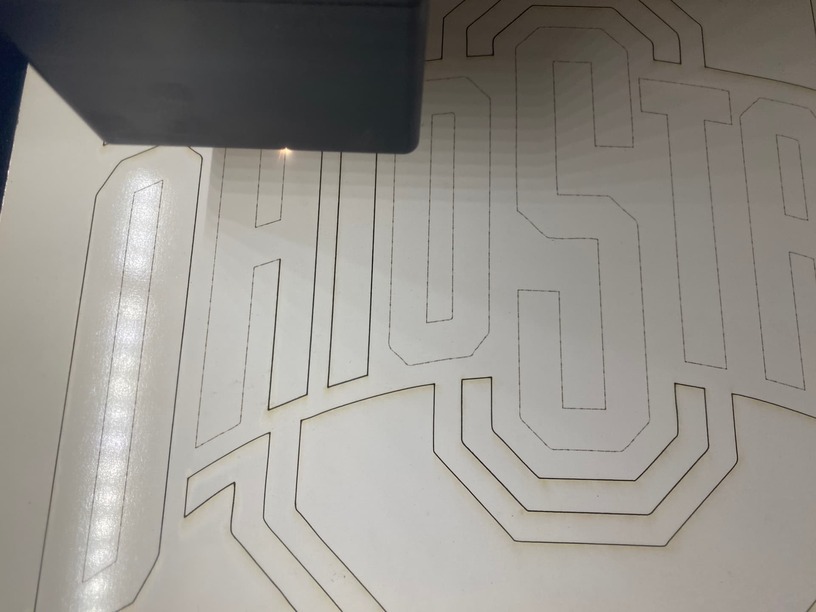
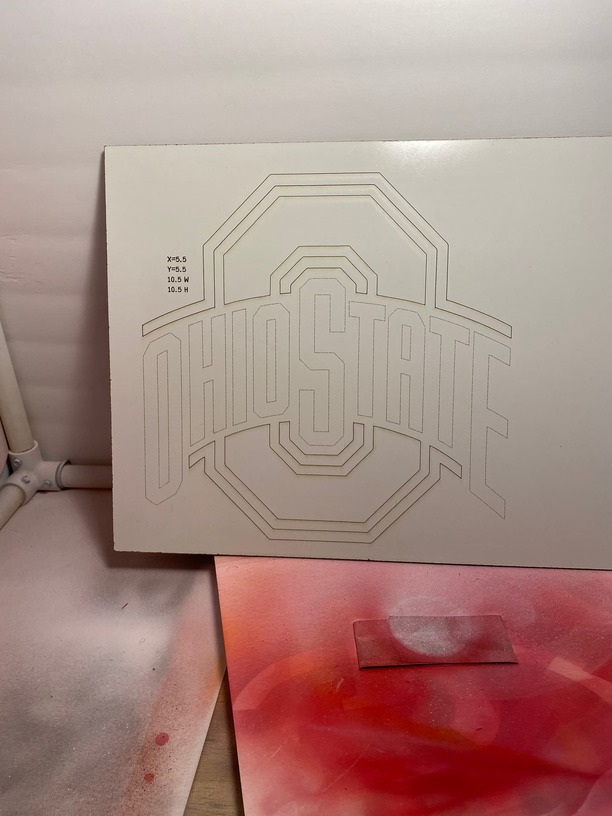
Close up of finished results
I have had excellent results every time if have used this and I hope this is process is useful to someone besides me. If you have any question feel free to ask.
