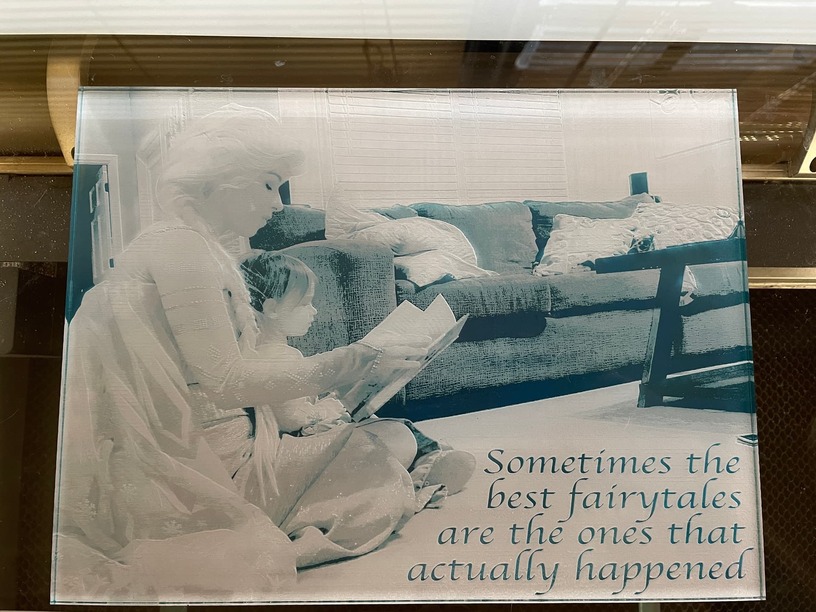
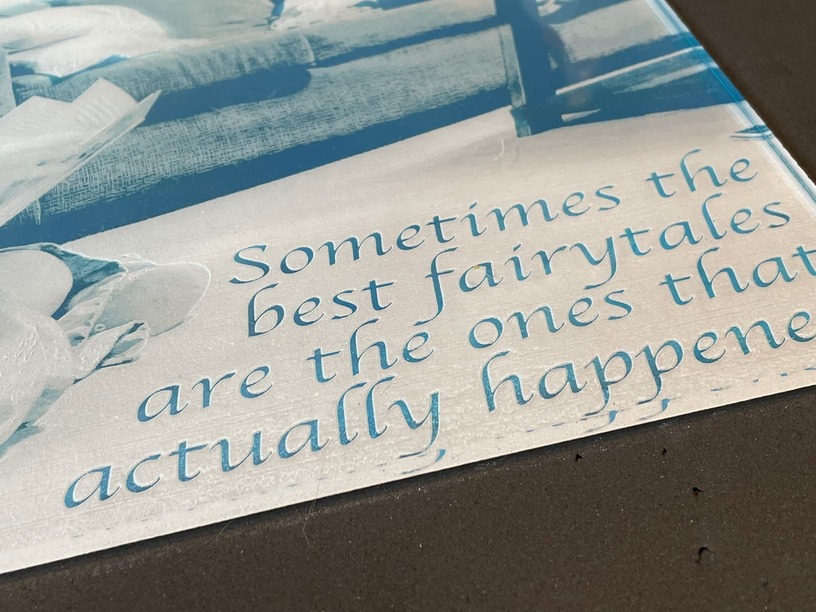
This kind of fell out of my experiments with photo engraving on spray painted canvas. I had some frosted acrylic laying about and decided to play around with some alcohol inks to see if I could get some contrast for engraving. After a bit of experimentation, I came up with this:
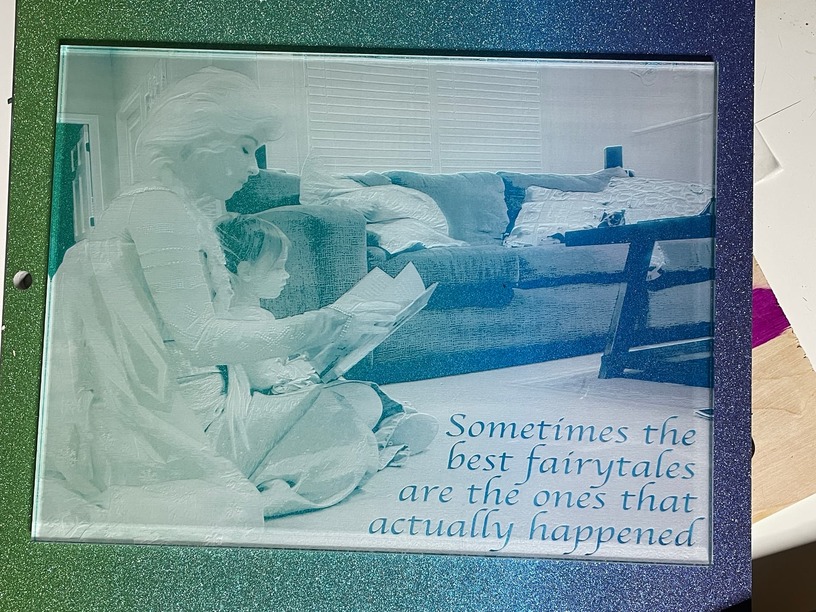
The photo doesn’t truly capture the detail, but boy I am really pleased with the result. Because there are clear parts to the engrave along with some frosted and some transparent blue, the background makes a huge difference in the content of the image. Here’s a green to blue background:
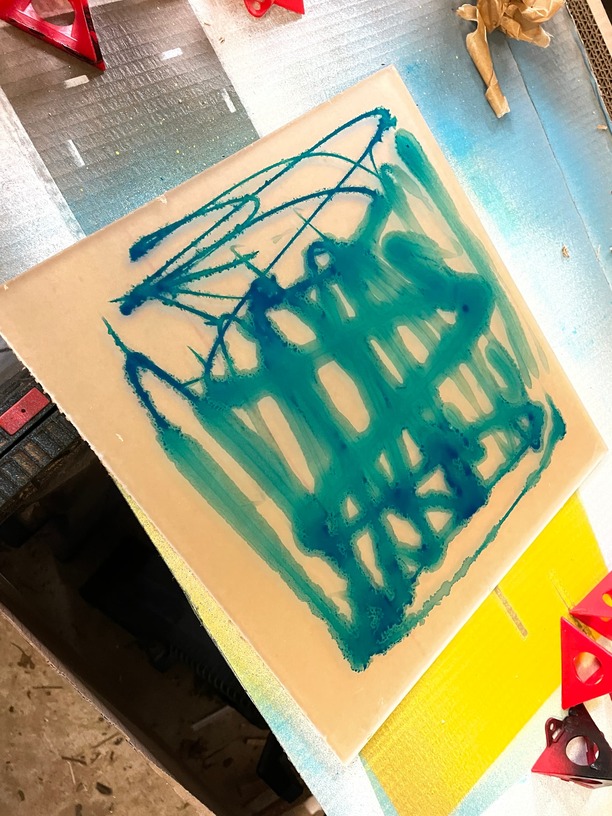
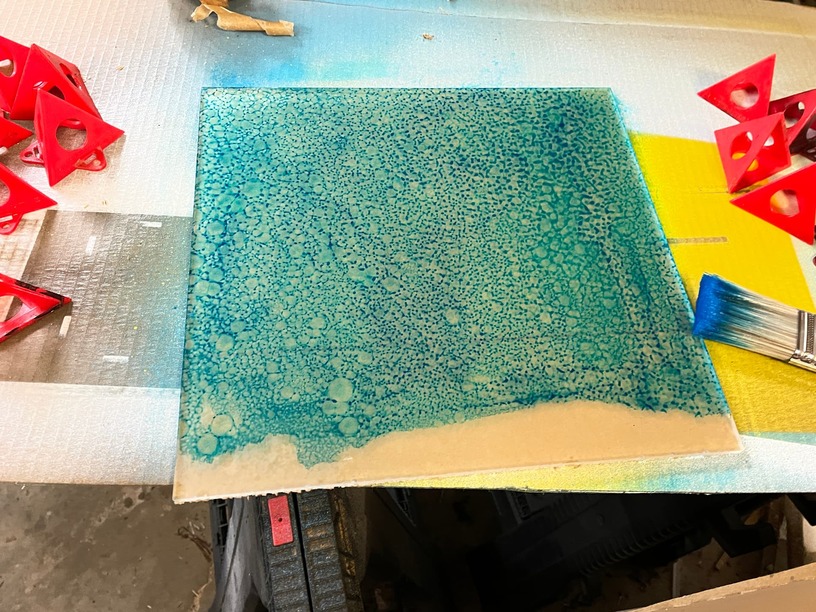
The basic technique works like this… I started with thick frosted (single side) acrylic and a small bottle of blue alcohol ink and just spread some on the frosted side of the acrylic.
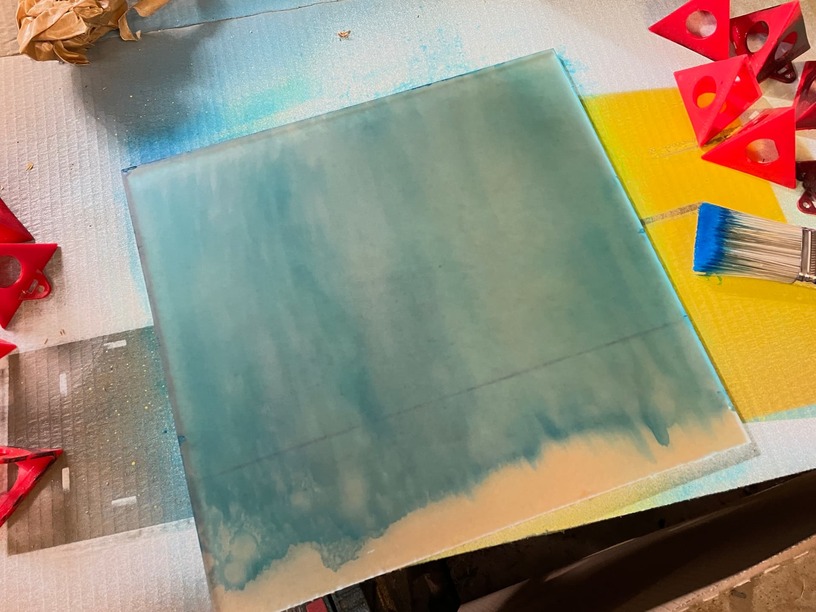
Note that the backing is still on the bottom of the acrylic (the clear side) to prevent flashback when I engrave. I then spread it as best I could with a wide brush and spritzed it with a plant mister full of alcohol.
I gave it a minute to dry and then popped it into the Glowforge to engrave and cut. The photo I used had been greyscaled, inverted and flipped to mirror the text, because what I am really engraving is the back of the finished piece.
Once the engrave is finished, pull the backing and flip it to the clear side. The back engrave gives a really lovely depth to the finished piece.
I peeled the backing off of the top (frosted part) and painted that with the alcohol ink. I left the backing on the bottom so that when I cut the piece out, I didn’t get reflections from laser bouncing back up from the grid into the design (usually called flashback).
I am new to this, so I am trying to get some clarification. The side you painted is also the side you engraved? So with the inverse, the white didn’t get engraved, so that is the darker parts of the finished image? This is the only way this makes sense to me, so I am hoping I got it correct. Very beautiful effect, and such a great image and message.
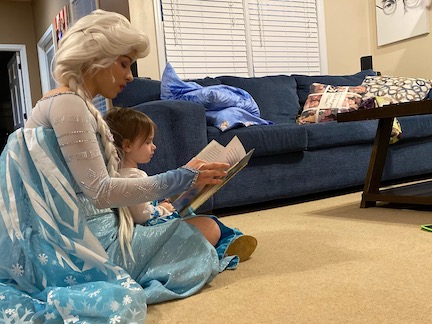
It’s a little confusing with the color from the ink, the white and whatever color the background is. Also I keep referring to back and front in different ways. The frosted side of the plexi with the ink is the back of the piece, where I do the engrave) Maybe this will help: Here is the original untouched photo:
Here is the inverted and flipped image I used to print (Remember I am l going to flip the plexi to see the finished image, sort of like a lithophane):
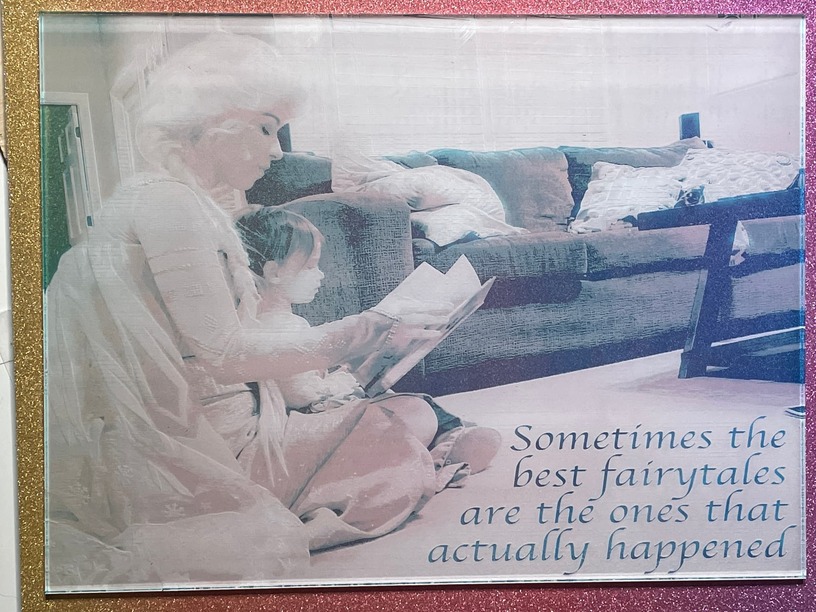
I really like the wording on that. And I like the yellow to red background, makes it look like an old photo. And thank you for detailing how you did it!