Hoping someone can offer advice… I am trying to get nice photo engraves like other people do… First I tried on my own. It was ok, but not the best. So I took to the Glowforge User Group on FB to look for some tried and tested settings.
Someone on there was very willing to help. We worked together, then he ended up just editing my photo to see if it was the photo or me or what.
He then sent me the file and I tried to print it on my Pro with the same setting he uses ALL the time. 1000 speed, 90 Power, 270 lpi and vary power.
We are both using the same material from Home Depot. Their unfinished thick maple plywood.
I can NOT get my GF Pro to print the same results as his GF Basic. I tried several different power settings, even cleaned my lens and mirrors etc. Nothing comes close to his.
This is my second GF, this is a refurbished machine, which I do not think has any bearing but I don’t have enough experience to even know really.
These are photos of everything and the file he sent me that we are both printing…
-
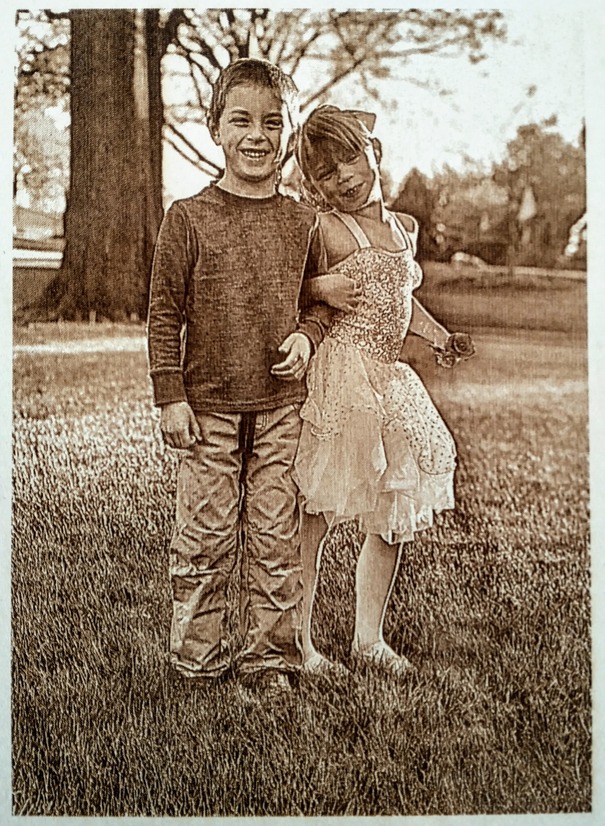
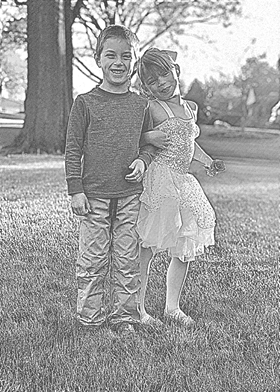
This is the file he edited and sent me.
-
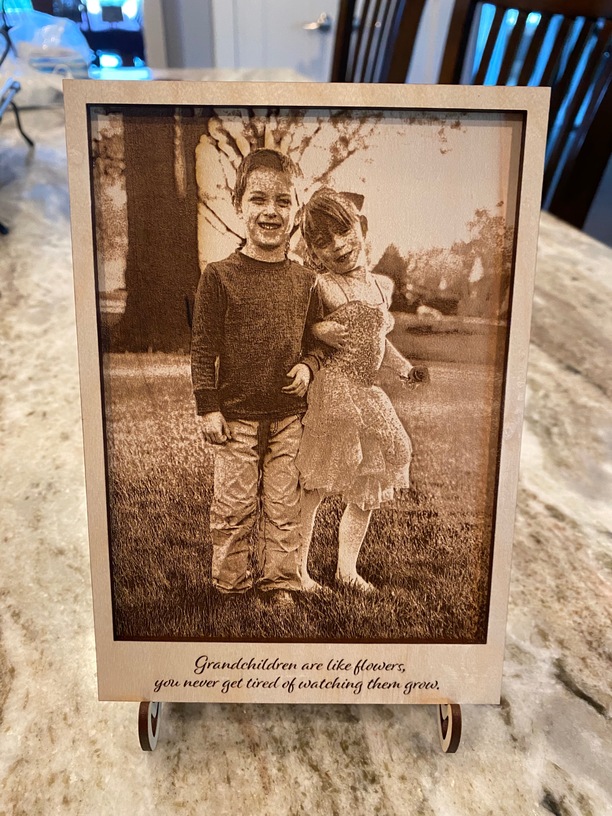
My print…their skin is blotchy and not really different from the sky. This one is printed at 1000 speed, 80 power, convert to dots, 270 lpi.
-
Mike’s print…Printed at 1000 speed 90 Power, 270 lpi, vary power.
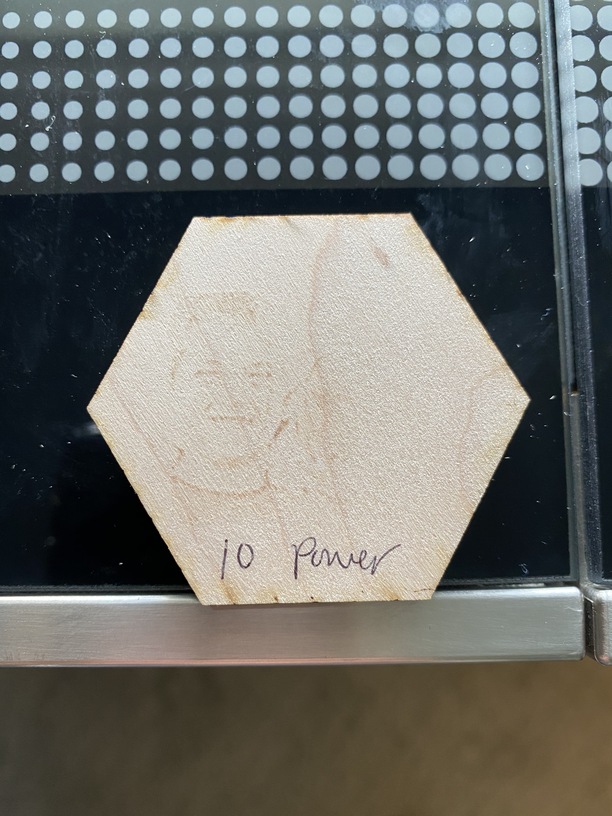
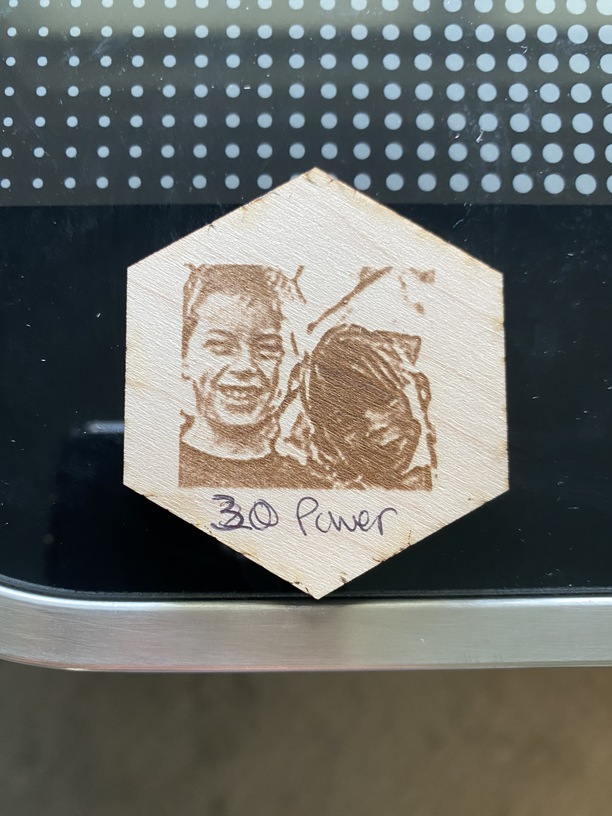
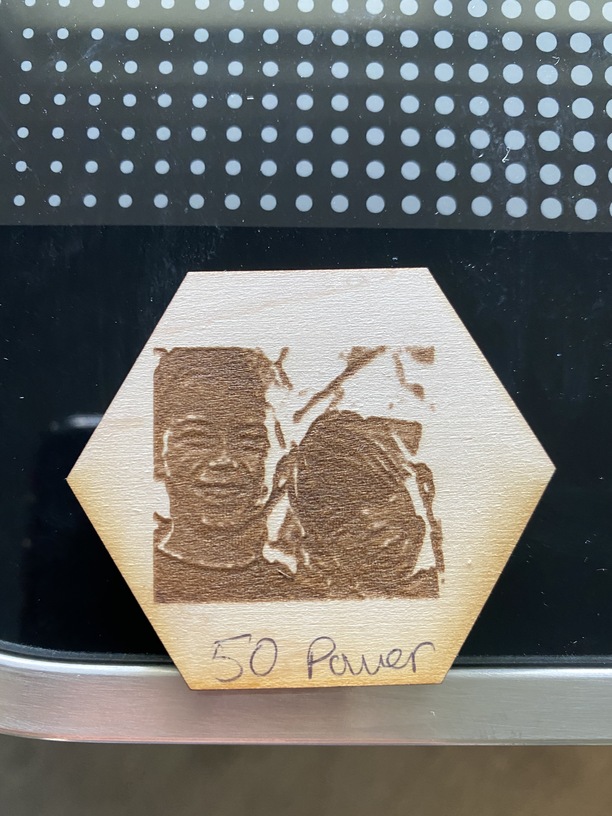
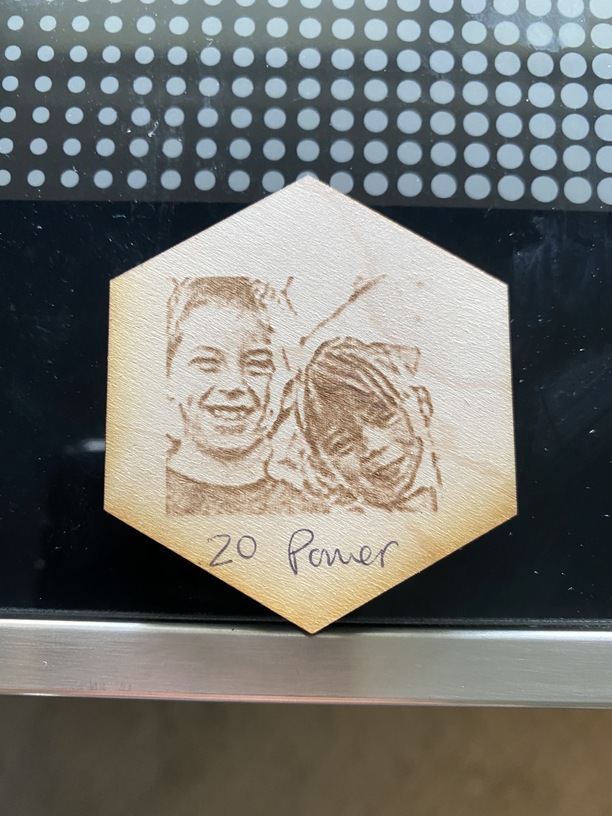
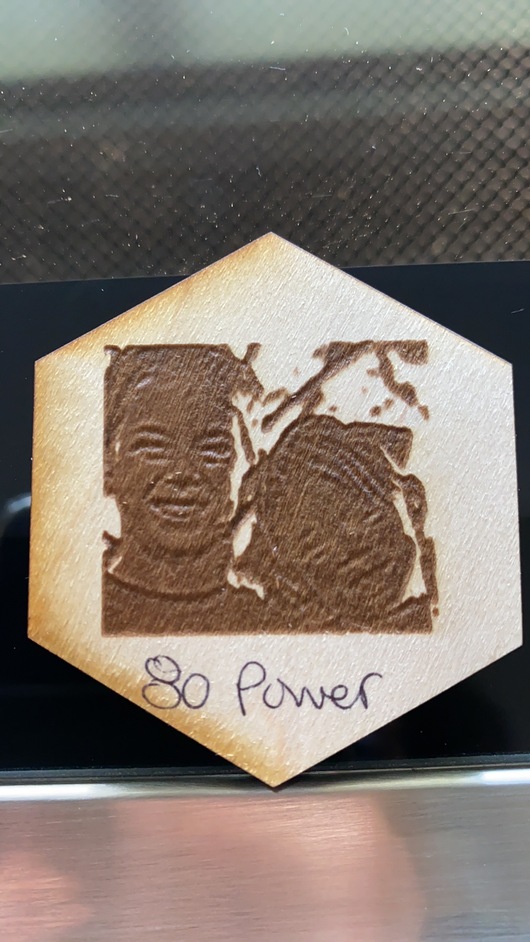
These are some little test prints i did of just their faces to try to get it to work on my pro…the speed is 1000, 270 lpi and vary power. The only difference is the level of power, which is noted on each one.
And here is 80 power AFTER cleaning the lens and mirrors and wiping down the inside of my GF, which wasn’t really dirty.
Any help and/or advice would be very much appreciated.
If you made it this far…thank you so much for your time!
4 Likes
Try dots, not vary power.
You never want to use vary power for normal photographs, Vary power lays down a burn everywhere, and the range between barely scorched and charcoal is tiny. In a photo the light that is on one side of a face is the same elevation as the part in a shadow, but variable engrave will make dark parts deeper and light parts higher.
Dot dithering by contrast will have all the dots at the same depth and color, but scattered wider apart in light areas and tighter together in the dark ones. If they are too tight they will cover everything so need to be farther apart while if there are no dots in an area that will also lose detail. You can adjust the top and bottom of the scale to fit the image you have.
For tile and other hard materials, you may have to come back with a darkening agent such as paint or marker pen. If you leave on the masking you can spray the paint and not have it on the places the laser has not hit.
6 Likes
Thank you eflyguy. The second image i posted is my print which is printed with convert to dots. I just can’t seem to get people to print well and have smooth looking skin.
1 Like
Thank you rbtdanforth. That is a very good explanation. The thing is I printed my picture (image #2) with convert to dots and it does not come out as nice as Mike’s. So i just don’t get what I am doing wrong. But I am determined to figure this out so I will try again tomorrow.
1 Like
I would try a higher LPI and dithered dots. You might need to reduce the darker end of the dots if they run into each other but unlike most things I don’t think the the higher LPI removes that much more material but just adds smaller dots, and more smaller dots is where you are looking to go as it would be less blotchy.
1 Like