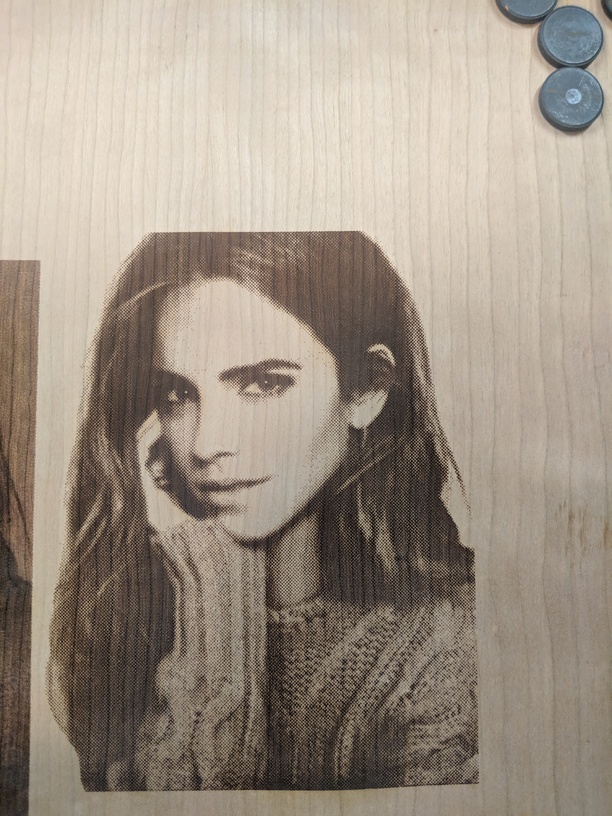
This is a cherry veneer that’s .02 inches thick. My goal was to get as much contrast and 3d look as possible without compromising the veneer. The darkest spots do go all the way through but because the image was converted to halftones there is still plenty of wood left in between the dots to keep it strong.
41 Likes
She’s pretty, and great results on the engrave! 
3 Likes
Thanks! It’s Emma Watson so of course she’s pretty haha this is a test for a big project I’m doing. I’m going to make a huge image scene out of over 100 wooden squares. The idea is to engrave the squares individually then put them all together to make a way bigger image than will fit in the glowforge.
10 Likes
Oh see, I thought that was your girlfriend. 
5 Likes
I wish. I know it might be contrary to what you think but having a laser hasn’t helped me out much in that department. The glowforge can do a lot of things but I’m much too hopeless for even it to help me.
13 Likes
Well, just hang in there…some girls actually like lasers. Keep on lookin’! 
8 Likes
That turned out really great!
4 Likes
thanks! it took a bit of experimenting to get the contrast without just going right through the veneer.
1 Like
Nice!
2 Likes
Very well done. Good luck on your big project.
2 Likes
Turned out very nice!
1 Like
This is one of the best photo engraves I’ve seen! Looks like optimizing halftones is the way to go.
2 Likes
Thanks! Halftones have been the best way I have found to get a very clean photo engrave with a lot of contrast but you have to plan ahead. The size of your image plays a big role in the halftone settings. This image was a bit smaller and after I converted it to halftones I enlarged it thus enlarging the dots which you can really see around the eyes and mouth.
2 Likes
Superb! 
1 Like
It’s true! My boyfriend was the one who showed me the GF (he first became aware of it back in the crowdfunding days), and now we own one together! He wants it mostly for fun and his own personal use with perhaps occasionally making things to sell, whereas I hog it when he’s at work in the hopes of starting a business with it.
So some girls DO like lasers! I’ve even named my little venture “Baillee the Laser Lady” 
5 Likes
I cannot seem to get a engravable portrait to actually look anything like the actual photo. I use illustrator and photo shop but when I set it up I image trace and can’t get the photo to be anywhere near like gradient any help will be amazing
Very nice! Goal achieved…
1 Like
If you’re using AI and photoshop why are you using image trace?? And image trace in the glowforge or image trace in AI? I am not the best at this, but I’ve done a few that have turned out alright and your description does not compute.
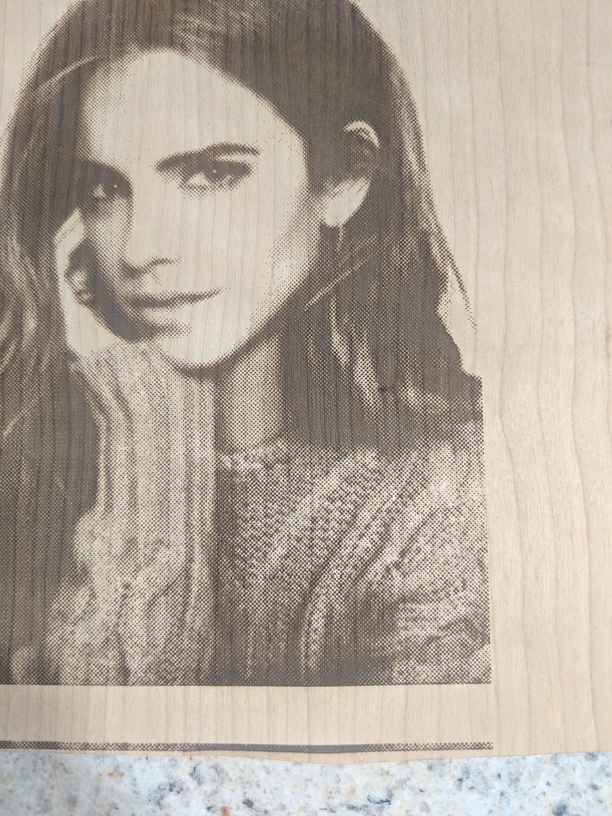
What settings did you use for the two engravings.? The first is very detailed, excellent job!!!
they are both actually the same engraving just under different lighting, looks better in person my phone camera isnt the best. Its actually just the draft photo setting for medium maple plywood. i just put the veneer onto some plywood first so the focus was right.
1 Like