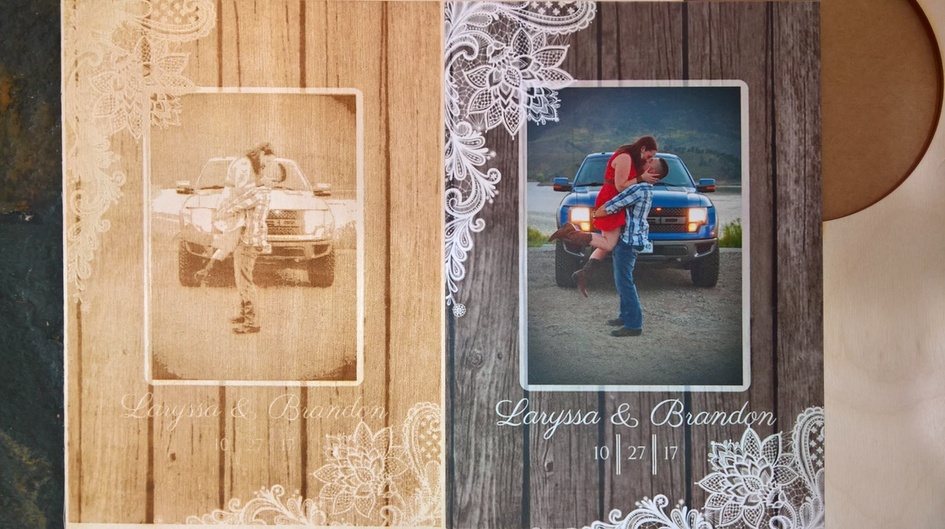
So I have started dabbling with photos on wood. I have mostly been happy with the results. Proofgrade is nice for this, too, because of the masking. (I know, cleaning up the masking after the print is a pain, but a few experiments have convinced me that the masking preserves some detail and keeps the laser from over-burning the wood (which happens even on the light engrave setting).
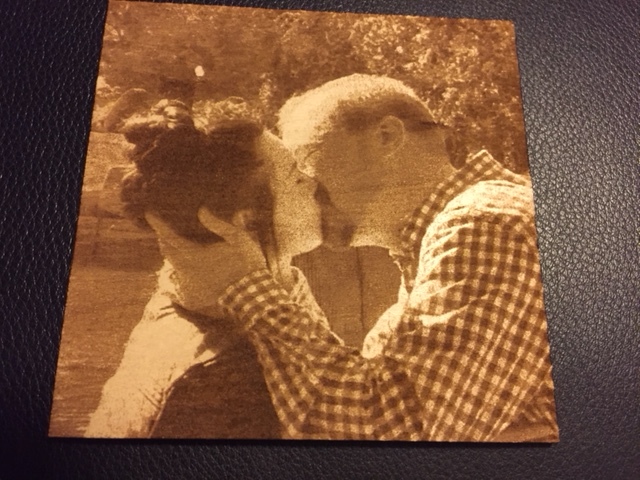
This picture, though, suffered an unfortunate condition in the wood itself and had to be reprinted. I’m thinking a little bit of grain in the wood or something creating this artifact. Maybe @staff can take a peek and see.
Leaving the Proofgrade defaults. Pre-processing, I mostly just toss them into Photoshop and desaturate. That gives me a good notion how they will translate contrast-wise. I occasionally adjust the levels a tad trying to get away from 255 more than absolute 0, but most of those images have nothing beyond desaturate…some not even that much.
Can you give a more detailed walkthrough of how you print pictures like this? I was trying to print a picture the other day and my friend’s dog came out looking like a demon. Not sure if I’m missing something in the pre-processing or something in the glowforge settings.
I’ll try to put something a little later. Some pictures just won’t turn out well because of contrast or darkness, though with a little adjustment, some might still work.
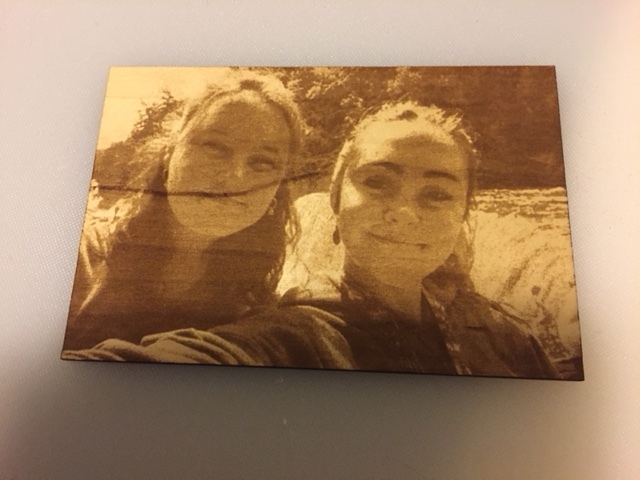
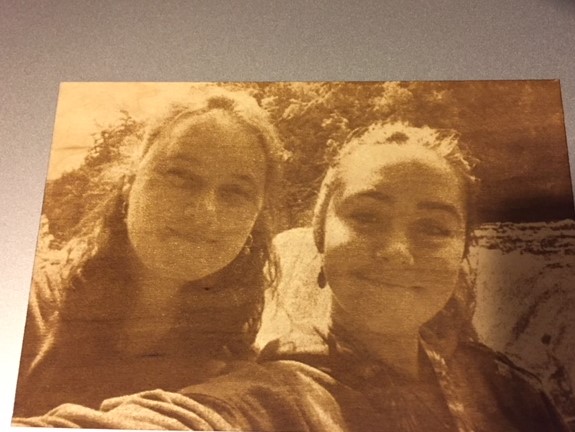
Thank you for the tips. With just barely any changes in Affinity Photo and exporting to a PNG, this is my first acceptable engraving on some cheap 1/8 Basswood Craft ply from Home Depot.
I’ve found that good contrast photos that aren’t too dark need little or no fiddling if I’m engraving on masked wood. Hardwoods might be slightly better just because softer woods seem to burn deeper and darker.
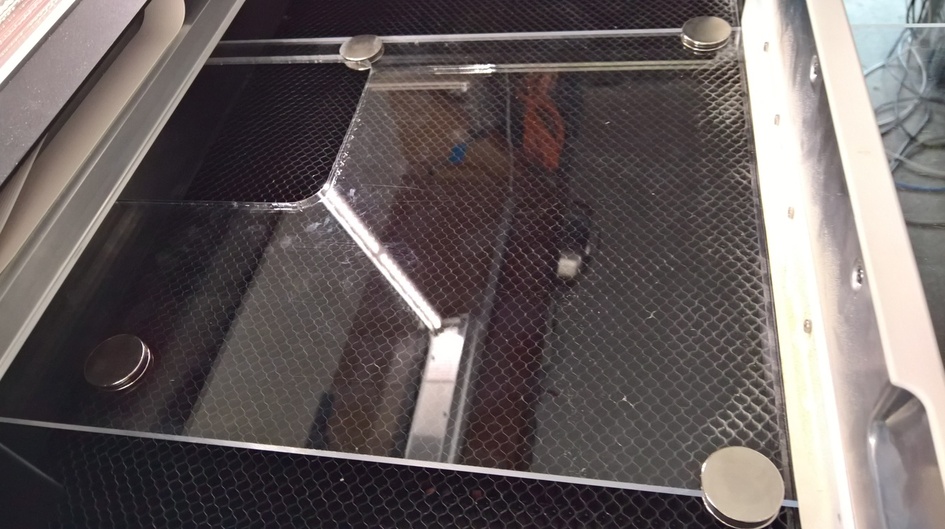
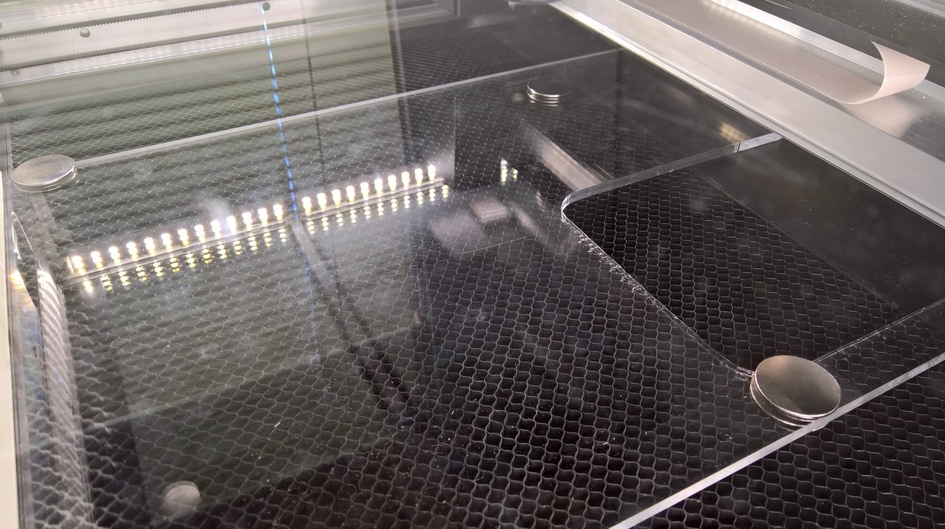
It really flattens out the material and during cuts, it almost completely eliminates honeycomb flash back (especially with acrylic) without needing to mask the back of the material.
He does work very hard. These days, he even monitors the Glowforge while it is engraving and cutting. If there is anything that scares him less than the Glowforge, I’m not sure what it is.
 engrave setting).
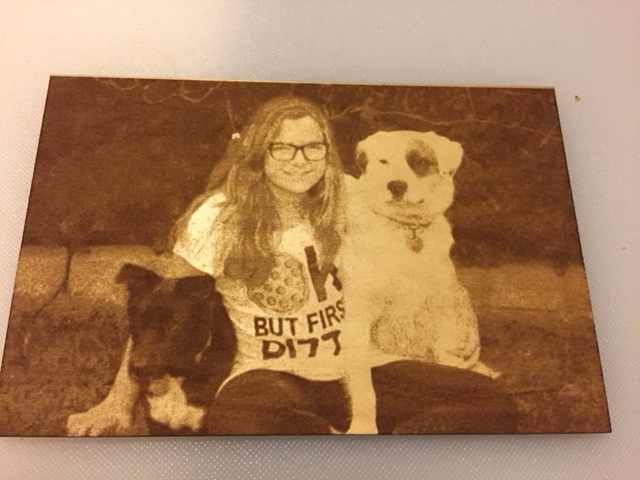


 Not sure if I’m missing something in the pre-processing or something in the glowforge settings.