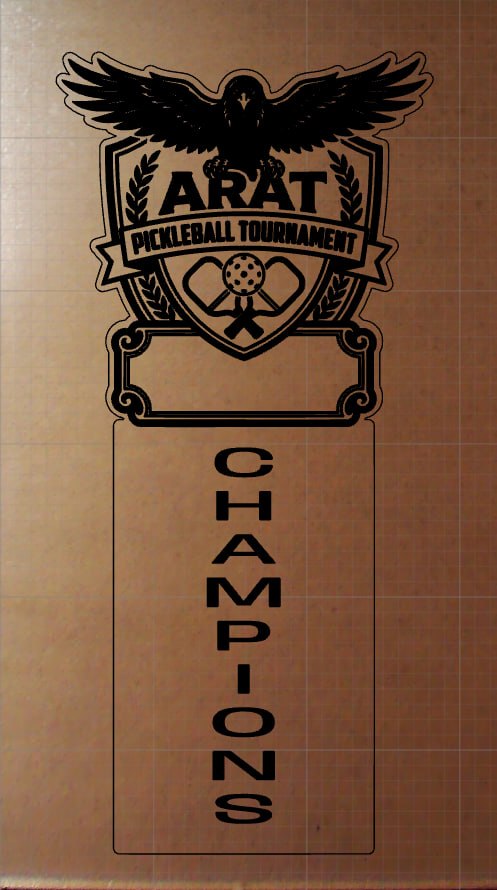
Recently I was asked to make a trophy for an upcoming pickleball tournament at work. After much thought and consideration and many YouTube rabbit holes, I designed a shield with our Organization mascot (A Raven), and made something that very specifically became a “Trust the process” moment.
Ended up having to adjust settings after the first run started as for some reason it decided to do two passes and it ended up punching all the way through the acrylic.
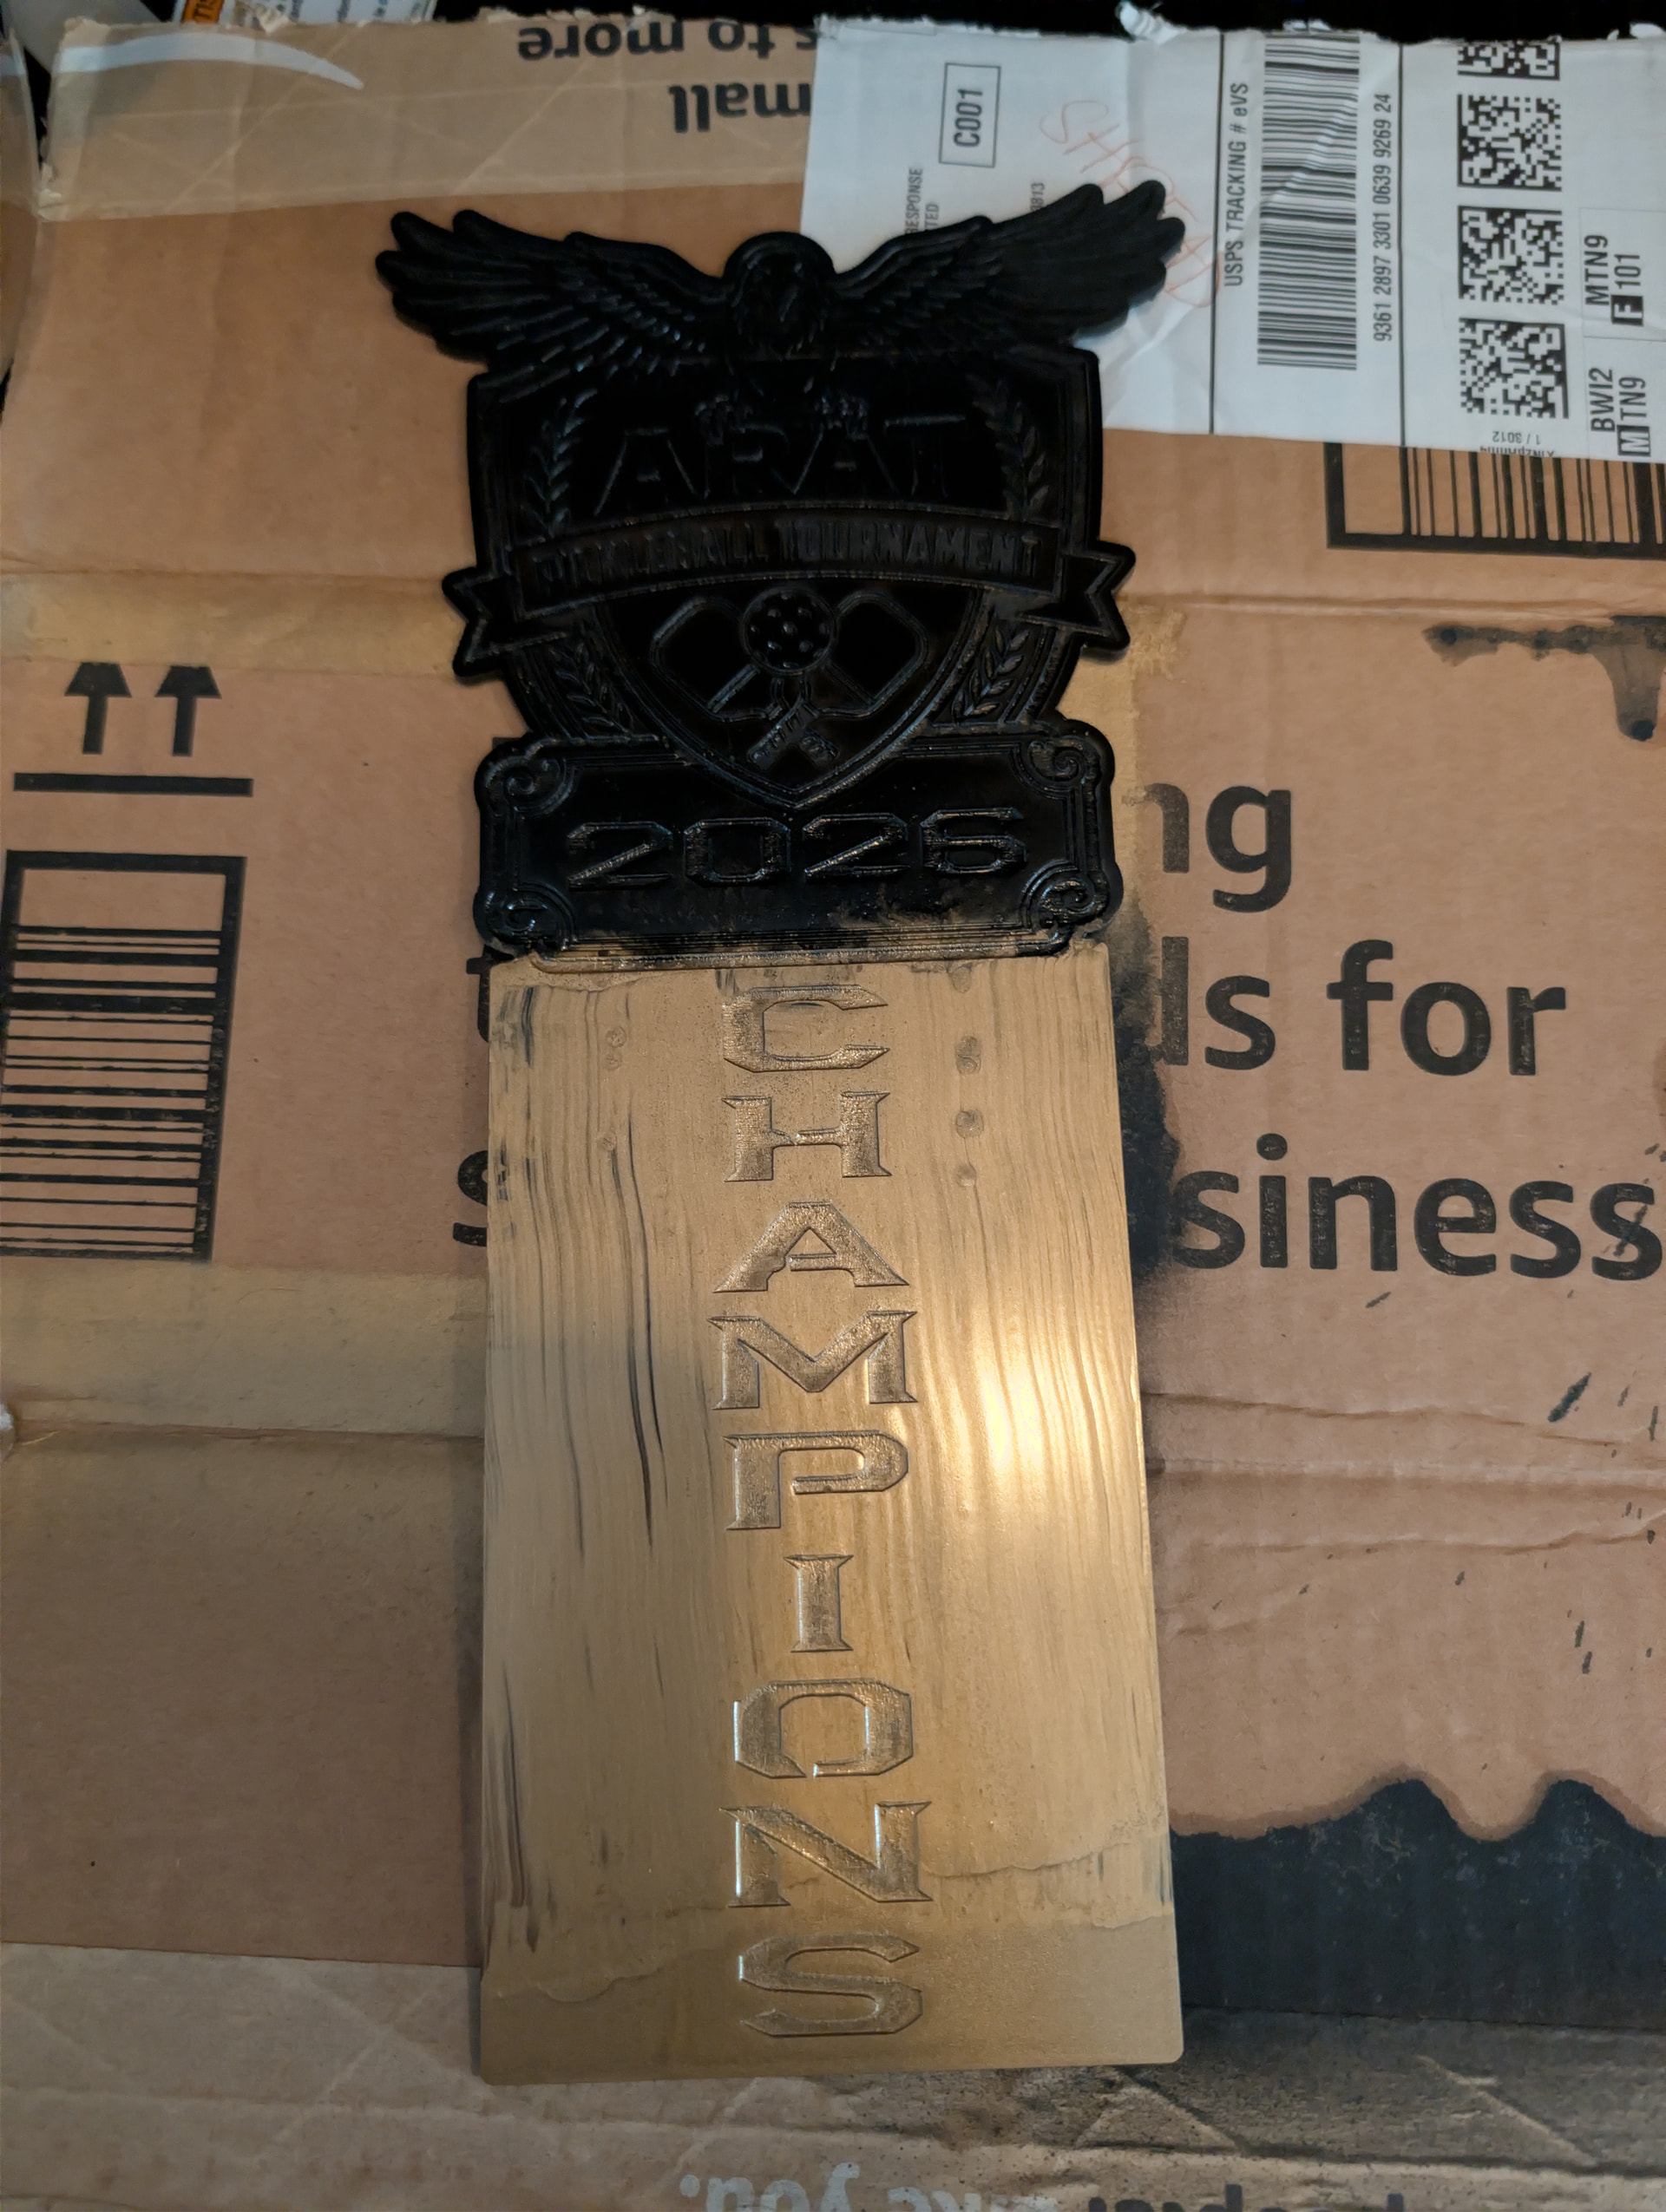
Once I got it adjusted, it came out pretty great, and I moved on to a messy phase 2
Unfortunately, I had some run as I spray painted, but that was ok because part of my plan was to do a radial sanding to give it a nice soft frosted finish.
I cut the sides from a 1.5 x 1.5 Red oak, and a Maple base for a nice heavy and sturdy award. After several re-sendings and a nice coat of polyurethane the wooden base was ready for a little bit of staining. Hit it all with some chestnut stain.
The photos showing the different steps are great. It makes the difference between the initial design test to the final version show how great the finished trophy is. Simple design to awesome final product. Being able to see that in your mind before you make something is what separates the artists here from the mechanics.
A “regular” trophy shop couldn’t have done a better job. That turned out fantastic! I’m sure your boss will love it, and the winner will display it proudly. Thanks for showing us the different steps involved.
That is great! They look happy, not only that they won, but that they got the trophy. Now how do they share it? You’ll have to make another so they can each have one.


 Great job!
