We just got this year’s school pictures so I needed some picture frames. I could have spent twenty bucks to buy a couple, but, as @Dan says, “I have a laser”.
I’ve had my Glowforge for a couple of weeks now but this was the first “nice” thing I tried to make. Before this, I burned a lot of cardboard making “prototypes” for future projects, made some paper bats for halloween decorations, some pencil and tool holders, and generally played around a lot. So much to learn, so many experiments to try. What an awesome thing this is!!
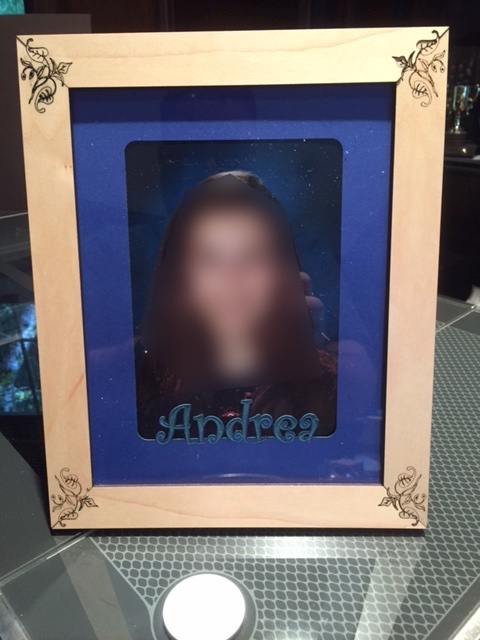
I think the picture frame came out pretty nice, but it’s certainly not “laser perfect” and my design turned out not to be very good (more on that later). I learned a few things in the process and hope someone else might get something from this.
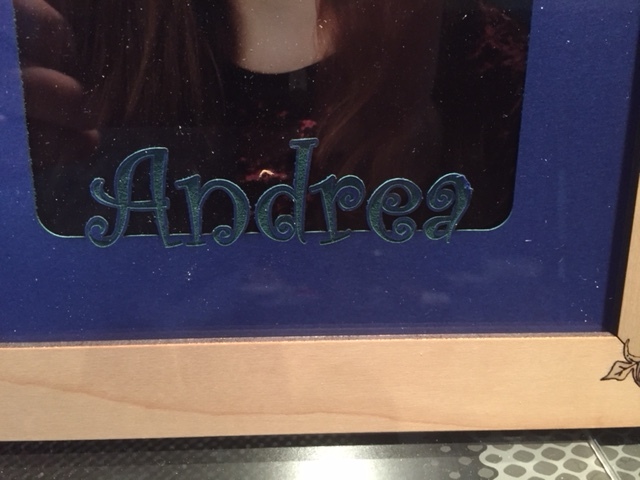
I had two ideas that I wanted to test in this project. The first was a way to make cutout letters that were all attached to the matte. I’ve seen this done a number of ways; sometimes it looks great, but others not so much. My idea (well, the idea I had that I’m sure a billion other people had, but I haven’t seen yet) was to cut enlarged versions of the letters as part of the matte and then engrave the “real” letters inside that cutout. I think this worked pretty well.
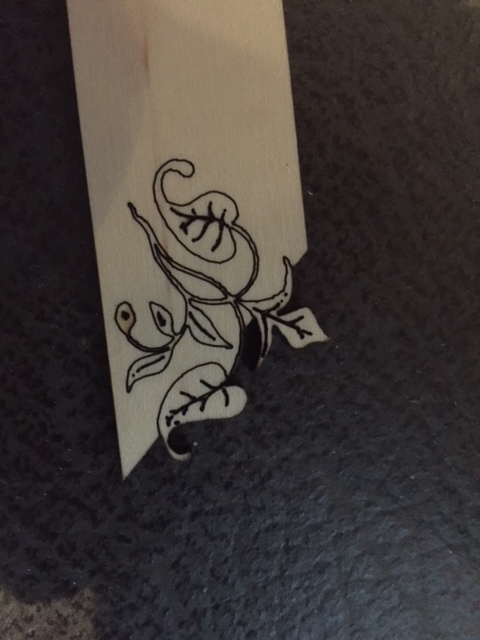
The other idea was to complicate the miters in such a way that they were somewhat hidden and fit together like puzzle pieces. I was after an esthetic effect as well as something to help align the pieces of the frame. I like how this came out, but it could use some more work. I didn’t compensate for the kerf so the fit was a bit loose. Of course some of the detail in the leaves is so small, that if I had made this a tighter fit, they might have broken off… Overall, I think this was a nice effect.
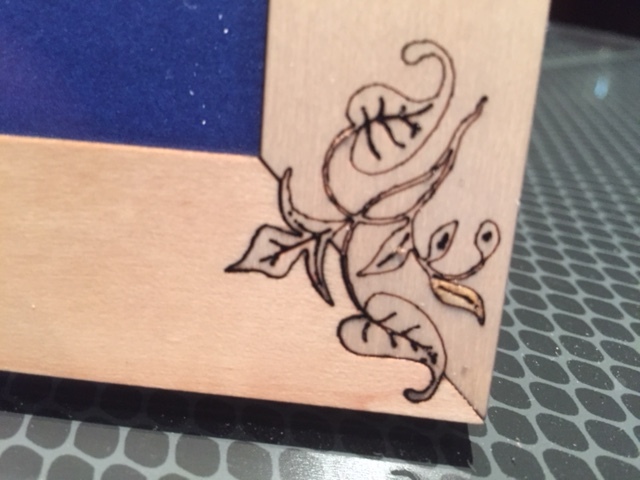
The rest of the frame is purely functional, rather uninspired, and the reason I say the overall design is not very good. I used CA glue to bind everything together and the lack of skill or any sort of jig caused a number of alignment issues. Next time I’ll add some notches or something to help with the alignment.
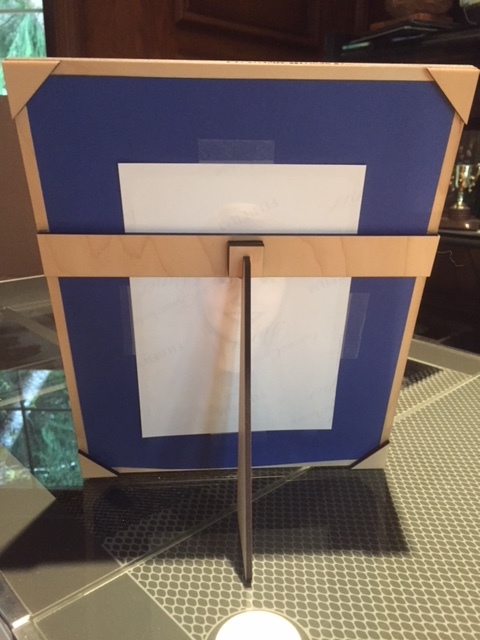
The matte and picture are held in the frame by the four corner triangles and the cross piece which supports the foot. It turned out that the thickness of the glass, matte, and photo added up to almost exactly the thickness of the maple ply. It’s a little tight, but it is possible to add and remove the matted photo from the frame, but the glass is “built-in”.
The materials I used include:
The frame is Proofgrade Medium Maple Plywood.
The “matte” is 110 pound card stock from Michael’s
The “glass” is .093” thick “Optix” acrylic from Home Depot
Here’s the SVG in case anyone wants a starting point…

I’ve been a lurker on the forum for quite some time and am glad to finally have something to post. Thanks to everyone out there for posting your ideas, questions, and answers. It’s been very helpful and inspirational and I look forward to more in the future!

 ! Glad you joined in, Thanks!