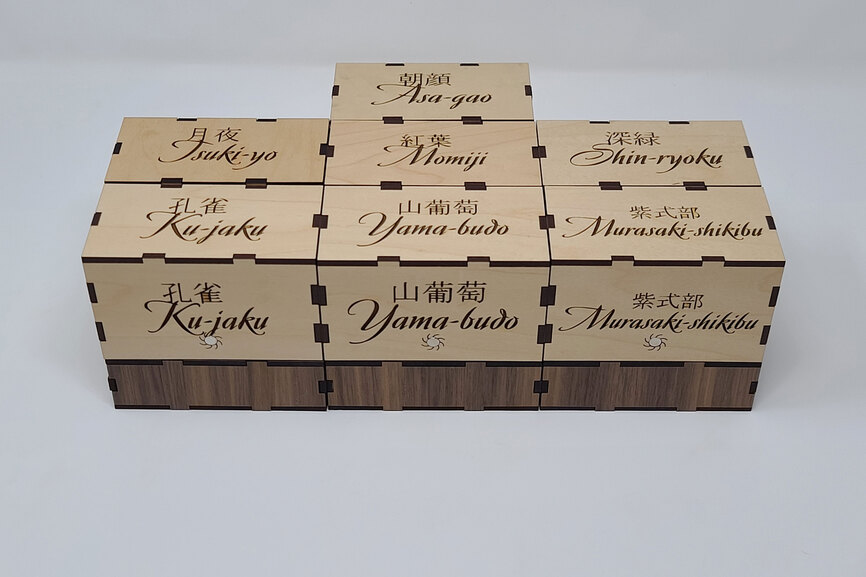
Hello crew! Long time no post. My glowforging has been limited over the last year by some logistical constraints, but I managed to get up and running again and hopefully won’t go another year plus between posts.
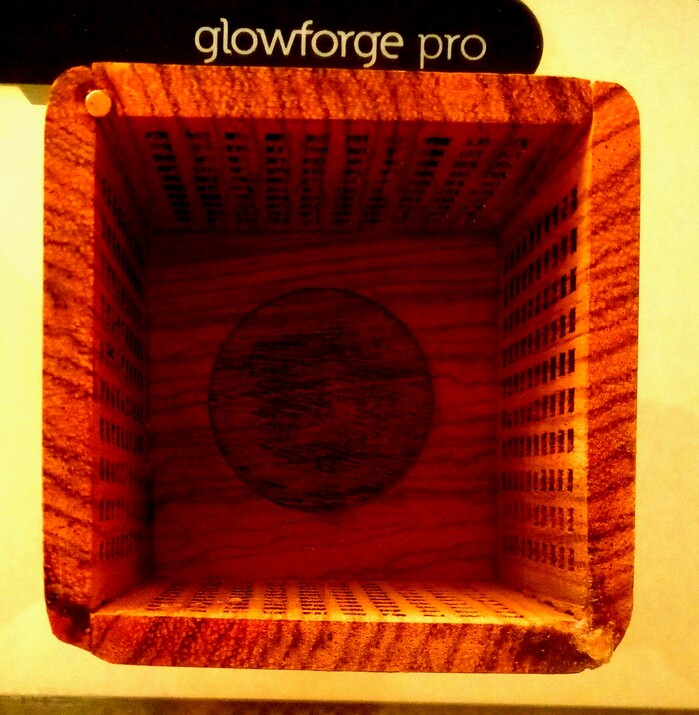
I used to do long write ups about the making process and what mistakes I made in hopes others could learn from them. I think people mostly enjoy the pictures though, so I’ll keep this a little lighter in content and will happily field any questions anyone has. I will call out the new magnet hole design I’m trying out. This is an attempt to make the friction fit magnets slide into place a little easier while still holding strong without any adhesive.
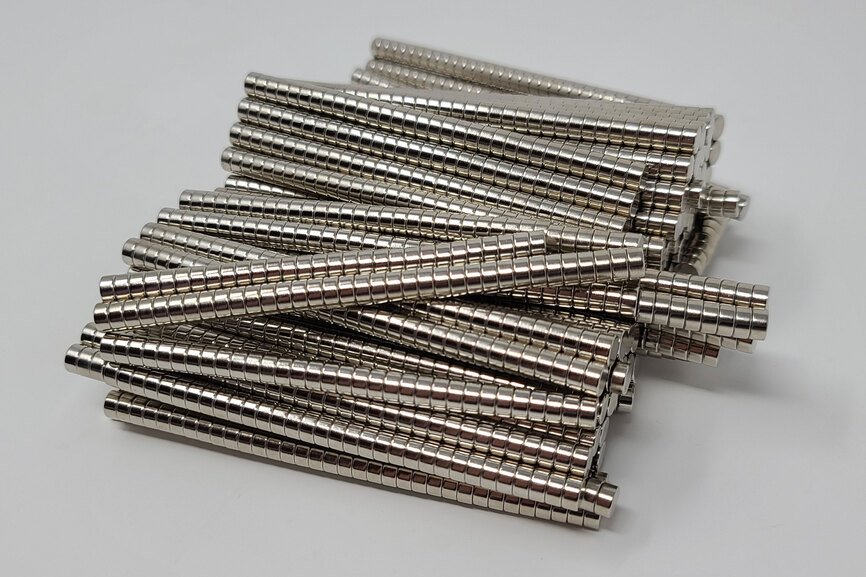
One more note on the magnets: I used to link to Amazon for purchasing them, but was frustrated by the revolving door of suppliers and the lack of information about the magnet grade and material. So I went directly to a manufacturer and ordered a few thousand magnets in the highest strength neodymium available (N52 grade). I’ve been very happy with them and since I have an ample amount, I decided to list packs of them on my website in case others have had similar frustrations. I’ve found 6mmx3mm to be ideal size as they roughly match the material thickness and are just the right size to give adequate holding power without being too large or expensive individually. http://laseredby.me/shop/80-high-grade-n52-neodymium-magnets-6mm-x-3mm
I have always bought my magnets from the Gaussboys Super Magnets (http://www.gaussboys.com/). A small business located in the USA. You know what you are going to get—and you know you can get the exact same thing in the future. With Amazon it’s always a gamble.
I got a few hundred from Home Depot at 3x1mm that are easier to bury in the wood and 3x3 for 6mm wood. Where they are individually not as strong as I like, they can be ganged side by side to be very strong. I added a bunch to a 18" ruler spread 1 inch apart and they grab the crumb tray hard but the field does not reach high enough to mess with the laser head.
Yeah, I’ve used some in that size for my rotary counter. I prefer the 6x3 for a few reasons. The 3x1 are more difficult to handle because of their small size. Additionally the holes have to be engraved instead of cut - which increases laser time. And while the no magnet on the outside look may be desireable, it can also cut down on functionality or mean that you have to place magnets on two sides (also requiring a flip to engrave both sides). And of course you have to use fewer of them.
All in all, these are the reasons I choose to typically use 6x3 over 3x1. Super useful to know that home depot sells them though. I didn’t even think to look there…not that I need more magnets at the time
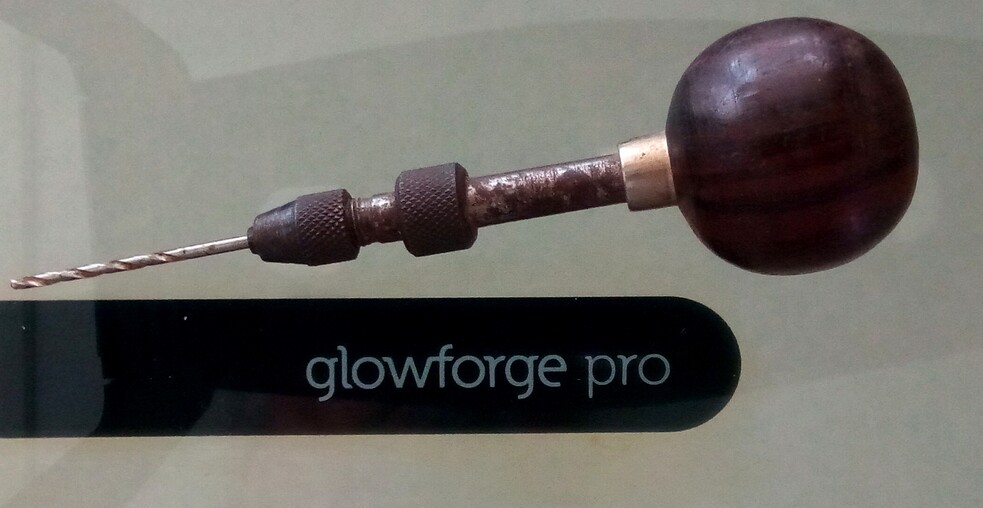
Actually a 1/8" drill bit works at angles you could not laser at (like edge on) and long ago (back in my jewelry days) learned that a drill bit in a hand graver makes much cleaner and more accurate hole than any powered drill. Not so much drilling an inch or more deep, but even in silver the time taken is minimal.
Very cool. I may have to pick up a hand graver eventually to do these types of holes. Still, there’s something to be said for a piece coming out of the glowforge and being ready to be used. Or maybe I’m just incredibly lazy