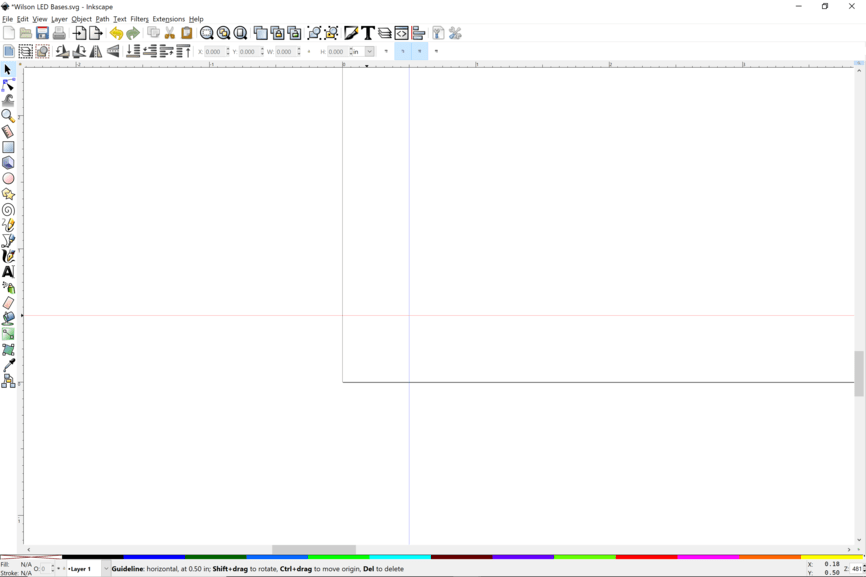
I put one verticle guide at .5 from the left and one vertical guide .75 from the right. The Glowforge can’t go all the way to the left, but it actually is less that 1/2 an inch. The right has more un-addressable space that is actually slightly less than .75 inches, but in this case I am good with these left and right margins as a reminder. I put a horizontal guide about 1.25 from the top as a margin. The Glowforge won’t address the bottom 1/4 of a full sheet that is down all the way to the edge of the honeycome. I always put the sheet about a 1/4 up to get max use of sheet.
Of course all these are for cuts as engraves makes the margins a moving target.
I rarely make something that big, but it is helpful when I am cutting out parts of a box so I know what will work. Often I split the job up with colors so I can do the left half of the cuts on one side of the material, having shifted the material over to the margins of the crumb tray and use hold down pins for the left side of the material. Then I shift it over the left margin of the crumb tray to get at the right side of the material. Then move the whole thing up or down if I want to get every square inch on one sheet of 12x20.
There are some diminishing returns with worry about margins and shifting things. It all depends on your design and what dimension of materials you have and how concerned you are to get every cent out of the material.
The 20 x 12 art board works very well with jigs that I have taped down. I can reopend the design after shutting down and it will be at the same spot.
This is also less important since Set Focus and lid camera calibration have allowed for so much better positioning of a design on materials.